
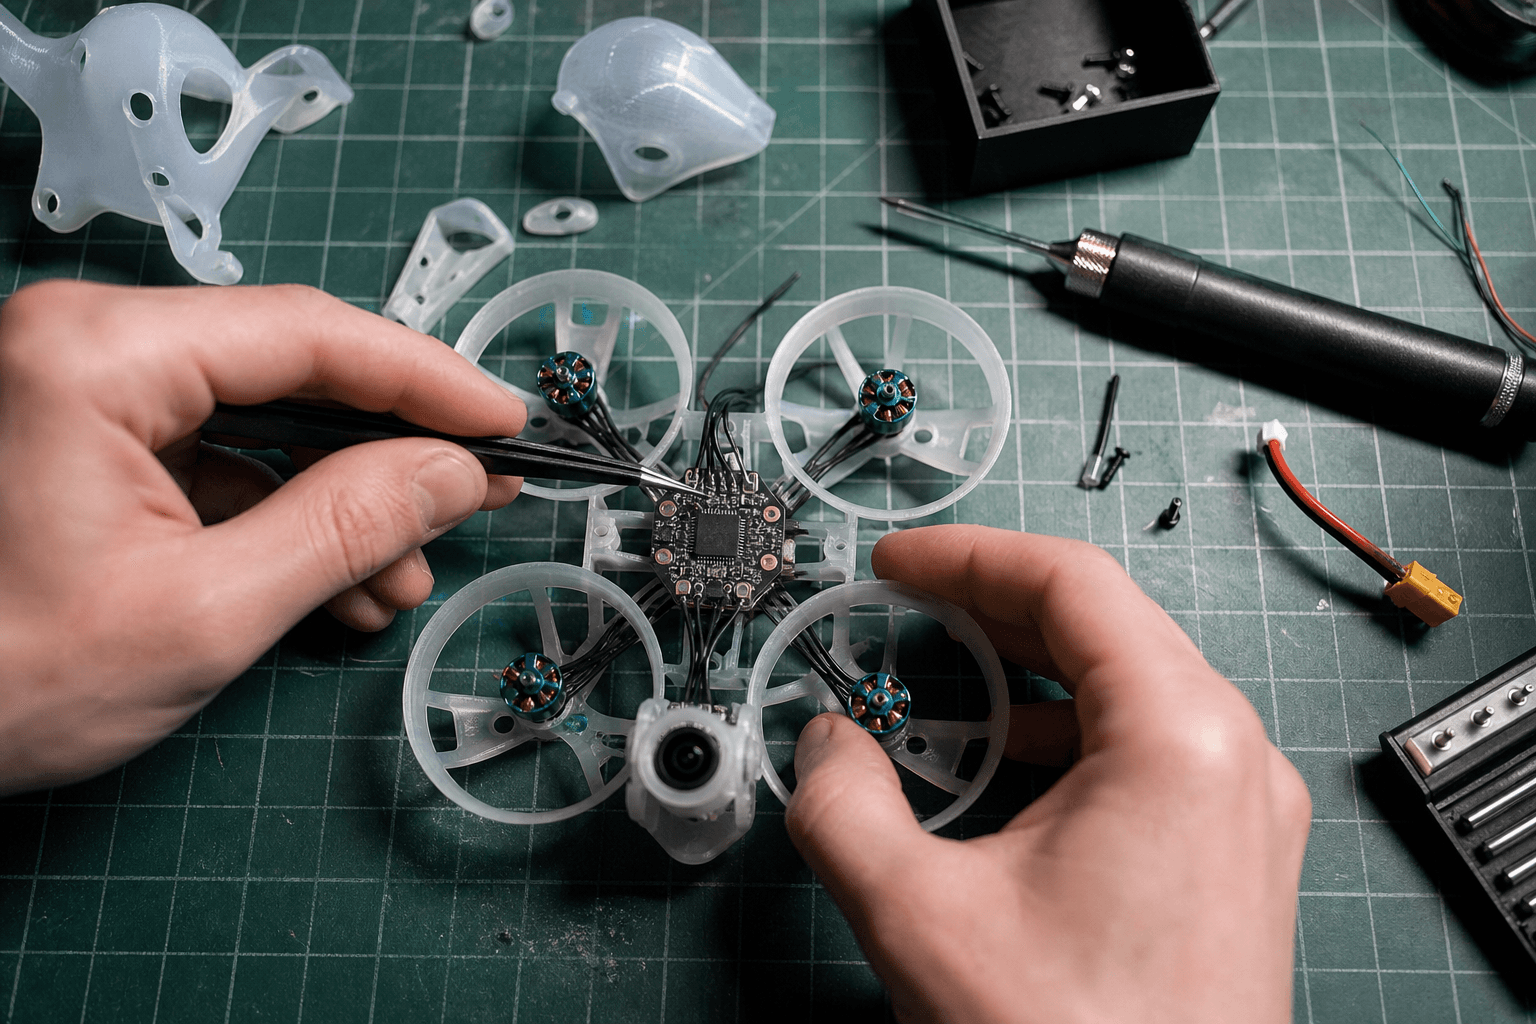

Building a tiny whoop is soldering and fitment, not magic. The craft that flies well on week one is the one where cell count, connectors, motor KV, and prop size agree before you heat the iron. Skip that and you get a pretty brick that burns pads, eats props, or refuses to bind.
FPV Grind treats whoop builds as an India-friendly first platform: cheap crash tax, apartment-friendly noise, and parts you can restock domestically. For the full 65mm walkthrough with India stock notes, use the 65mm whoop build guide. This page is the order of operations and the failure modes that kill first builds.
Why scratch-build a whoop
| Path | Best when | Trade-off |
|---|---|---|
| Kit / RTF | You own nothing | Less radio choice |
| BNF | You already have ELRS | Still “assembled,” not built |
| Scratch | You want repair skill + exact parts | Soldering + config time |
Scratch-building pays off when motors die, frames crack, and you want to swap an AIO without guessing. If you only want to fly this month, start Cetus vs Mobula and come back here when you open the canopy.
Parts list (minimum)
- Frame / ducts (65mm and 75mm are the usual Indian starter sizes)
- AIO flight controller (FC + ESC on one board)
- Four motors (correct KV for 1S or 2S - do not mix)
- Props that fit the frame (31mm / 40mm / 45mm - prop picker)
- Camera (often included on AIO kits)
- Receiver (built-in ELRS or external - ELRS for whoops)
- Battery + matching connector (PH2.0 or BT2.0 - pick one ecosystem)
Use Grind Lab so cell count and connectors do not fight each other before you click Buy.
Compatibility rules (lock these first)
| Pair | Must match |
|---|---|
| Pack cells ↔ AIO rating | 1S with 1S, 2S with 2S |
| Connector ↔ pack + board | BT2.0 vs PH2.0 - connector guide |
| Motor KV ↔ cells + prop | High KV on 1S is normal; wrong combo cooks ESCs |
| Prop size ↔ frame ducts | Rubbing props = vibration and heat |
| Radio ↔ RX | ELRS ↔ ELRS |
Wrong cell count is the classic India cart mistake: a “bargain” 2S pack next to a 1S AIO. Grind Lab exists to stop that.
Build order
1. Dry-fit frame, AIO, motors - check screw length vs board
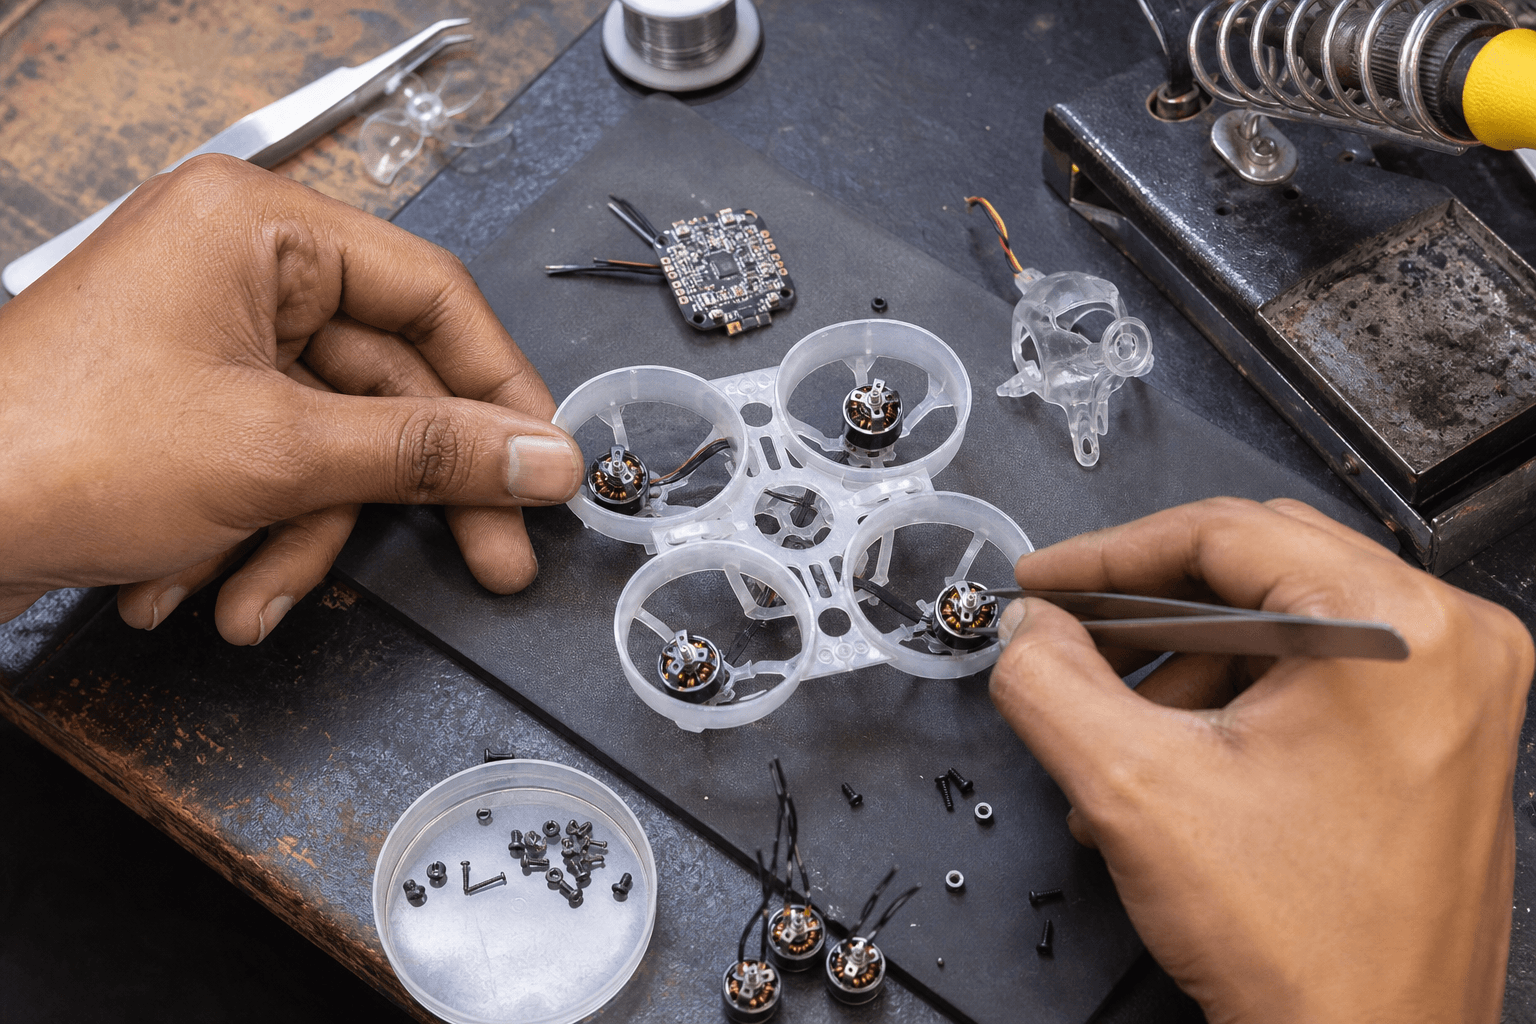
2. Solder motors (iron hot, joints shiny, no bridges)
3. Mount AIO, route wires, strain-relief near pads
4. Bind radio, configure modes, props OFF checks
5. Props on last
6. Hover test with careful throttle in a clear room
Soldering help: soldering ESCs and pads · how to solder whoop motors. First config: Betaflight whoop checklist. Motor mounting: how to mount whoop motors.
1S vs 2S
| 1S | 2S | |
|---|---|---|
| Crash tax | Lower | Higher punch, harder hits |
| Skill fit | Best first build | After hover is boring |
| Heat / current | Friendlier for beginners | Needs matching motors + props |
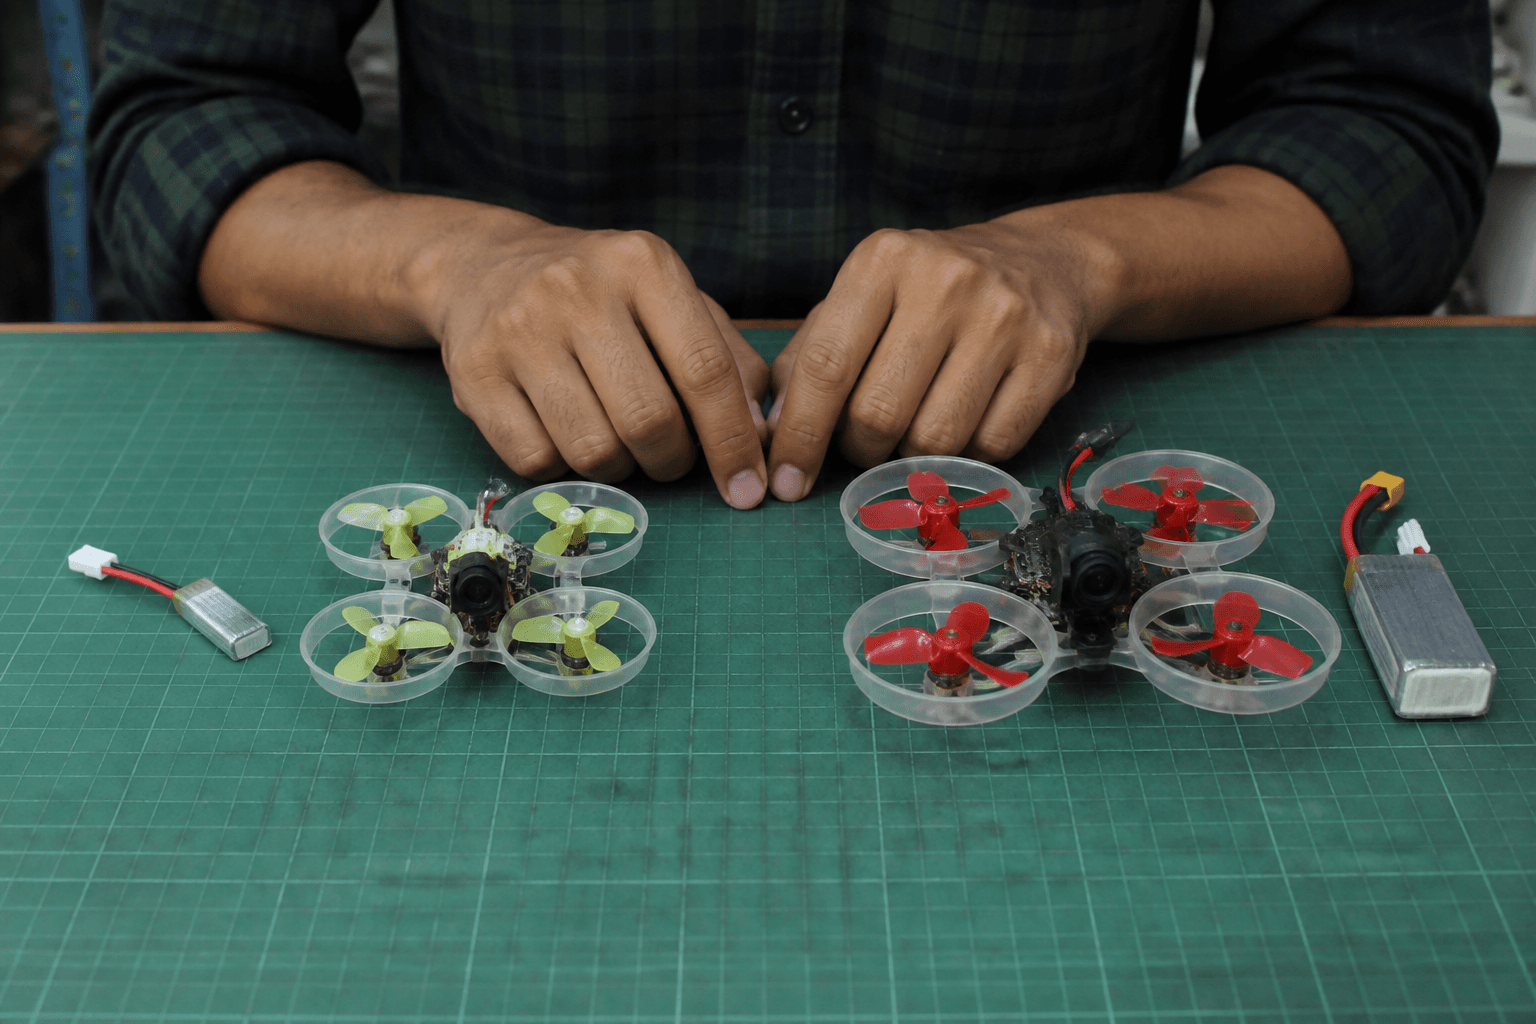
Start 1S unless you already fly well. Explainer: 1S vs 2S whoops.
Failure modes that waste a weekend
| Failure | Usual cause | Fix |
|---|---|---|
| No bind | Wrong UART / not ELRS / no bind mode | Bind ELRS |
| Motor spins wrong way | Direction or prop orientation | Motor direction |
| Lifted pad | Cold iron, yanking wires | Re-route, strain-relief, redo joint |
| Instant prop rub | Wrong prop size / duct warp | Match stock size, check screws |
| Soft hover / hot motors | Over-propped or wrong KV | KV vs prop |
| Pack connector fight | Mixed PH2.0 / BT2.0 | One ecosystem end-to-end |
India notes
- Buy extra props and 4+ packs in the same cart; packs ship on surface timelines - LiPo shipping.
- Domestic consumables first; import only the AIO/RX you cannot find - import vs domestic.
- Terrace hover tests still need neighbor sense - apartments and terraces.
Pre-flight checklist (first pack)
□ Props OFF: arm, check motor direction in BF Motors tab
□ Failsafe set, arm switch known
□ OSD voltage visible
□ Props ON: clear floor, pets out
□ Soft hover, land, disarm, feel motors (warm ok, burning bad)
Practice sticks on /sim while parts ship. After the first clean packs, follow first 10 flights.
Bench
Pull a recipe or custom list from Grind Lab, then cart from the Bench.
- Frame + AIO + motors as one compatible set
- Props: order 2–3 spare sets with the build
- Packs: match connector and cell count, never “close enough”
Discussion
Comments aren't open on this post yet. Share it with your build group, or start a thread on X.