
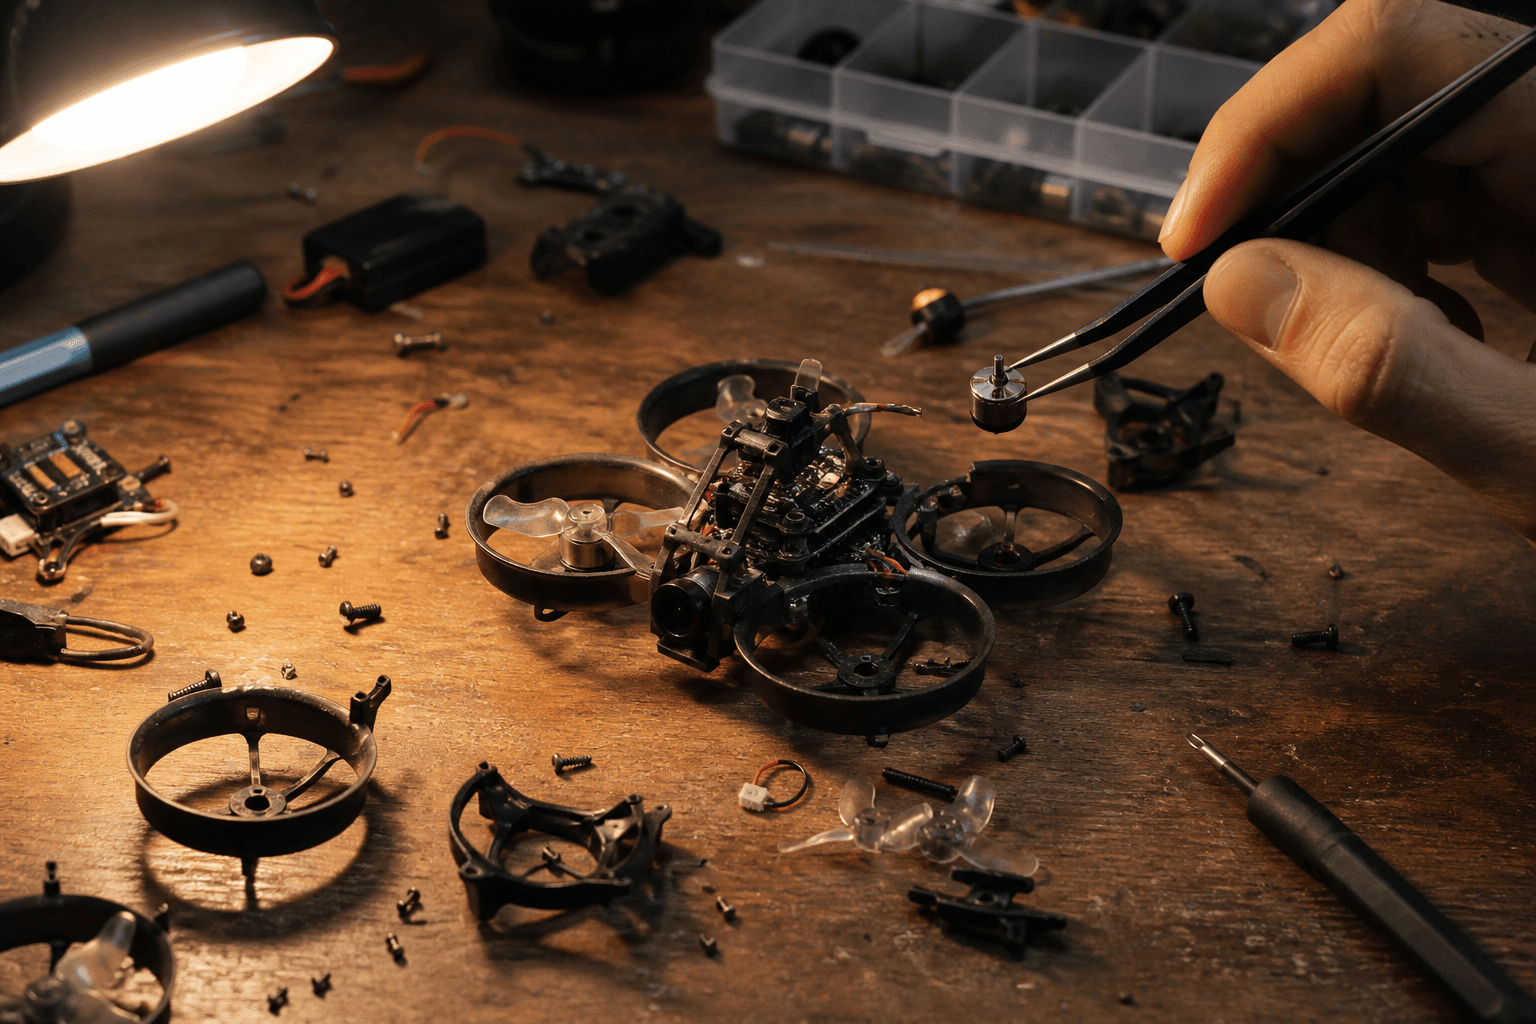

Most whoop crashes are a prop problem. Fix cheap parts before you blame the flight controller. The second most common miss is flying a bent motor until the AIO cooks.
FPV Grind crash rule: disarm, unplug, triage cheap → expensive. Field kit ideas: building a field repair kit. Bigger picture: crash repair triage.
Crash triage (in order)
1. Disarm, unplug battery
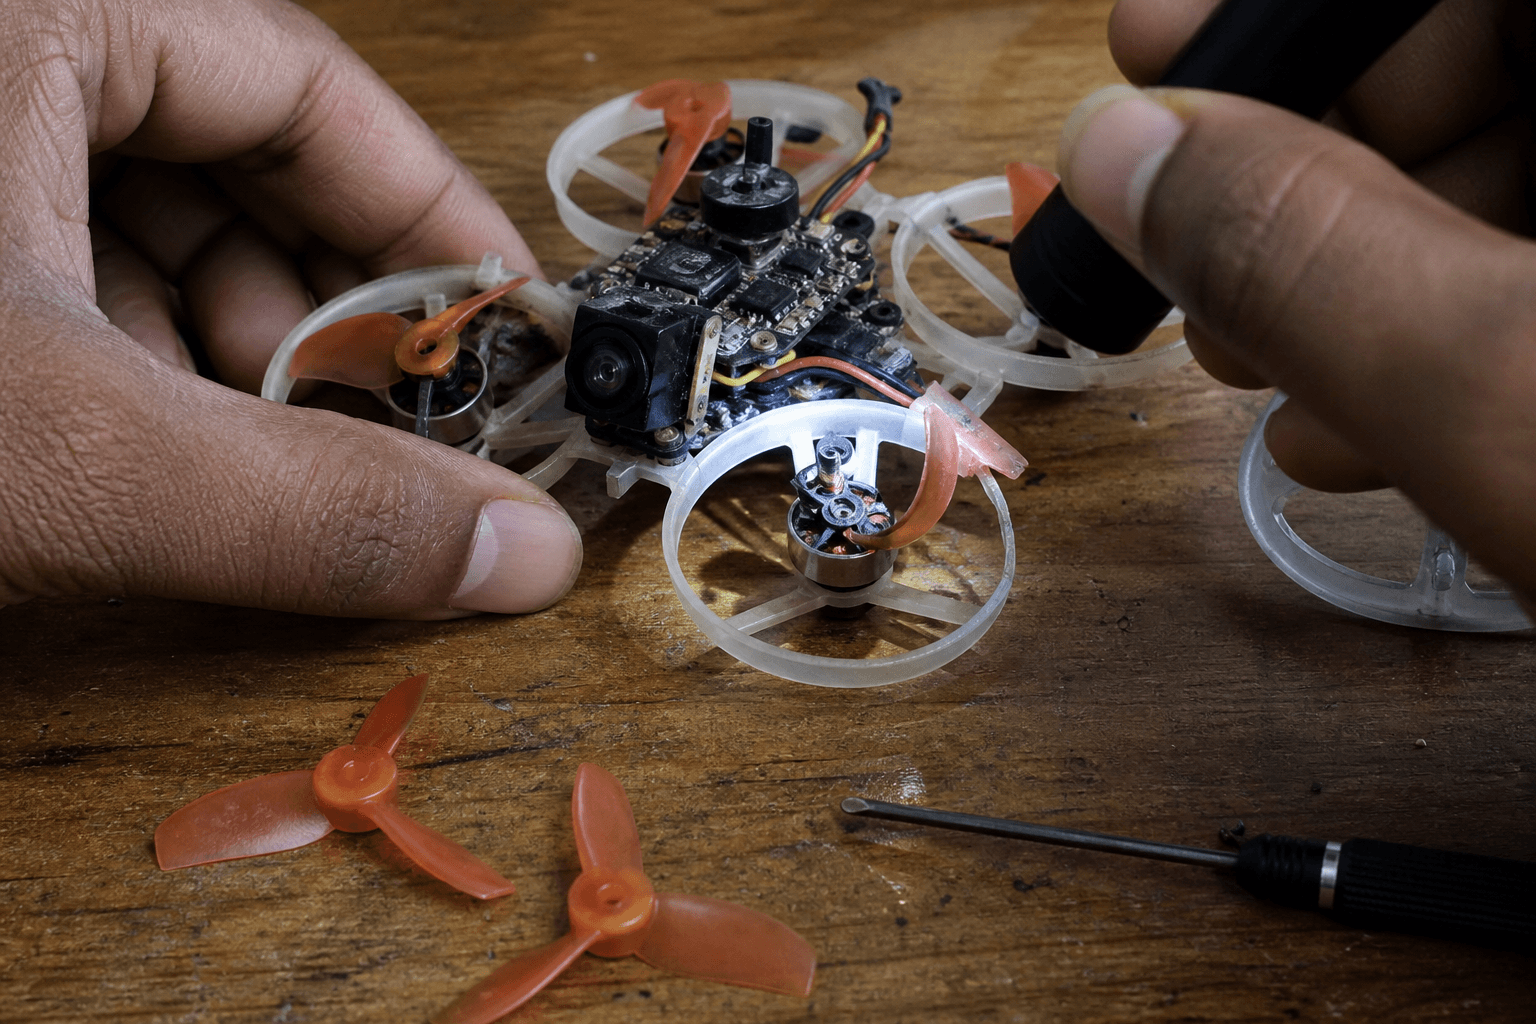
2. Props - chips, missing blades, loose nuts → replace
3. Ducts / canopy - cracks that rub props → replace or clear
4. Motors - grinding, bent shaft, burnt smell → swap that motor
5. Frame - broken arms / mounts → frame kit
6. Wiring / solder - cracked motor pads after hard hits
7. AIO - only after motors and wiring look sane| Step | Pass | Fail action |
|---|---|---|
| Props | Intact blades, seated | New prop set |
| Ducts | No rub marks | Clear debris / replace duct |
| Motor spin (props off) | Smooth, quiet | Replace motor |
| Frame | Mounts intact | Frame kit |
| Solder joints | Shiny, no cracks | Reflow - motor solder guide |
| Hover test | No new vibe | Land; do not “tune through” |
After a hard hit (bench checklist)
□ Check motor screws / mounts
□ Look for solder cracks on motor pads
□ Inspect camera cable and VTX antenna
□ Bench-test motors props-off in Configurator if unsure
□ Short hover in a clear room - not toward people
□ If it vibrates mid-hover, land immediately
Vibration after a crash is hardware until proven otherwise. Do not open the PID tab to hide a bent shaft.
Symptom → likely fix
| Symptom | Likely fix |
|---|---|
| Pulls to one side after crash | Prop chip or bent motor |
| Loud grind on one corner | Motor bearing / shaft |
| Sudden cut / reboot | Battery connector, solder, or AIO stress |
| No picture after slam | Camera cable / antenna - connect goggles |
| Will not arm after tip-over | Level craft / turtle; check Modes - arm guide |
Spares that actually matter
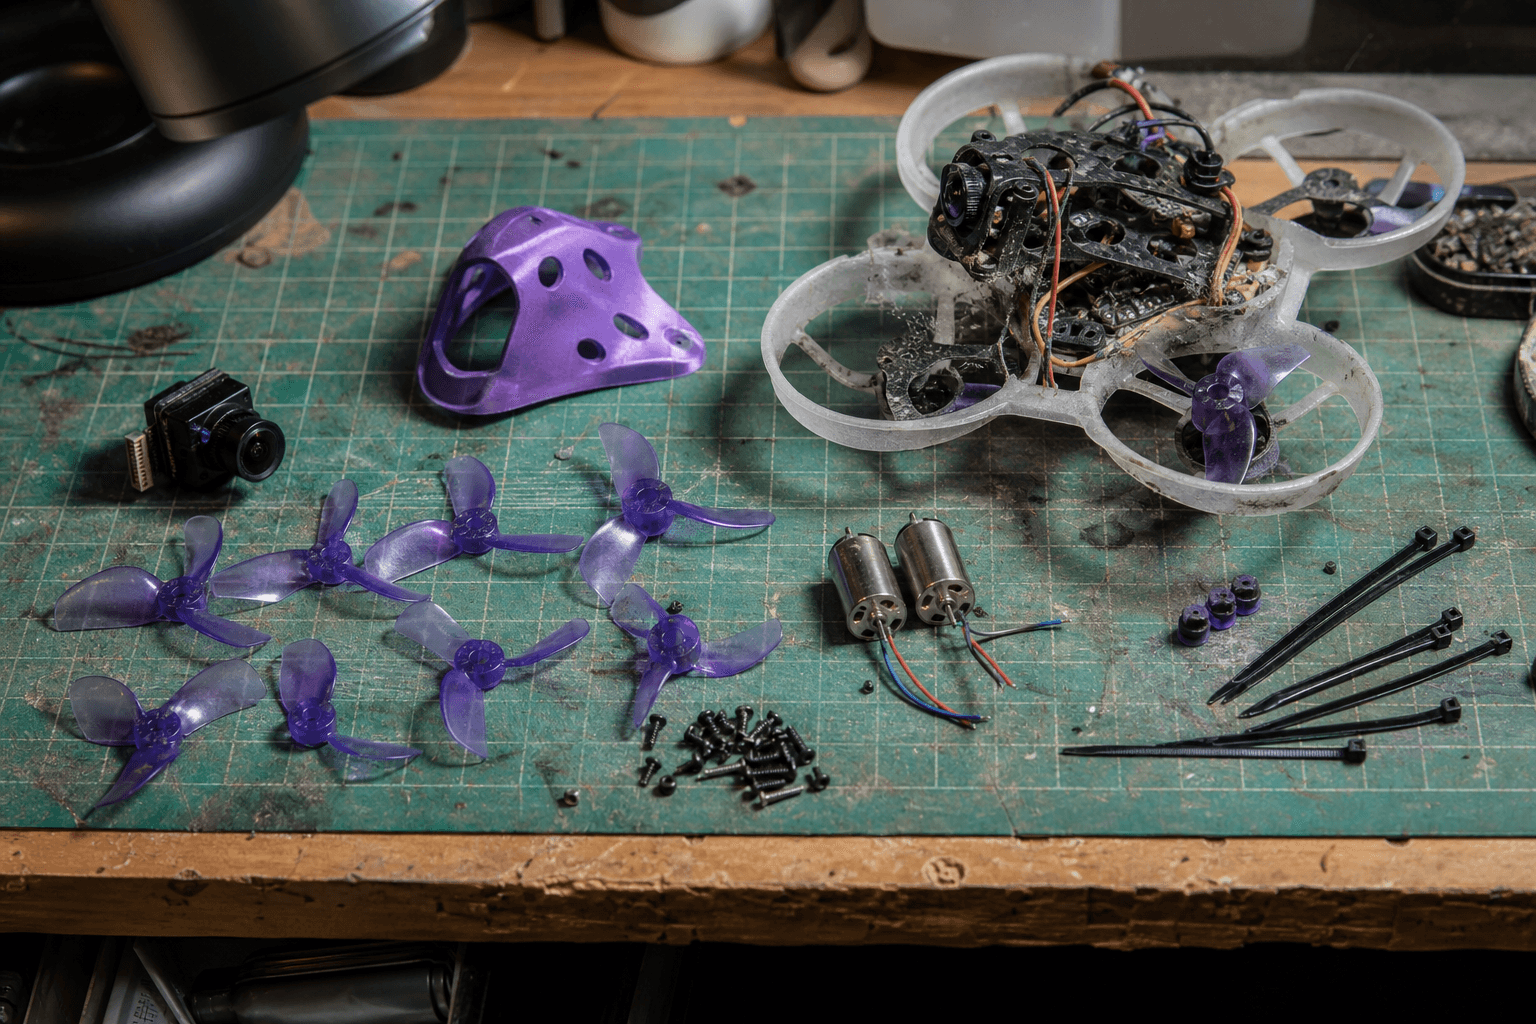
Keep these before exotic HD upgrades:
- 2+ full prop sets
- At least one spare motor (ideally a set if you crash hard)
- Canopy / duct pieces for your frame
- Small hex drivers and tweezers
- Known-good charged packs (do not debug on a dying cell)
India note: whoop props and common motors restock faster than niche AIOs. Stock the consumables you can buy locally next week.
Prevention that actually works
| Habit | Payoff |
|---|---|
| More /sim time | Fewer furniture tax events |
| Lower rates while learning | Softer impacts |
| Short indoor sessions | Less boredom crashing - indoor whoop guide |
| Hover drills | Soft landings - how to hover |
| Disarm before pickup | Fewer finger vs prop stories |
When to stop and replace the AIO
Stop chasing ghosts if:
- Multiple motors brown out after joints look good
- USB will not enumerate and power looks wrong
- You smell burnt electronics after a battery plug-in short
- Pad is fully lifted and you are not set up for pad repair
At that point, AIO replacement (or a mentor’s bench) beats another evening of random CLI pastes.
Bottom line
Props → ducts → motors → frame → solder → AIO. Cheap parts first. Do not tune through bent hardware.
Bench
Props, motors, frames: the Bench. Build recipes: Grind Lab. Crash-free practice: /sim.
Discussion
Comments aren't open on this post yet. Share it with your build group, or start a thread on X.