
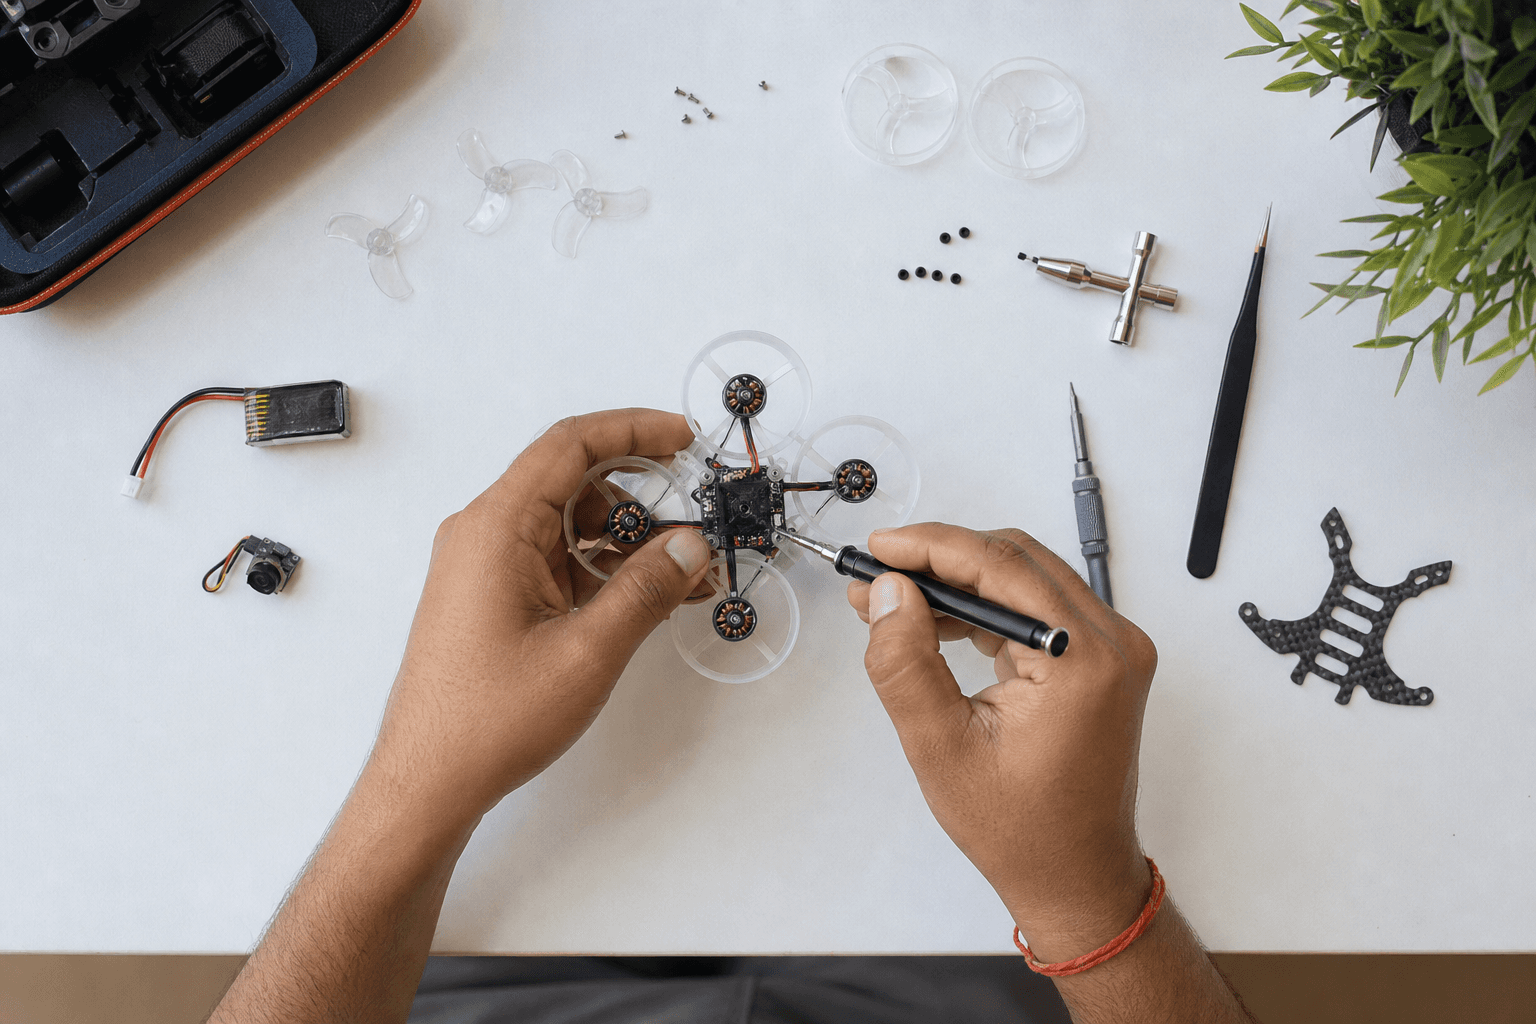
65mm whoop build guide for India: parts, order, and first hover

A 65mm whoop is the best first scratch build in FPV: four solder joints per motor, one board, no ESC wiring, and crashes that cost props instead of frames. This guide walks the whole build for an Indian parts context, what to order domestically, what compatibility traps exist, and the first-hover checklist.
Should you build or buy BNF?
Build if you want to learn repair skills that every crash will eventually demand. Buy BNF if you want to fly this weekend, then read the BNF upgrades guide instead. Cost is roughly comparable; the build teaches you where every gram lives. The BNF vs PNP vs scratch cost breakdown has the full math.
Parts list
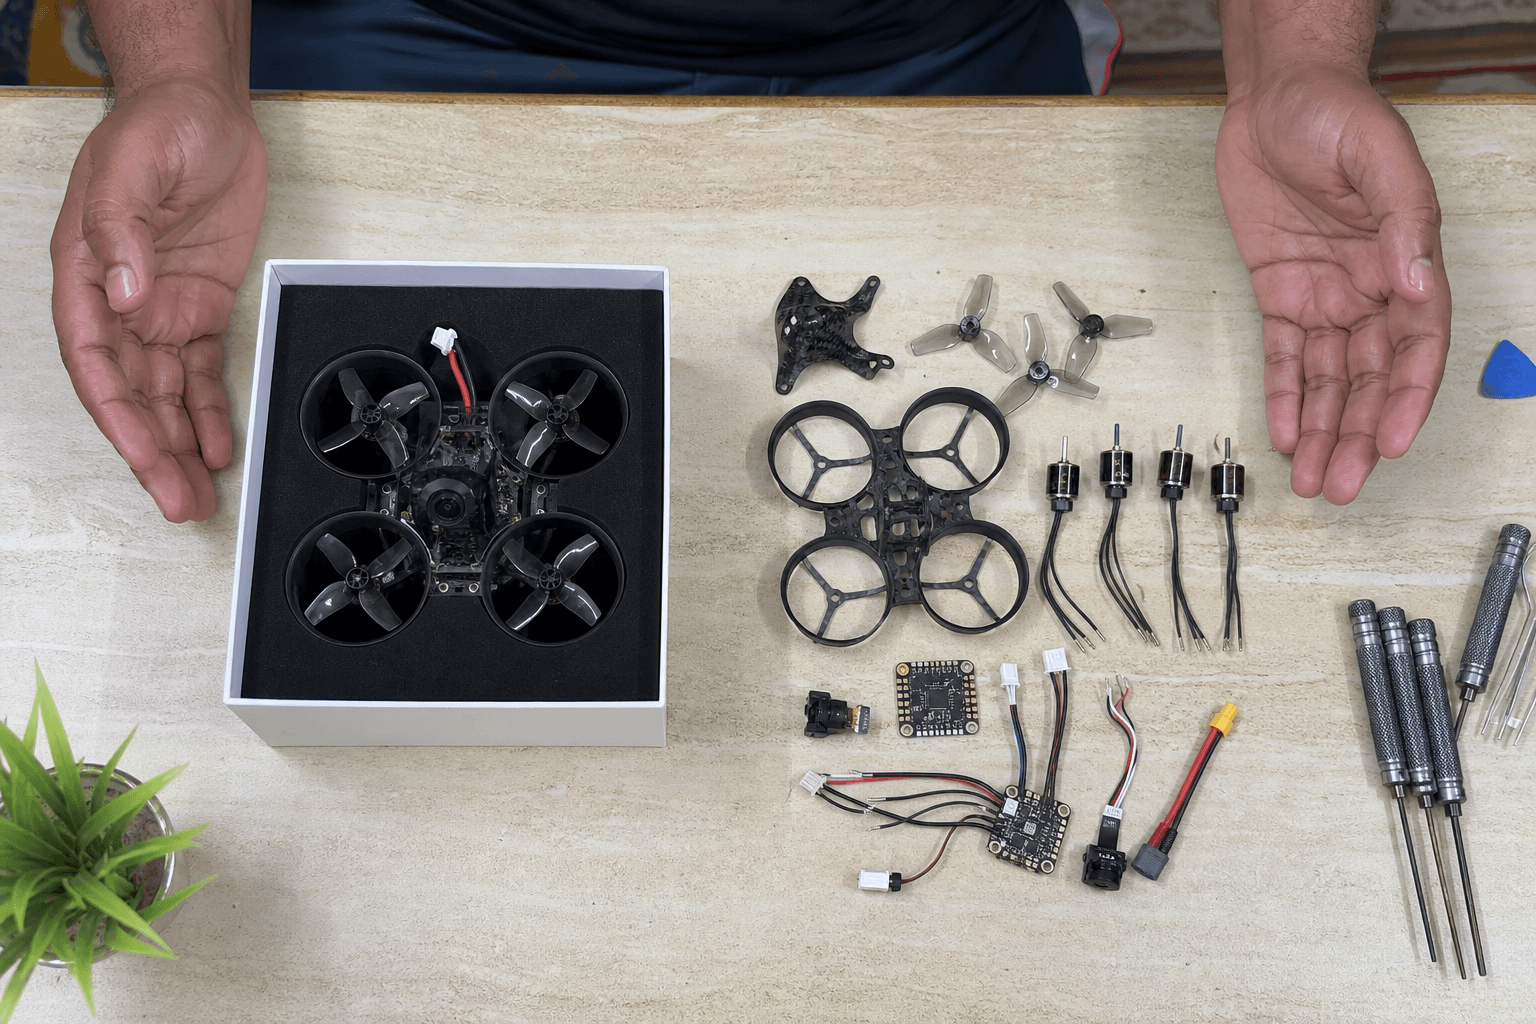
| Part | Spec to match | Notes |
|---|---|---|
| Frame | 65mm, 31mm props, 3-hole motor mount | Ducted for indoors |
| AIO FC | 25.5×25.5 mount, 1S, 5A+ ESC | Integrated ELRS RX saves a solder job |
| Motors ×4 | 0802, ~19,000KV for 1S | Check frame's max motor size |
| Props | 31mm tri-blade to start | Buy two profiles |
| Battery | 1S 300mAh, BT2.0 | 6+ packs for real sessions |
| Camera/VTX | Whoop AIO cam-vtx or separate | Analog is the budget path |
Every row above has a compatibility dependency on its neighbours, prop size on frame, motor mount on frame, FC mount on frame, connector on charger. The Grind Lab builder enforces these so you cannot order a mismatched set; the first whoop under ₹8k recipe is this exact guide as a one-click cart.
Build order
- Dry-fit everything: motors in frame, FC on posts, camera in mount. Find problems before solder.
- Motors to FC: trim motor wires to length (no coils of spare wire on a whoop), tin pads, solder. Motor direction is fixed in software later, not by wire order.
- Battery pigtail: mind polarity twice, then check a third time with a multimeter. A reversed pigtail is the classic whoop-killer. Use a smoke stopper on first power-up.
- Camera/VTX: last, on top, antenna clear of props.
- Weigh it: a 65mm 1S build should come in around 20–25g dry. Anything heavier will sag packs.
Soldering on whoop pads is tight work; the soldering guide covers iron temperature and pad rescue.
Betaflight setup
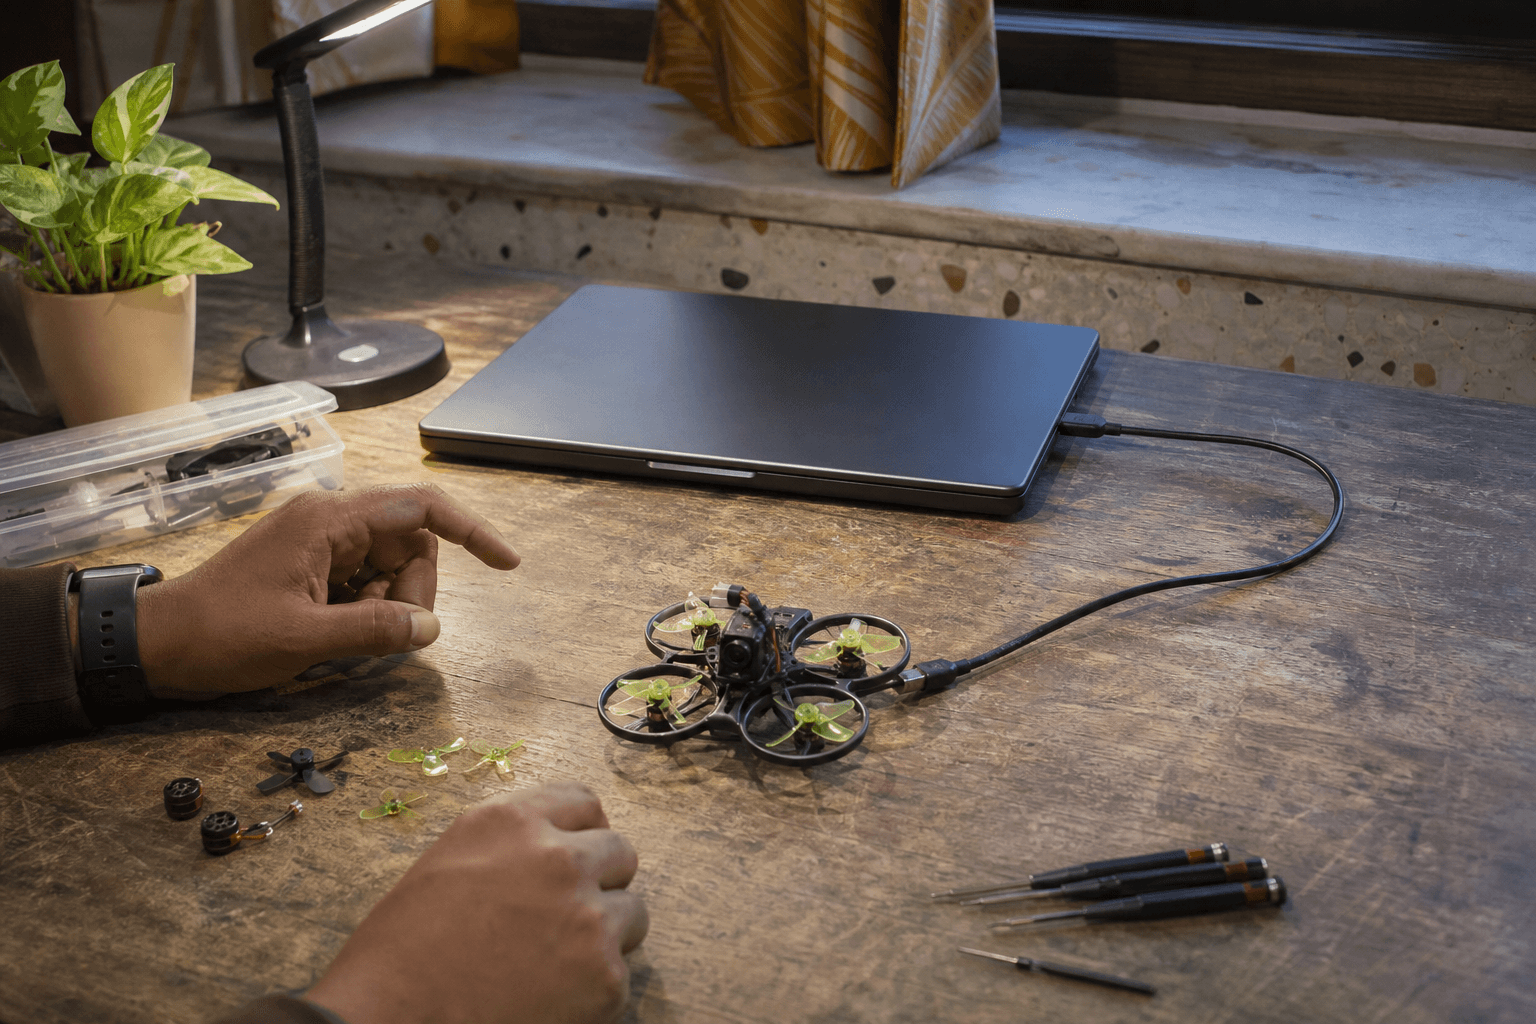
- Flash the FC target from the manufacturer's docs, then set motor direction and check props-off motor order in the Motors tab.
- 1S whoops need conservative filtering out of the box, start with defaults, then read tuning basics after ten packs, not before.
- Set up a turtle-mode switch. Whoops land inverted under furniture constantly.
- Bind ELRS per the ELRS setup checklist, matching bind phrase beats button-bind rituals.
First hover checklist
Props OFF: arm test, motor direction, failsafe check
Props ON, outdoors or big room:
- Hover at waist height, 30 seconds
- Land, feel motors, warm is fine, hot is not
- Check voltage sag: below 3.3V under throttle = tired pack or heavy build
- Trim camera angle before "fixing" anything in software
First ten flights matter more than the first tune, the first 10 flights guide has the full shake-down sequence.
India notes
- Order all consumables (props, packs, screws) domestically with the main order, see the whoop parts buyers guide for the two-bucket logic.
- Batteries ship surface-only within India; plan pack orders a week ahead of a build weekend per the LiPo shipping rules.
- A 65mm 1S whoop sits comfortably in the nano class of the DGCA rules, still fly it like a good neighbour in apartments and terraces.
Bench
Every part in this guide is stocked at the Bench, or open the 65mm race spec recipe in Grind Lab for the performance version of this build.
Discussion
Comments aren't open on this post yet. Share it with your build group, or start a thread on X.