
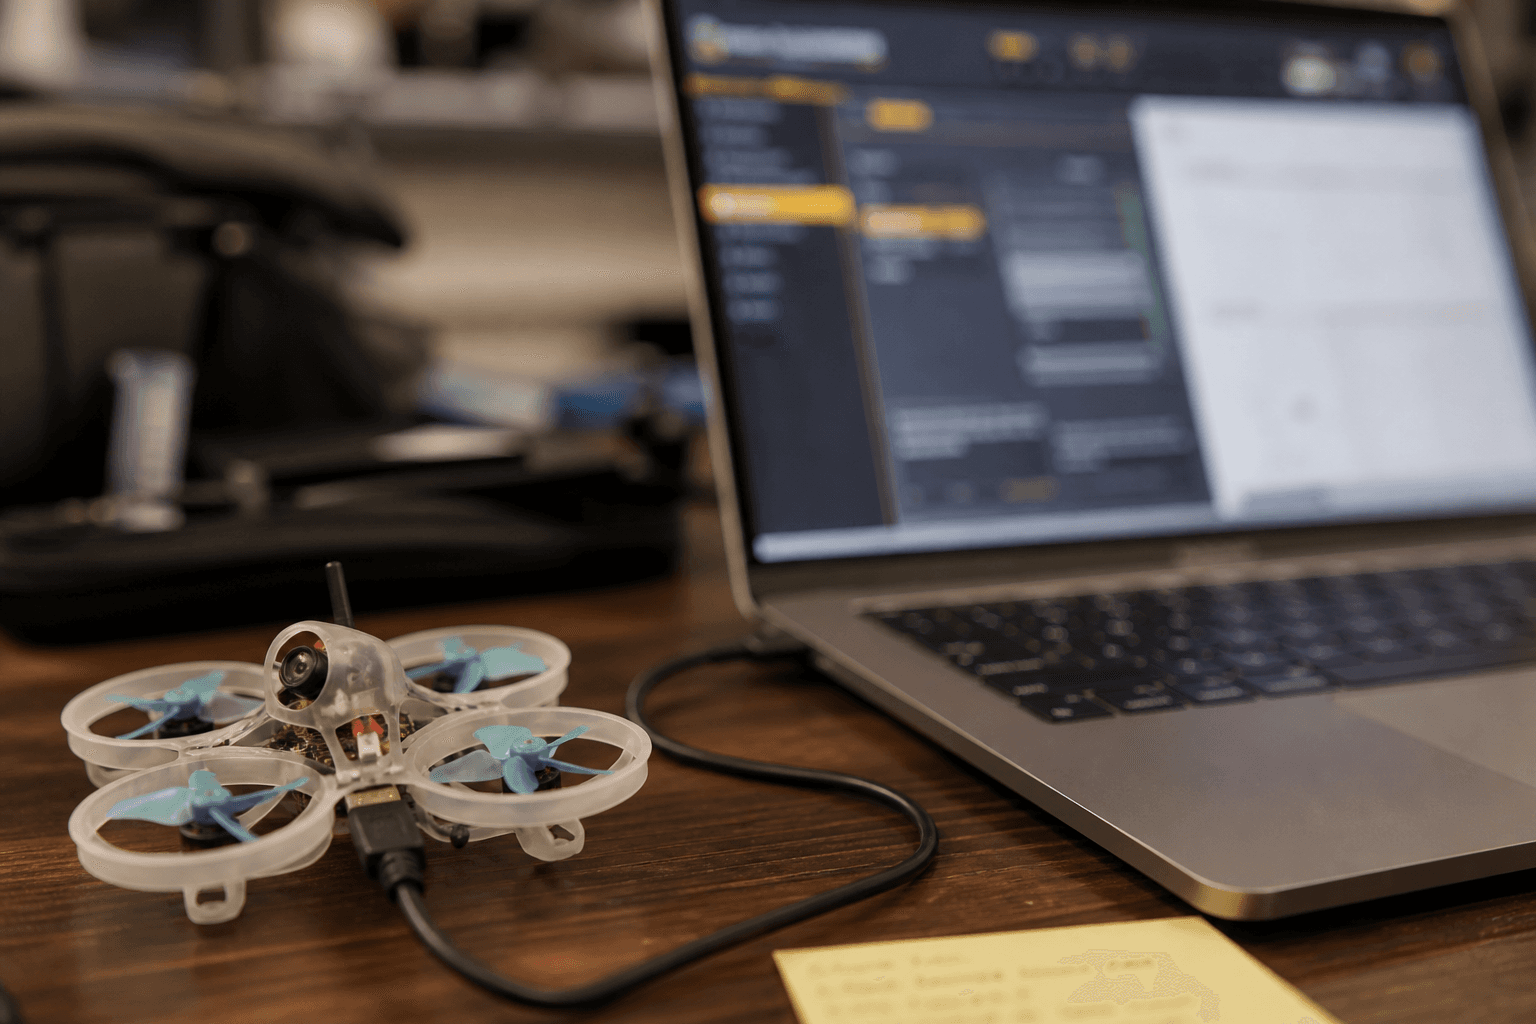
Betaflight setup for a tiny whoop: first-flight checklist

Desktop freestyle guides assume a 5-inch with USB on the bench and room to arm outdoors. A tiny whoop wants a shorter Betaflight path: bind radio, confirm failsafes, set one arm switch, and fly stock PIDs. This checklist is for first flight on a whoop AIO, not a Blackbox masterclass - for deeper filter and PID work see Betaflight tuning basics.
If you have not practiced sticks yet, do that first in the free online FPV simulator. Configurator time does not fix panic yaw.
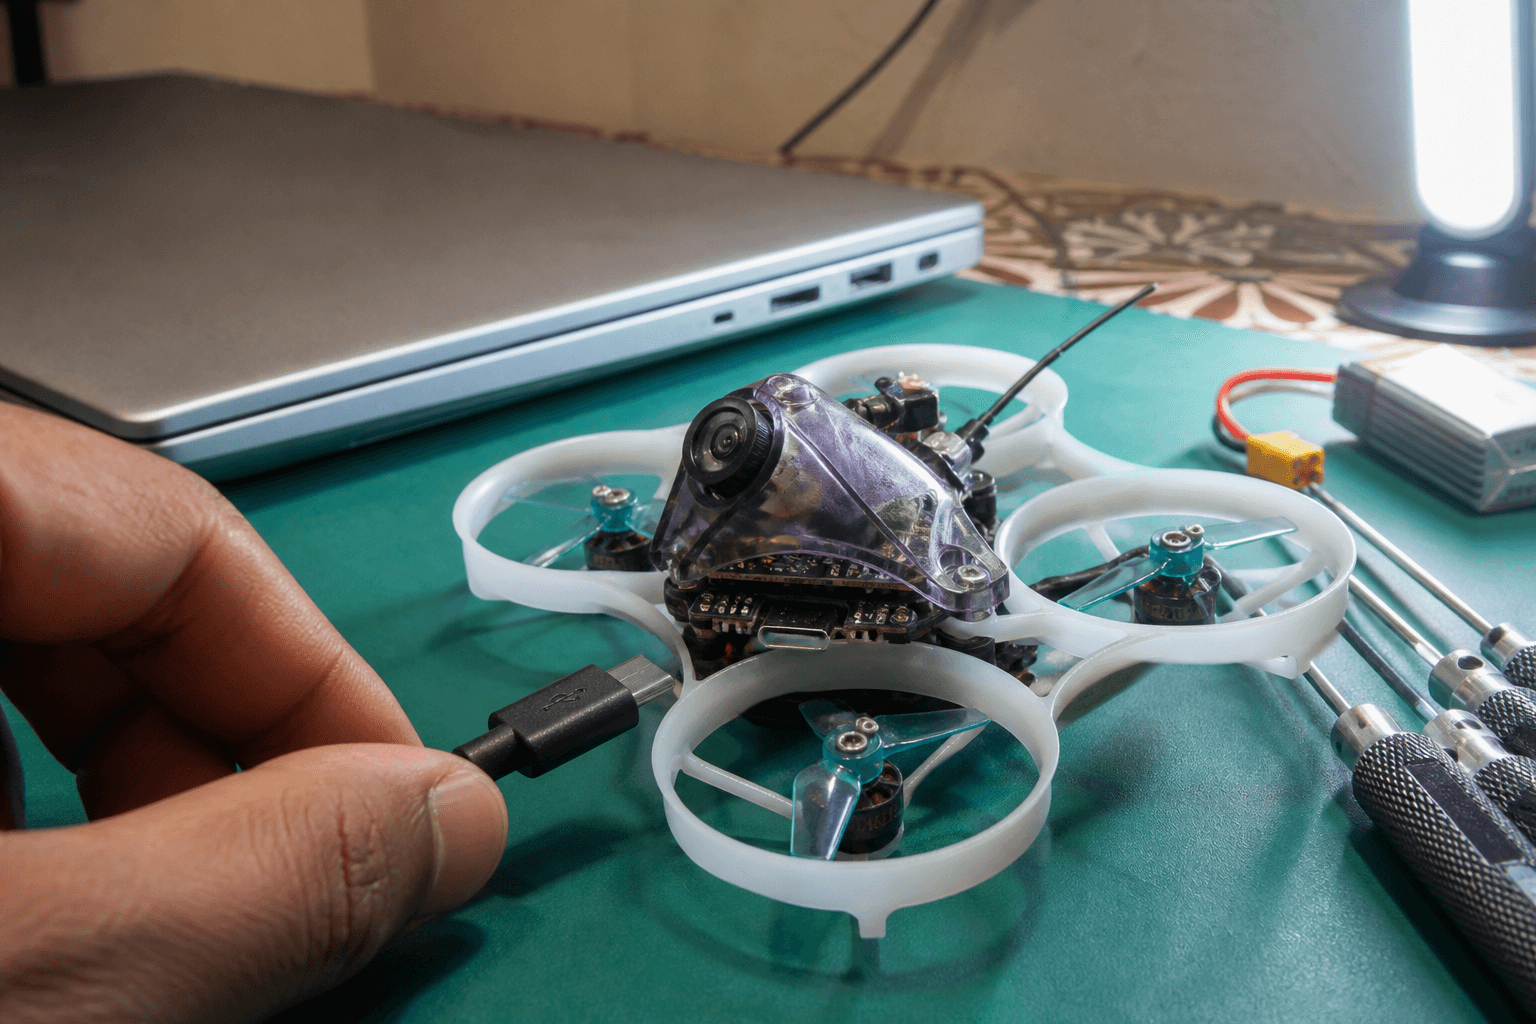
Before you plug USB
| Check | Why |
|---|---|
| Props off (or ducted props clear of fingers) | Accidental arm still hurts |
| Correct FC target / firmware already flashed by vendor | Whoop BNFs usually arrive ready |
| ELRS radio bound or bind button reachable | ELRS whoop receiver notes |
| 1S pack charged and connector matches (BT2.0 / PH2.0) | Connector guide |
Ports and receiver (5 minutes)
- Connect USB, open Betaflight Configurator, connect to the FC.
- Ports: UART for your ELRS RX is usually already set on BNFs. If you built from parts, enable Serial RX on the UART the receiver is soldered to.
- Receiver tab: protocol CRSF for ELRS. Move sticks - channels should move. If nothing moves, fix bind before anything else (ELRS setup checklist).
- Confirm Mode 2 mapping matches how you trained in the sim.
Modes that matter on day one
Keep it minimal:
ARM          → switch you will never bump by accident
ANGLE or HORIZON  → on for first packs (optional but kinder indoors)
BEEPER       → useful when the whoop vanishes under furniture
Skip GPS rescue, race modes, and fancy combinations until you have ten clean packs. Turtle mode can wait - enable it after you understand arming, not before.
OSD and warnings
Enable a small OSD set: voltage, flight mode, and craft name. Whoop packs sag hard; voltage on-screen beats guessing when the craft gets soft. Calibrate accelerometer on a flat table with props clear.
Rates: start stock, then soften if needed
Stock whoop rates are usually fine after sim practice. If the craft feels twitchy:
- Lower RC Rate slightly on roll/pitch
- Add a little Expo so center stick is calmer for indoor lines
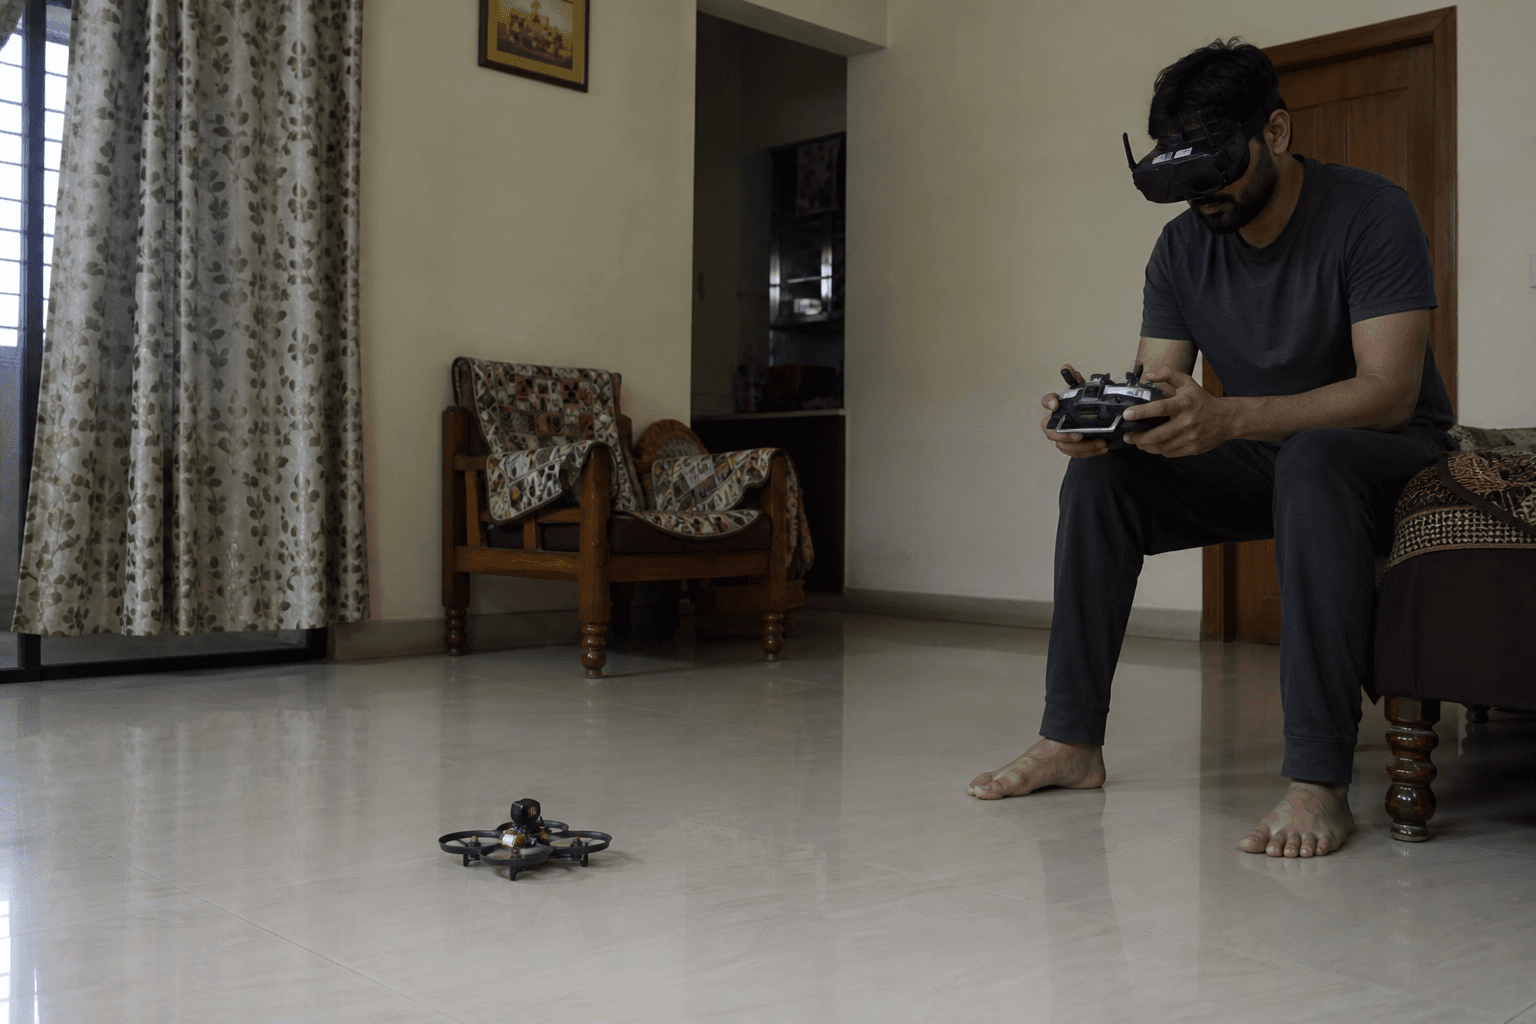
Do not chase freestyle rates on day one. Your goal is hover and gentle figure-eights in a safe room or terrace window that actually allows flying - see apartments and terraces in India.
First pack procedure
- Props on, duct intact, canopy secured.
- Arm in a clear space, throttle up slowly to hover.
- Land, disarm, check motor temps with a finger (warm is ok; painful is not).
- Fly two more short packs before you change PIDs.
If something vibrates or yaws on its own, stop and inspect hardware - do not "tune through" a bent prop. The first 10 flights after a new build guide still applies at whoop scale.
Bench
Need a BNF, radio, or spare 1S packs after config? The Bench and Grind Lab keep whoop parts compatible. Keep practicing in the browser simulator between packs when weather or society rules keep you grounded.
Discussion
Comments aren't open on this post yet. Share it with your build group, or start a thread on X.