
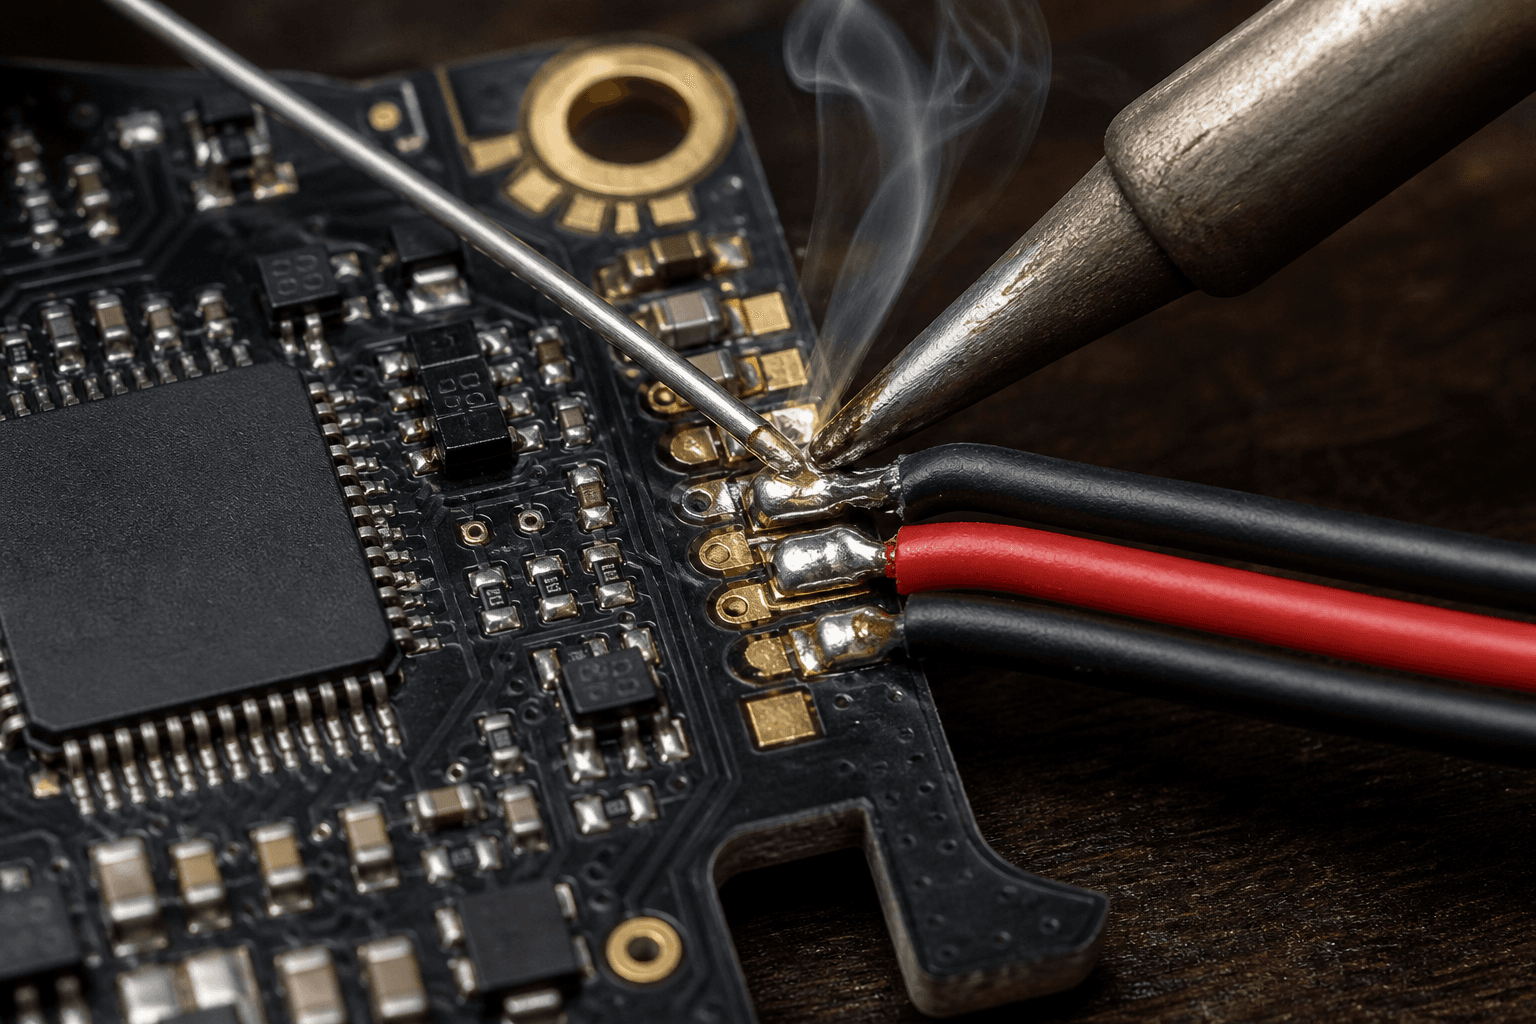
How to solder FPV drone motors

Motor solder joints fail more builds than “bad PID.” Cold blobs and lifted pads look like random brownouts until you inspect the AIO under light. Technique first; ego second.
FPV Grind’s rule: if you are new to soldering, practice on scrap wire before you touch a whoop AIO. Pad care deep-dive: soldering ESCs without lifting traces.
What you need
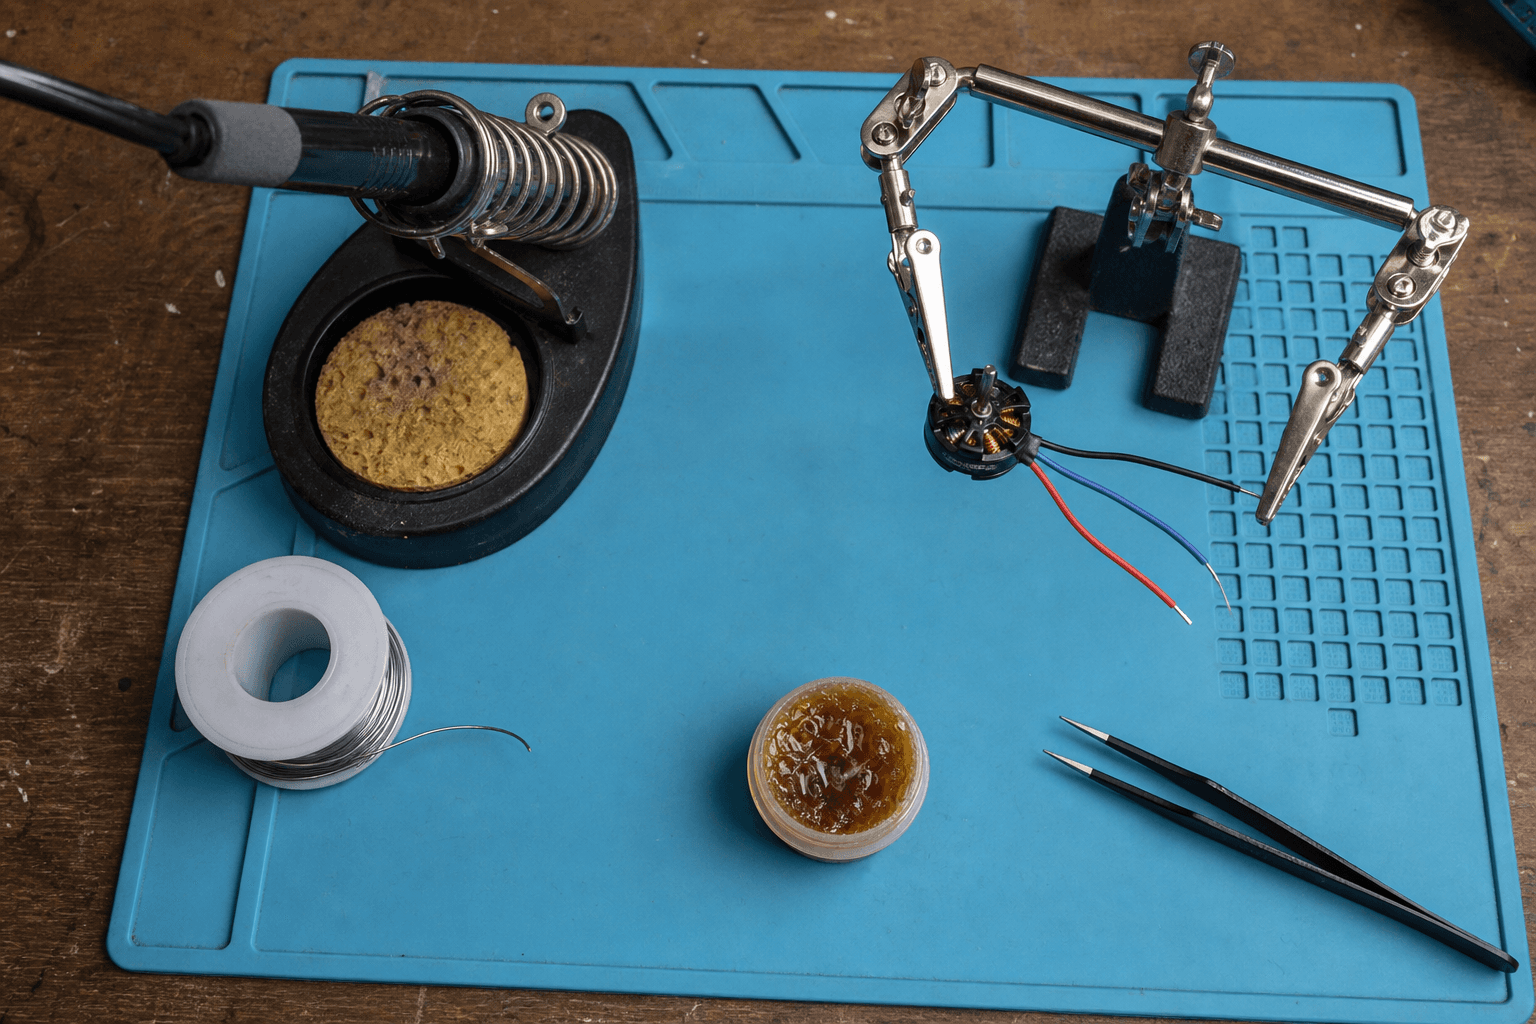
| Tool | Why |
|---|---|
| Temperature-controlled iron | Hot enough to flow quick; lingering cold irons lift pads |
| Quality solder you can melt | Lead or lead-free that actually flows for you |
| Flux (as needed) | Helps flow without scrubbing pads to death |
| Tweezers / helping hands | Tiny whoop wires move |
| Braid / pump | Undo bridges without scraping copper |
| Multimeter | Continuity and short checks before power |
| Props off | Non-negotiable while testing motors |
Heat philosophy (whoop AIO pads)
Tiny pads hate long dwell times. Get the joint done in a short, hot reflow - not a long, lukewarm mash. If the iron is too cool, you will press harder and longer, which is how pads leave the board.
Practice loop on scrap:
□ Tin iron tip
□ Tin wire end
□ Tin pad (brief)
□ Join and reflow - shiny cone, not dull blob
□ Inspect under phone flashlight
Steps: motor to AIO / ESC
- Strip and tin each motor wire end - neat tin, no huge blob.
- Tin the pad briefly until solder wets the pad.
- Bring wire to pad and reflow - shiny fillet, wire seated, no bridge to neighbors.
- Keep joints short; long floppy leads catch props and crash snags.
- Add strain relief - hot glue, silicone, or frame routing so a crash yank hits the wire, not the pad.
- Check for solder balls and bridges with eyes + multimeter before applying power.
- Smoke-test with props off: spin motors in Configurator, confirm directions.
Full whoop assembly context: how to build a tiny whoop.
Direction and 3-wire motors
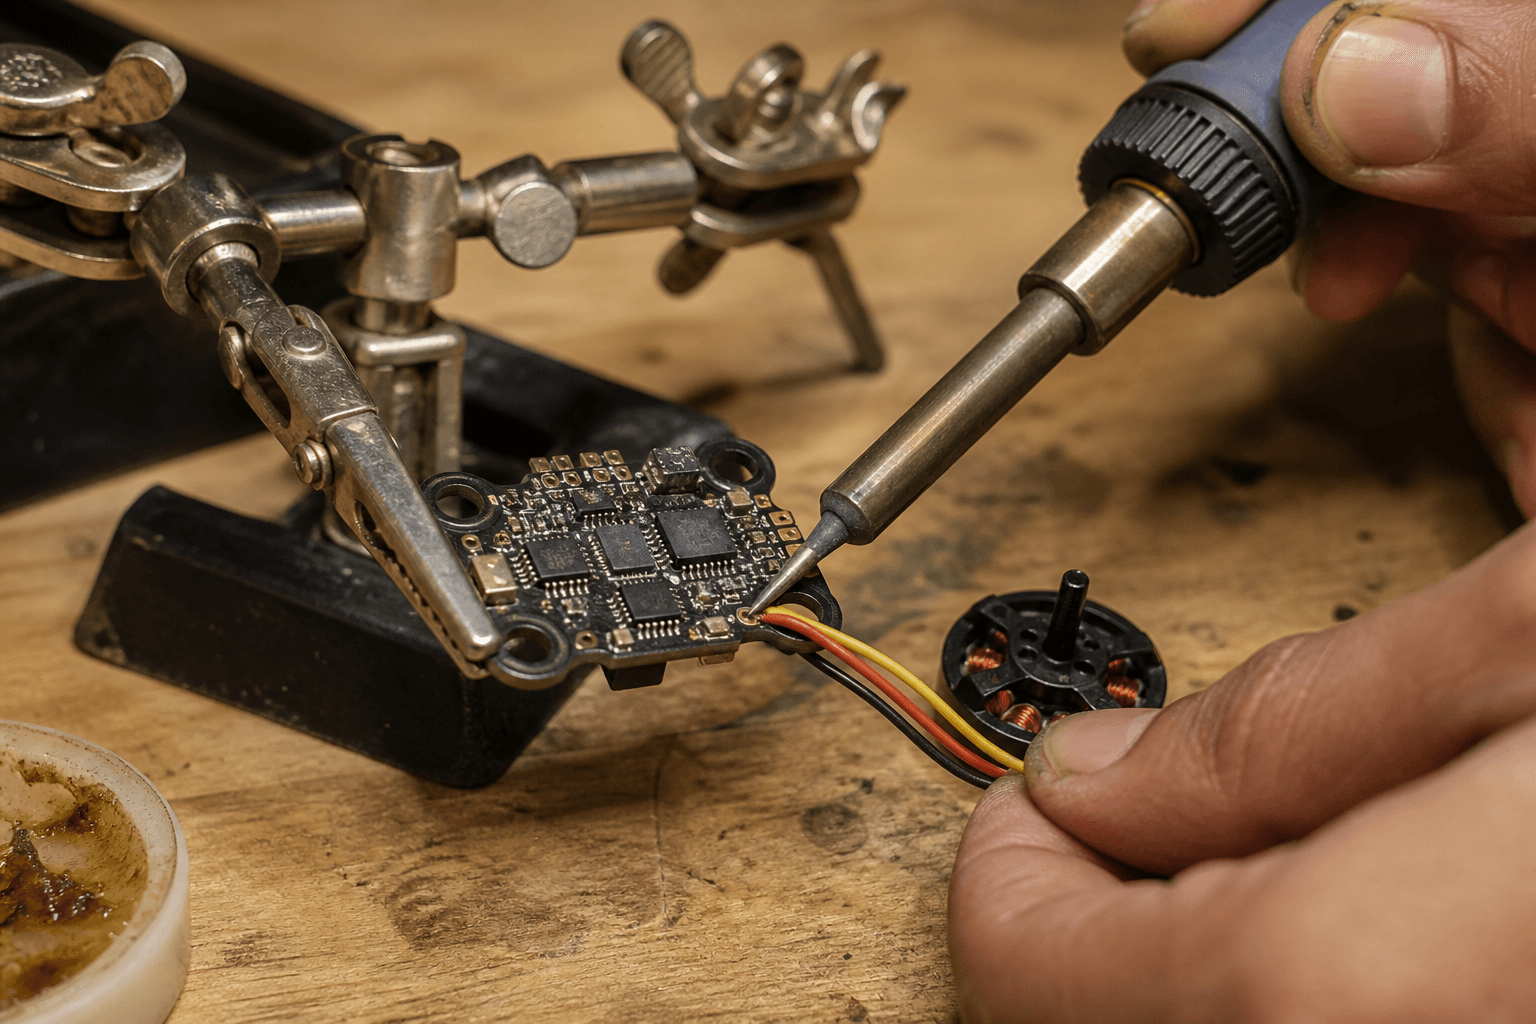
Whoop motors are typically 3-wire BLDC. If a motor spins the wrong way:
- Swap any two of the three wires, or
- Reverse that motor in Betaflight
Confirm with props off first. Wrong direction with props on is how you invent a new dance move into the wall.
| Symptom | Likely cause | Action |
|---|---|---|
| One motor silent | Cold joint / broken strand | Reflow or rewire |
| Sparks / smoke on plug-in | Solder bridge / short | Unplug; inspect pads |
| Motor grinds | Bearing / bent shaft | Replace motor - do not “tune” |
| Pad lifted | Overheat / peel | Stop; repair pad or replace AIO |
Failure modes beginners hit
| Mistake | Result |
|---|---|
| Cold iron, long press | Lifted pad |
| No strain relief | Joint pops on first crash |
| Bridge between pads | Short, magic smoke |
| Props on during motor test | Finger / furniture tax |
| Skipping continuity check | First pack is the continuity check |
Crash triage if a joint already failed in the field: how to fix a crashed whoop.
India / bench notes
- Work on a clear desk with good light; phone flashlight helps more than pride.
- Summer humidity and sweaty hands make tiny work harder - wipe, then solder.
- Spare motors and a known-good iron tip are cheaper than a rushed AIO replacement when stock is thin.
- Buy motors that match your frame’s mounting and wire length when possible - the Bench whoop motors and AIOs.
Safety checklist before first armed hover
□ Props off during motor direction test
□ No bridges under magnification / flashlight
□ Strain relief in place
□ Screws tight on motor bells / mounts
□ Then props on, clear room, short hover
□ Disarm habit ready - [how to arm](/blog/how-to-arm-fpv-drone)
Bottom line
Tin pad, tin wire, short hot reflow, strain relief, meter check, props off for direction. Shiny cones beat heroic PID stories.
Bench
Motors and whoop AIOs: the Bench. Build recipes: Grind Lab. Stick practice while the iron cools: /sim.
Discussion
Comments aren't open on this post yet. Share it with your build group, or start a thread on X.