
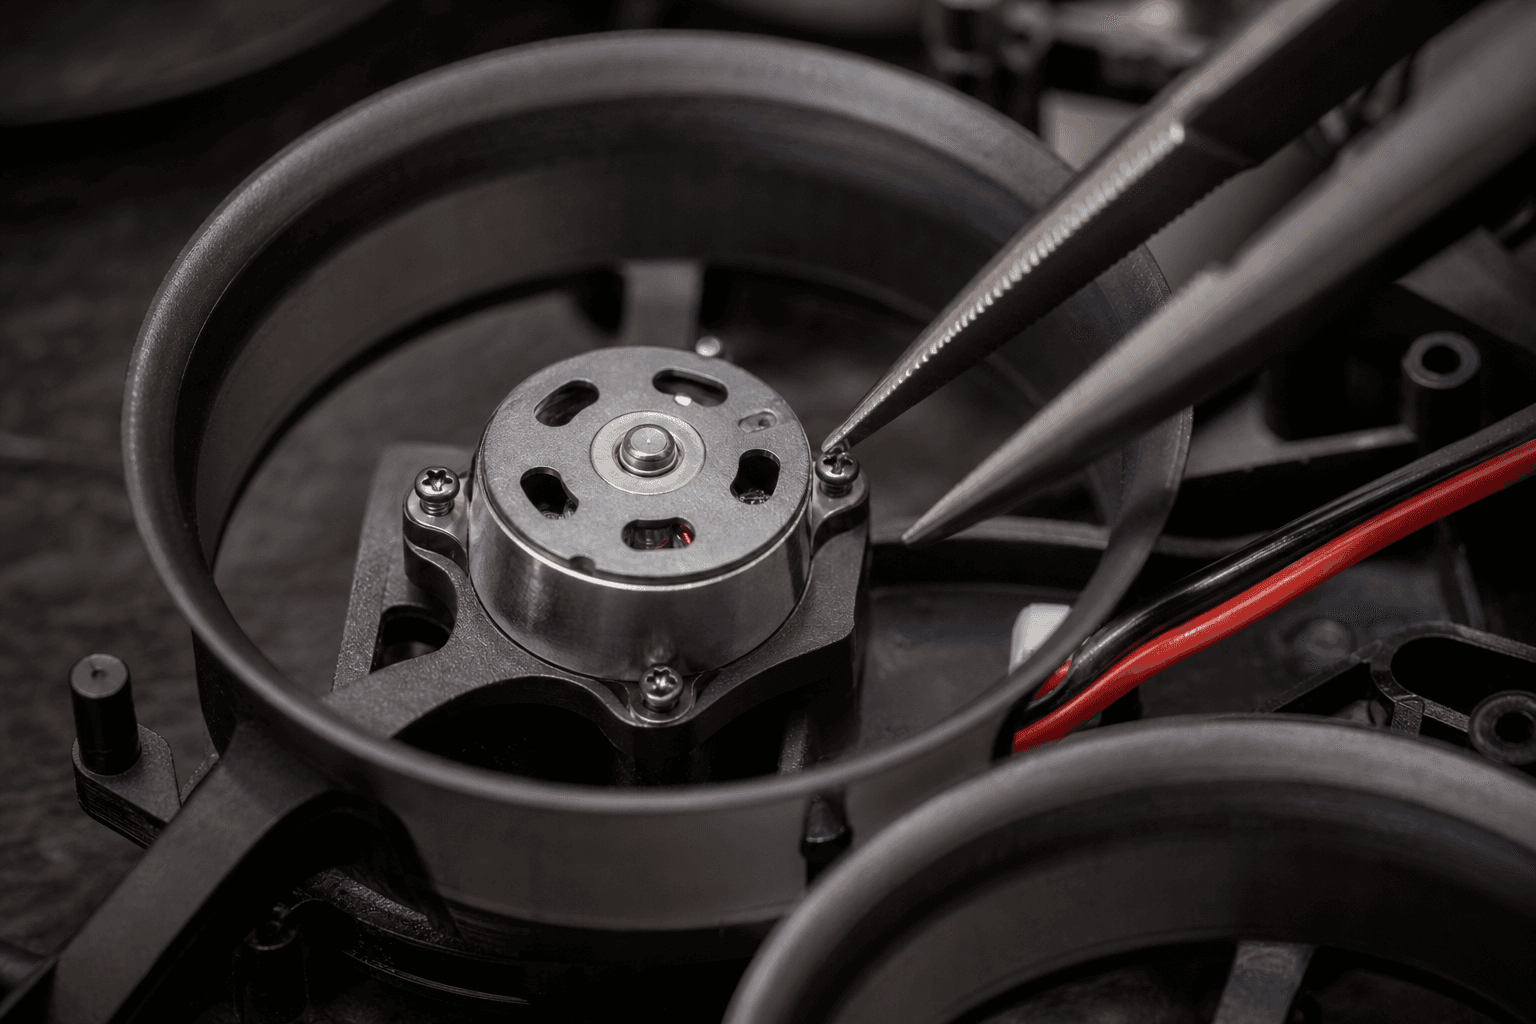

Loose motor screws sound like “bad tune.” Bent shafts feel like “need filters.” Mount hardware correctly before you touch PID sliders. Whoop motors are tiny; soft plastic frames strip easily - even torque and correct screw length matter more than brand lore.
Size context: 0802 vs 1102 whoop motors. Soldering next: how to solder FPV drone motors.
Mount checklist
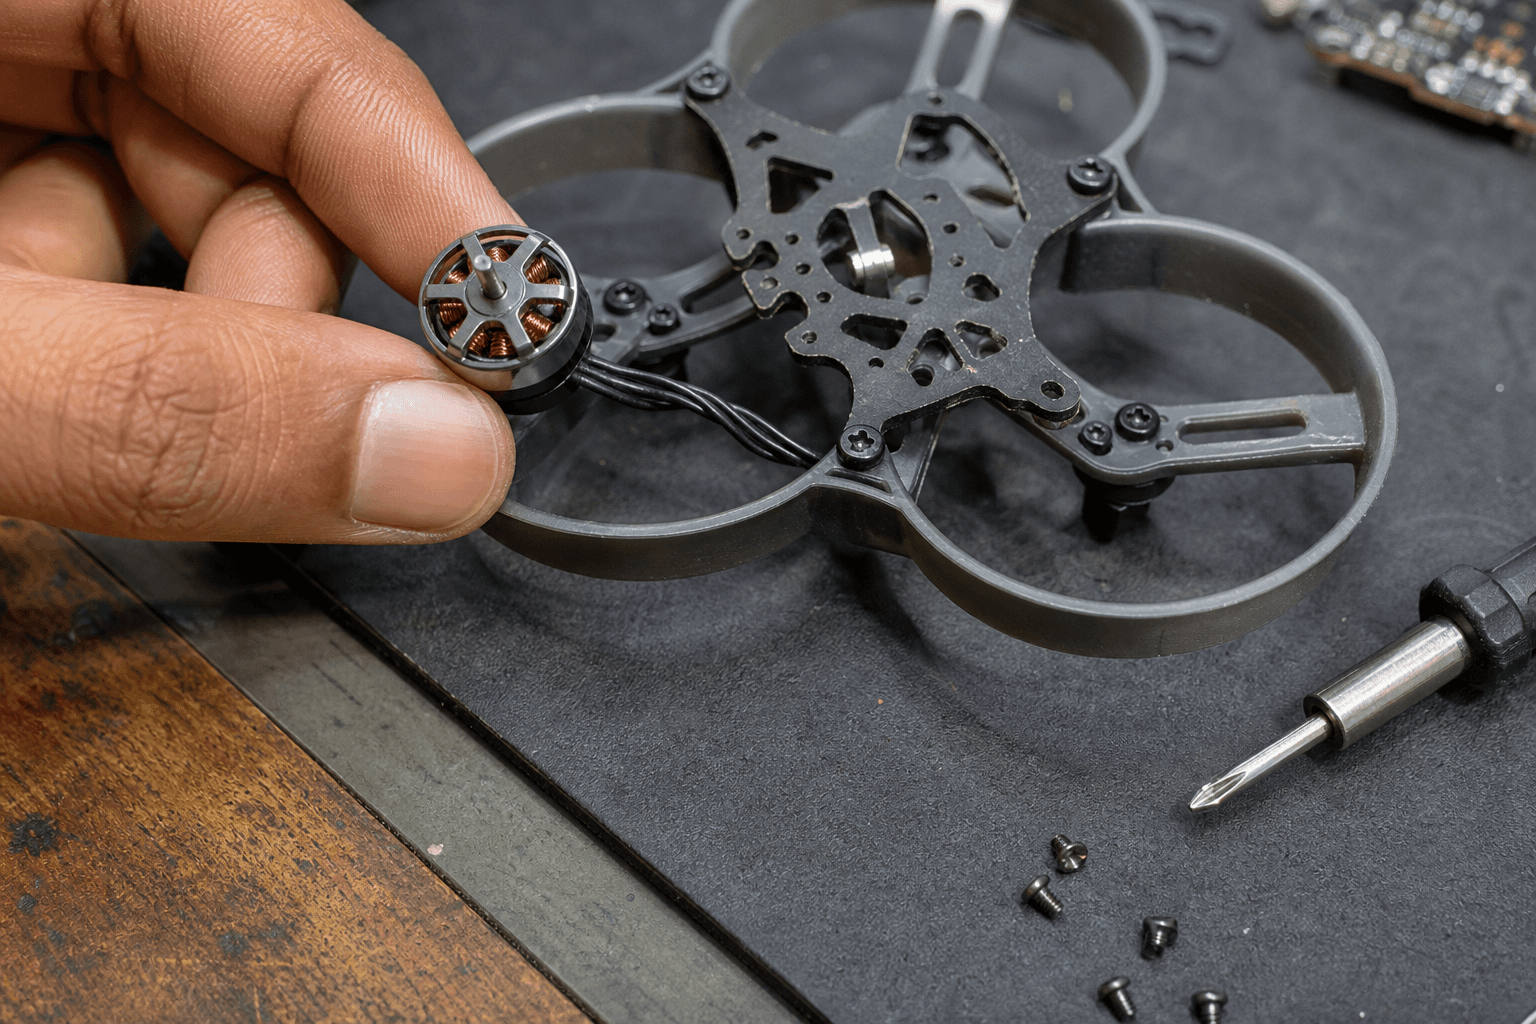
1. Match motor class to frame holes (0802 / 1102 / 1103 - do not force)
2. Pick screw length: engages inserts, does not hit windings
3. Props off for all install and spin tests
4. Seat motor flat - no cocked bell against duct
5. Even torque in a cross pattern - snug, not hero strength
6. Route wires with strain relief before soldering
7. Confirm spin direction in Betaflight Motor tab
8. Threadlock only where your hardware expects it (tiny dots)| Check | Pass | Fail looks like |
|---|---|---|
| Screw length | Threads hold; bell spins free | Screws bottom into windings; grinding |
| Flat mount | Equal gap in duct | Rub marks on one side |
| Torque | No stripped plastic | Hole oval, screw spins forever |
| Wires | Slack for flex; not pinched | Taut wire snaps on first crash |
| Direction | Props blow air correctly | Craft flips in on arm |
Screw length and threadlock
Too short → motors vibrate loose after two packs. Too long → screws kiss copper and the motor dies hot. If you change frames, re-measure - Meteor-class ducts and naked whoop plates are not the same stack height.
Threadlock: a tiny amount on metal inserts if the manufacturer calls for it. Flooding lock into a plastic boss makes future motor swaps miserable. After crashes, re-check screws before you blame props - vibration guide.
Wire routing before solder
Routing habits:
□ Decide CW / CCW motor positions first
□ Leave service loop near the AIO pads
□ Keep wires off prop arcs and duct lips
□ Tin pads and wires properly - cold joints = desync myths
□ Strain-relief with a dab of glue only after flight-proven routing
Wrong motor map shows up as “it arms and flips.” Fix in Betaflight motor direction / prop direction before you remount everything. Power-on safety while testing: power on safely with props off.
After a crash
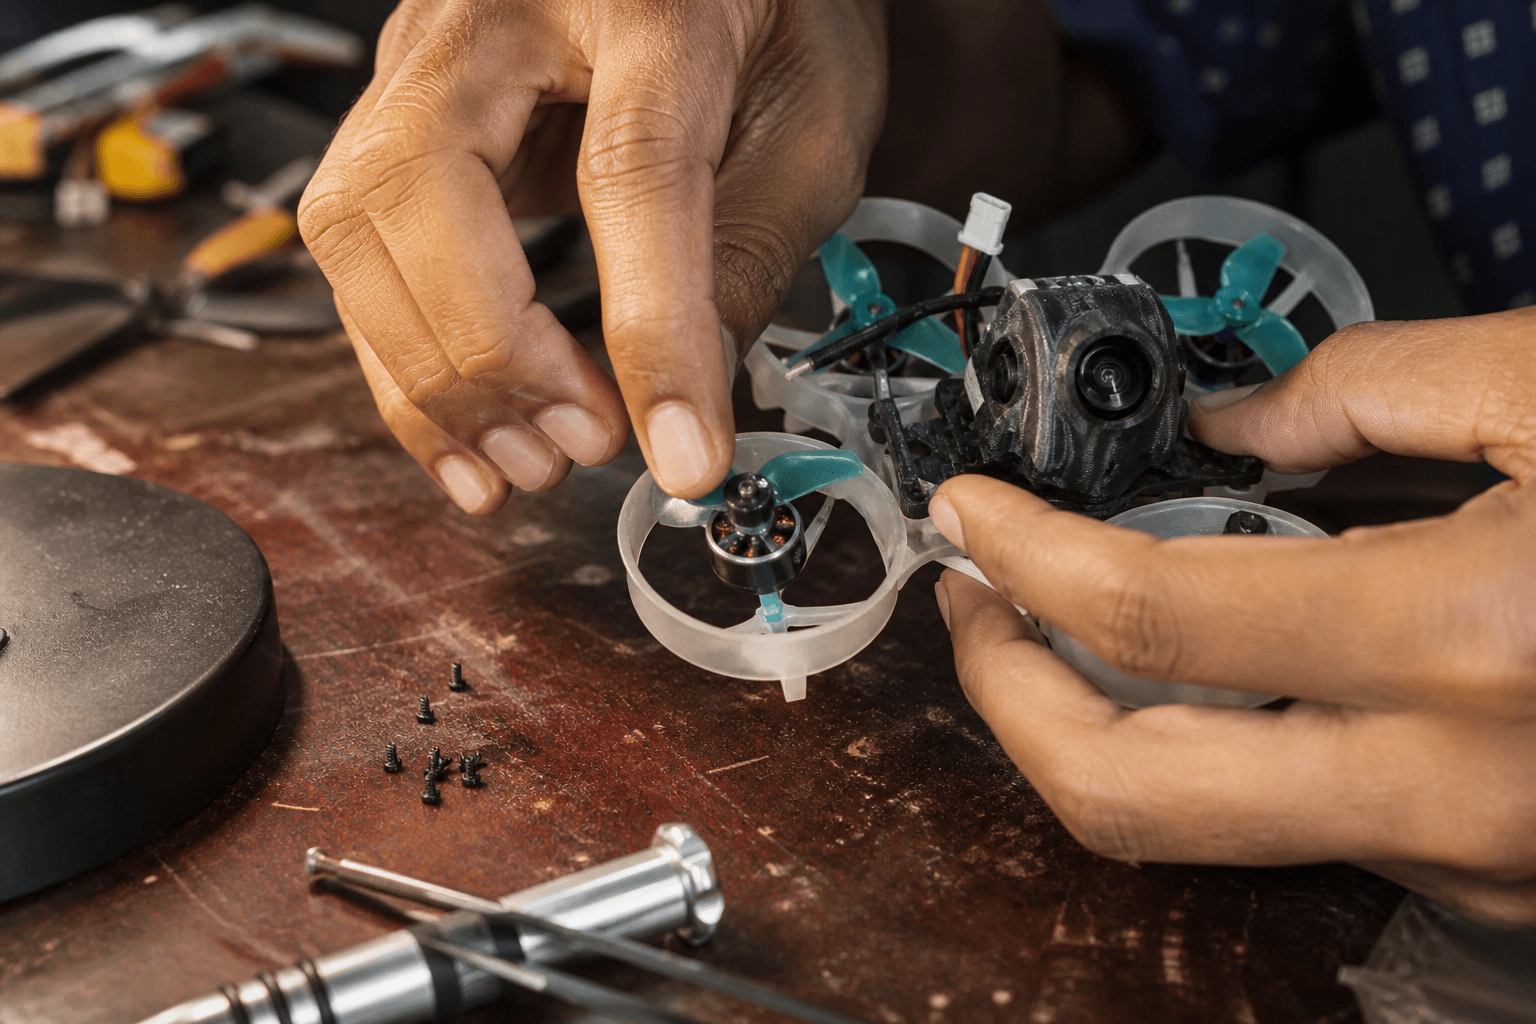
Hard hits loosen screws and bend shafts.
| Symptom | Action |
|---|---|
| New vibration | Tighten motors; replace chipped props |
| Gritty spin by hand | Clean - post-crash clean - or replace |
| Bell rubs duct | Bent shaft or cocked mount → replace motor |
| One motor silent | Solder joint / ESC - not always the motor |
Replacement walkthrough: how to replace a whoop motor.
Direction and props
Mounting is not done until directions are verified:
- Motor tab in Betaflight - props off.
- Spin each motor; note direction.
- Fit props with matching rotation.
- Short hover pack only.
Ducted frames hide tip rub. After mount, shine a light through the duct while spinning by hand.
Failure modes
| Mistake | Why it hurts |
|---|---|
| Mixing 0802 into 1102 holes | Cocked motors, stripped frames |
| Hero torque on plastic | Ruined frame bosses |
| Soldering before dry-fit routing | Rework every crash |
| Flying with one loose screw | “Mystery vibe” for weeks |
| Skipping Motor tab | Instant flip on arm |
India bench tips
Humidity softens some adhesives; re-check canopy and motor screws after monsoon storage. Carry a correct driver bit in the field bag - wrong bits cam out and destroy heads. Domestic motor stock for common whoop classes lives on the Bench; match KV and cell count in Grind Lab before ordering a mixed set.
Practice stick discipline while waiting for parts: /sim.
Bench
Motors and ducted frames: the Bench. SE0802 / EX1103-class and Meteor-style frames are the usual whoop path - verify hole pattern before you assume screws transfer.
Discussion
Comments aren't open on this post yet. Share it with your build group, or start a thread on X.