
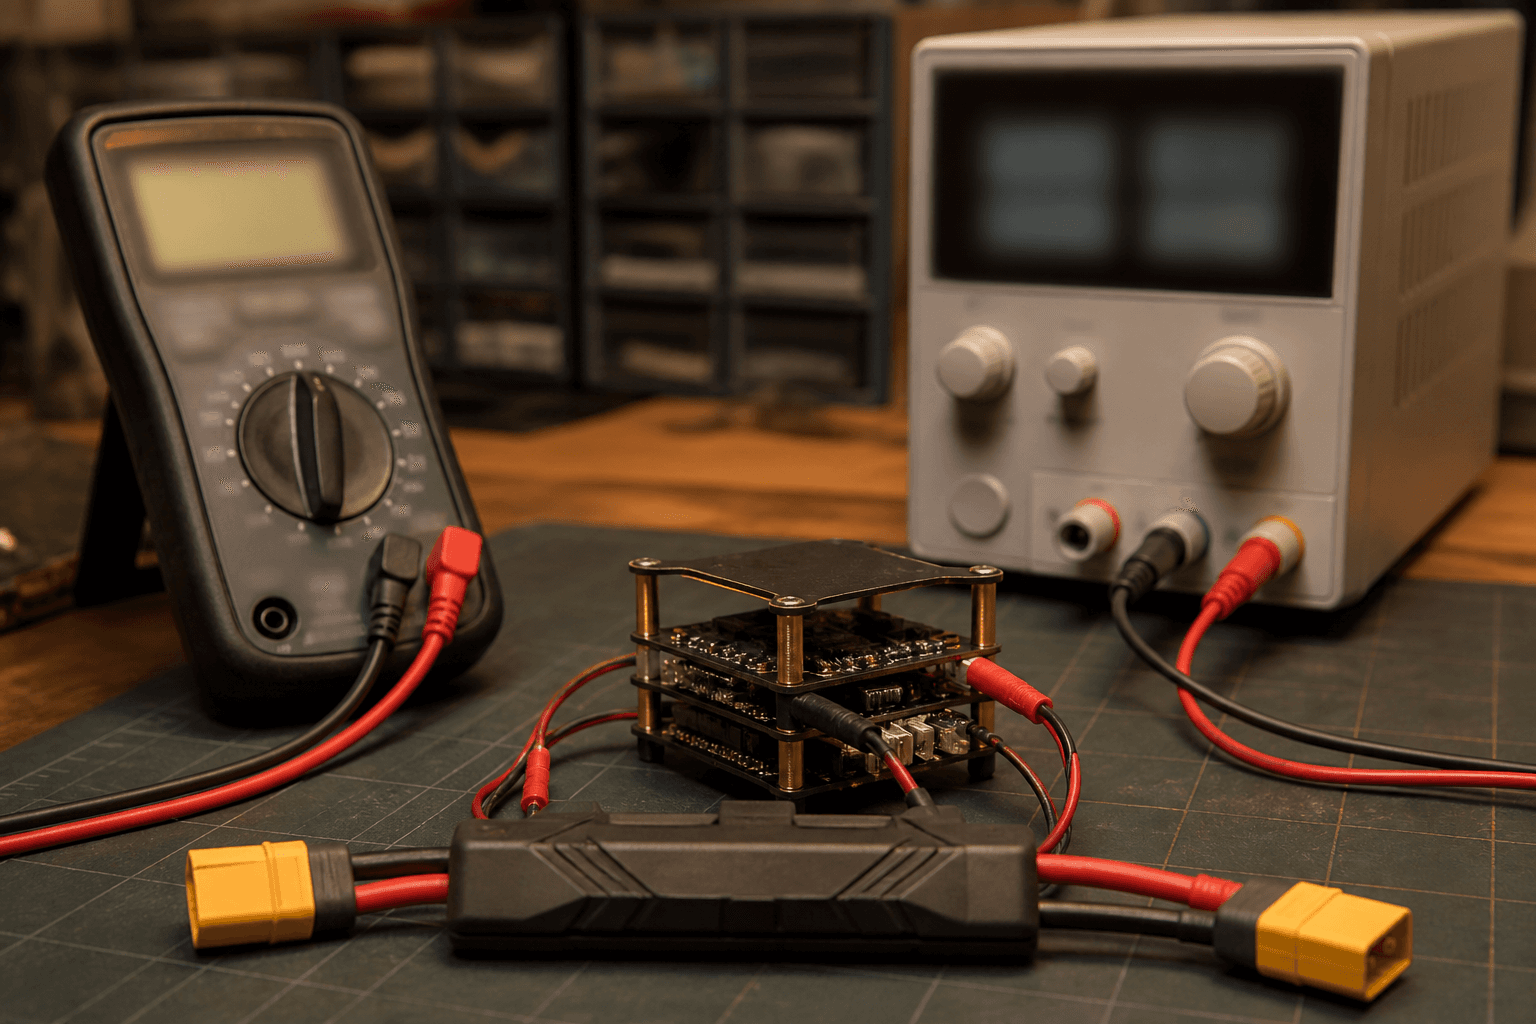
Smoke stopper vs multimeter vs lab supply

First arm is where builds earn trust. Three tools catch different failures, you do not need all three on day one, but know what each does. Props-off bench discipline saves more quads than any single gadget; tools just make failures visible before spin-up.
Smoke stopper (bulb or current limiter)
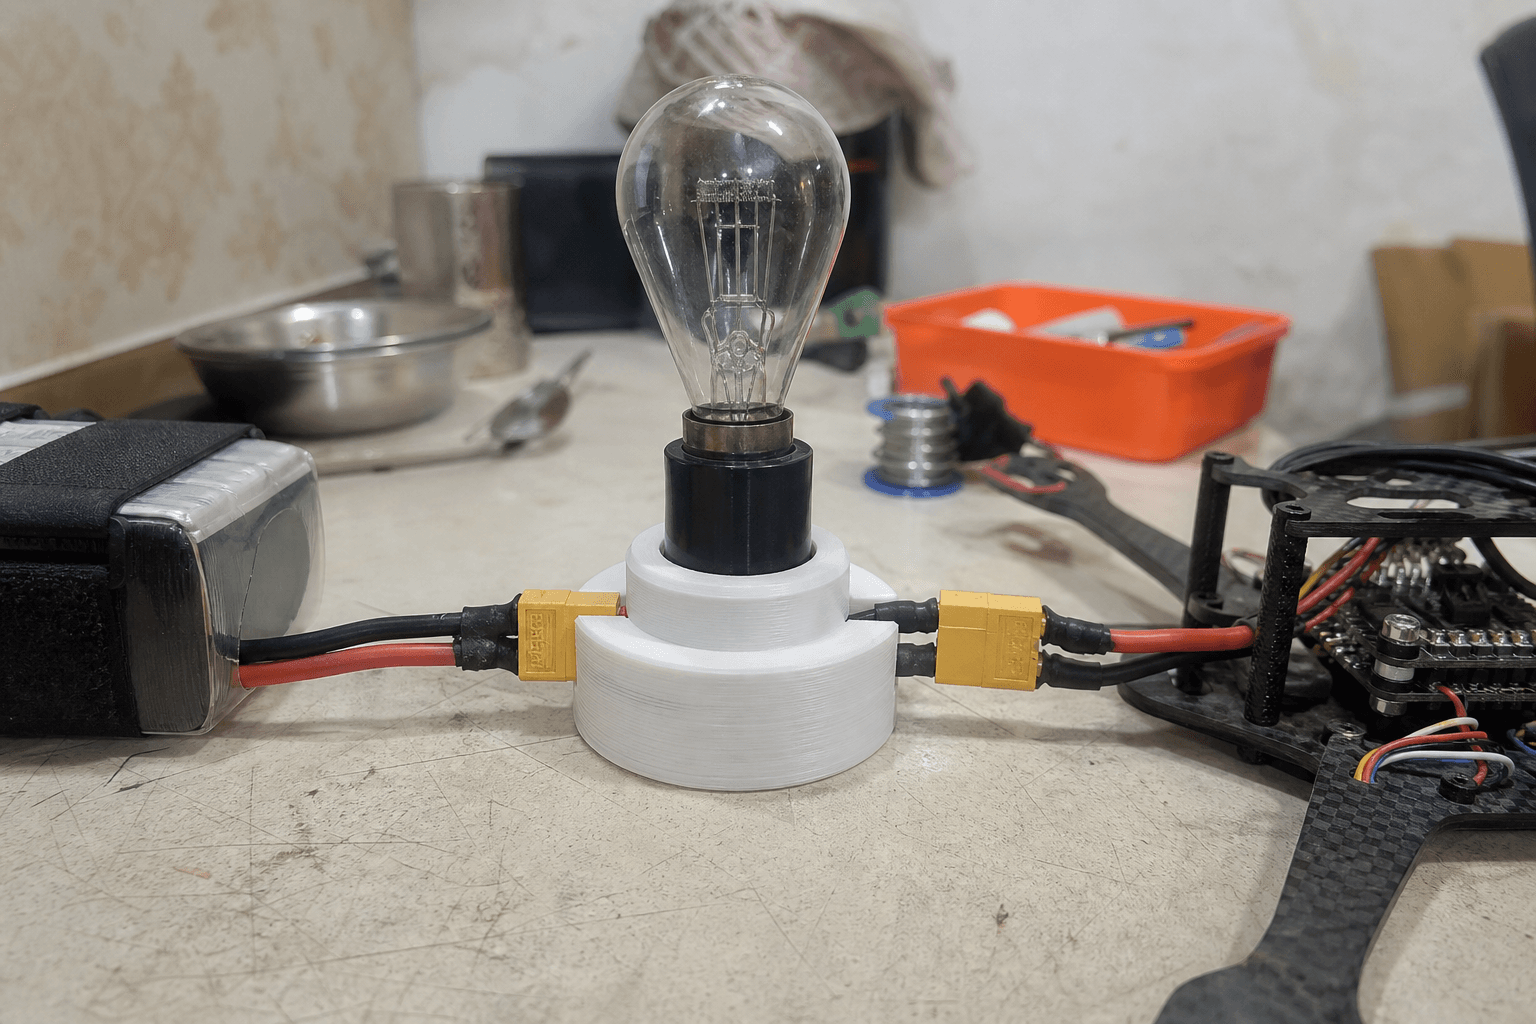
Catches: dead shorts, wrong polarity, bridged ESC, toasted FET.
How: limits current so a short glows the bulb instead of vaporizing copper.
Limitation: does not prove motors spin correctly, only that you are not dead short.
Types
| Type | Behaviour |
|---|---|
| Incandescent bulb inline | Cheap; glows bright on short |
| Dedicated current limiter | Settable; reusable |
| DIY resistor limiter | Works if sized correctly, know your math |
Smoke stopper workflow
First power with smoke stopper:
1. Props off, always
2. Insert stopper between pack and quad
3. Plug pack, bulb should NOT glow bright at idle
4. Arm in configurator, spin motors one at a time
5. Bright bulb = stop, find short before full pack
Common mistake: Skipping smoke stopper because "I checked continuity once." Bridges happen when you move wires closing the frame.
Bulb dim glow on first arm can be inrush, learn your stopper's normal behaviour. Bright sustained glow is stop-now territory.
Multimeter
Catches: continuity mistakes, battery voltage, broken traces after crashes.
How: beep test motor phases, measure pack voltage, check vtx continuity.
Limitation: does not load the system like flight current.
Meter checks worth learning
| Test | What good looks like |
|---|---|
| Pack voltage | Within expected cell range |
| Phase to phase | No short to frame |
| Continuity after crash | No new beeps where silence expected |
| Regulator output | 5 V / 3.3 V per FC docs (powered carefully) |
Use meter before first solder session to confirm battery health and after crashes before re-arm. See connector guide for inspecting power joints visually.
What meters miss
Marginal solder joints that beep fine at milliamps can fail at 100 A punch-out. Meters complement, not replace, smoke stopper and careful visual inspection.
Bench lab supply (adjustable)
Catches: slow current ramp, marginal shorts, current draw at idle spin-up.
How: set voltage to a fully charged pack level, current limit conservative, arm without props.
Limitation: cost and bench clutter; still not a substitute for LiPo safety.
Supply settings (starting point)
- Voltage: 16.8 V for a fully charged 4S bench test (14.8 V nominal if you prefer mid-pack simulation; adjust per cell count)
- Current limit: 1–2 A first touch, raise only when confident
- Props off: repeat until boring
Watch current readout as each motor spins. One motor drawing far more than siblings at same command suggests shorted windings or ESC fault.
When a supply pays off
- Multiple builds per year
- Repair bench after lifted pads
- Testing unknown used ESCs
For one first build, smoke stopper plus meter is enough.
Practical first-build stack
Minimum: smoke stopper + multimeter
Nice: limited bench supply
Always: props off until motor direction verified
See first 10 flights for field progression after bench checks pass.
Used gear and second-hand stacks
Buying a used quad or ESC? Meter and smoke stopper are non-negotiable before first arm. Previous owner crashes hide bridged pads and damaged FETs. A supply with current limit helps test unknown ESCs without sacrificing a good LiPo.
Combined bench session
New build power-on sequence:
1. Visual, solder bridges, wire pinch
2. Meter, pack voltage, no phase short to frame
3. Smoke stopper, plug in, no bright bulb
4. USB, configurator, motor direction
5. (Optional) Supply, current at spin-up
6. Props on, only after direction confirmed
7. Short hover, knee height, listen
India notes
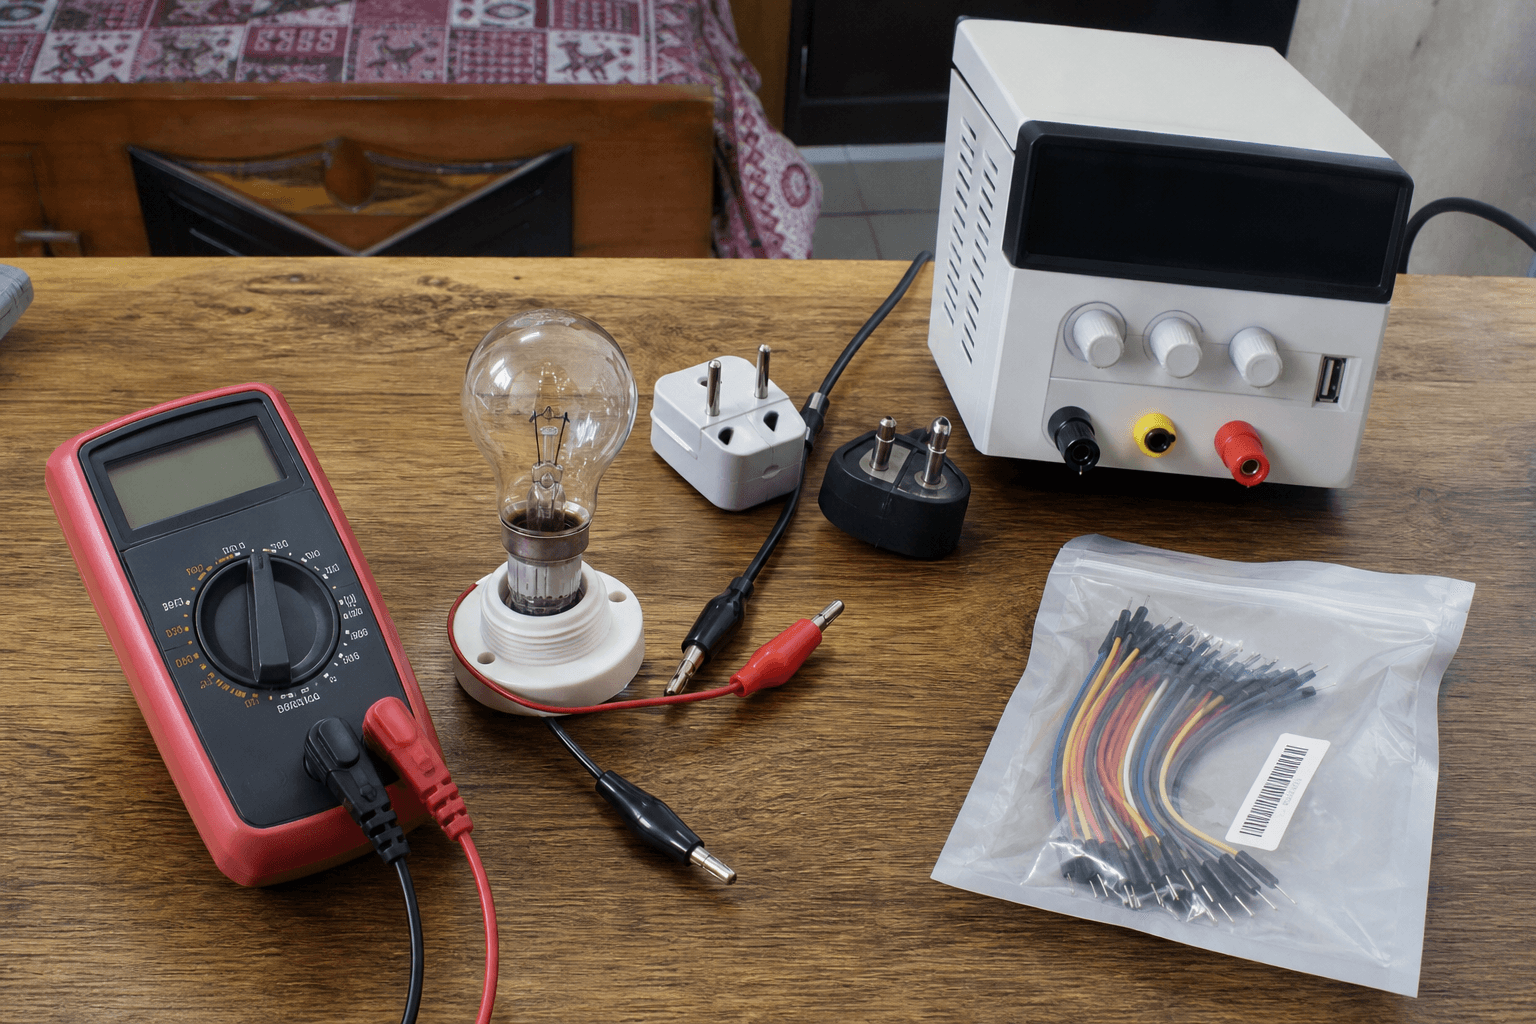
Lab supplies and meters are available domestically, factor into budget builds. Cheap meters work for continuity; splurge on leads that do not flake. Smoke stoppers can be DIY, community diagrams abound; a bulb and XT60 are enough for first arm.
Summer garage benches hit 40 °C+, heat stress on components during first arm is real. Let ESCs cool between tests.
Teaching someone their first arm
If a friend watches your first power-on, narrate each step, props off, stopper in, meter already done. Social pressure to skip steps kills quads. Make bench ritual boring and public.
After a successful bench arm
Log date and what you checked. When something fails flight three, you know whether bench protocol was skipped or a new fault appeared. Builds earn trust through repeatable ritual, not one lucky arm. Keep the smoke stopper in the bag for field-first-arm after major repairs too.
When to stop bench testing
- Bulb glows bright on plug, find short, do not arm harder
- Motor direction wrong on two motors, fix wiring, do not add props
- Electrical smell at any step, power down, inspect ESC
- "Just one quick arm with props to test", no
Bench patience beats field smoke.
Field repair smoke stopper
Major crash repair at the field is not a substitute for bench ritual, but a smoke stopper in the field kit saves a re-soldered ESC from becoming a LiPo fire. After replacing a pigtail or ESC, props off, stopper in, arm once before the full pack goes direct.
If the bulb glows at the field, stop. Do not bypass the stopper because friends are waiting. Pack the quad, finish diagnosis at home with meter and light.
Tool maintenance between builds
Meter probes oxidize; bulb stoppers get intermittent from heat cycles. Off-season: replace frayed leads, clean XT60 on the stopper pigtail, verify bulb continuity. A lab supply benefits from annual fuse and cable inspection if you clamp to car batteries often.
Label which stopper is "high current tested" vs DIY unknown, mixing them between 6S freestyle and whoop builds causes false confidence.
USB-first config before main pack
Configurator USB power is not a substitute for smoke stopper, but it is how you set motor direction without arming the ESC bus. Sequence matters: USB for direction and receiver tab, then disconnect USB, then main pack through stopper for spin-up. Skipping USB and arming on pack is how pilots spin motors wrong with props on.
Document motor order in your build notes. "Motor 4 reversed" on tape beats guessing after three months on the shelf.
Bench
Bench supplies and Propulsion / 5" Prop spares live in the Bench alongside first-build kits.
Discussion
Comments aren't open on this post yet. Share it with your build group, or start a thread on X.