
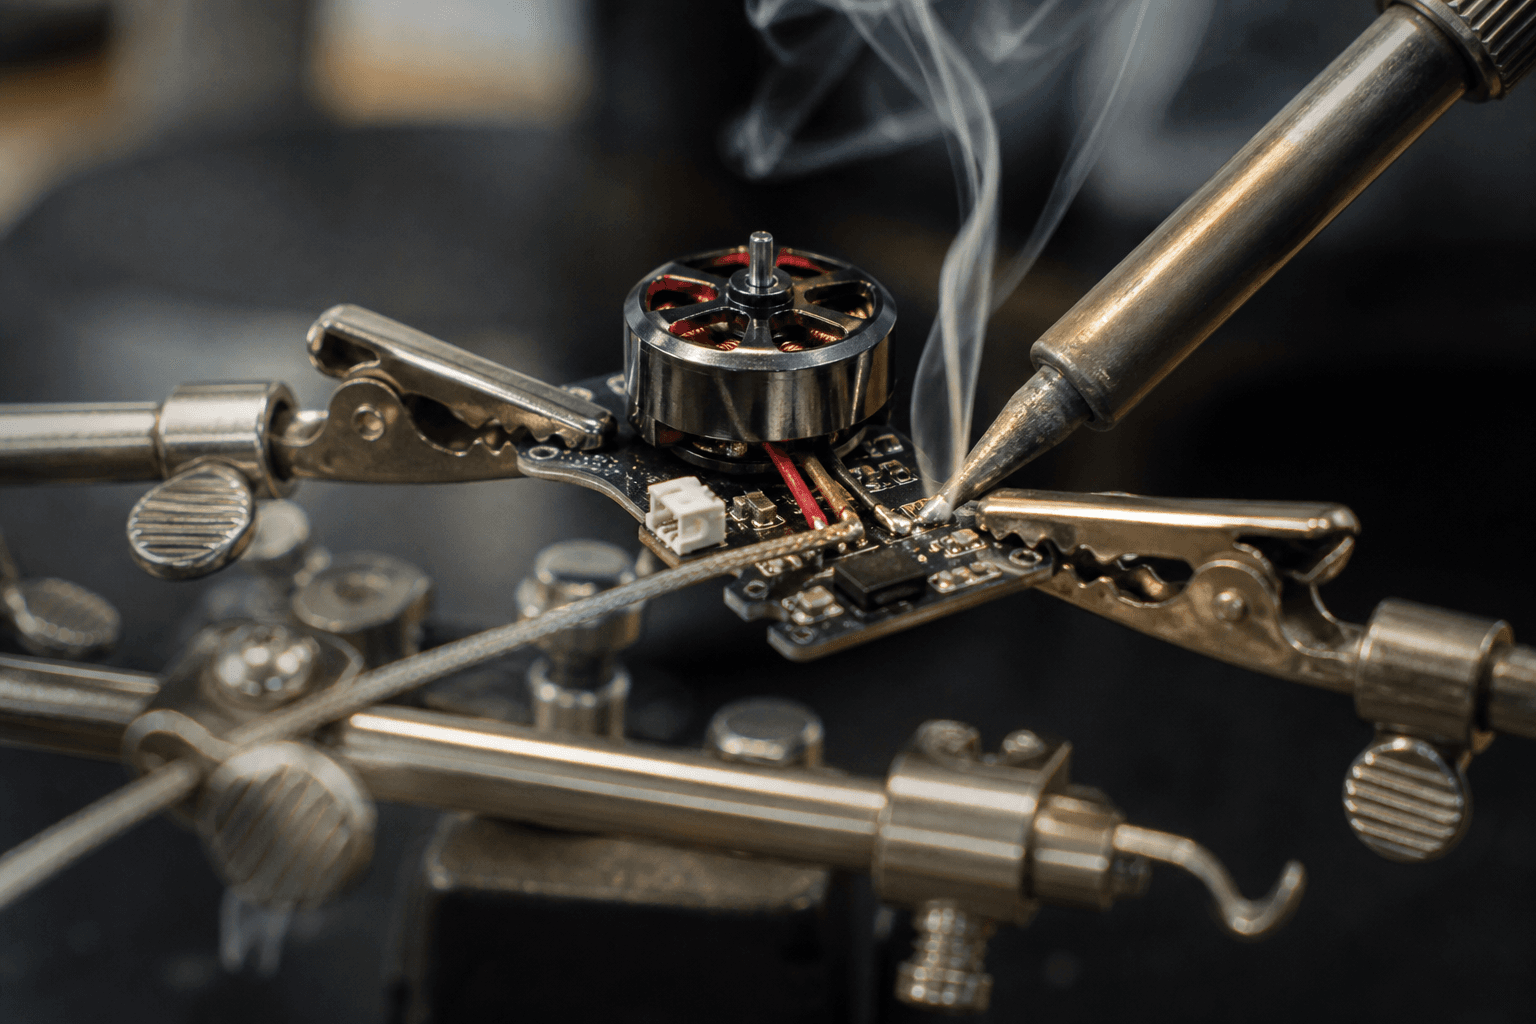
How to replace a whoop motor

A grinding or burnt whoop motor will eat packs, throw vibration into the gyro, and make every hover feel broken. Swap the bad corner before you chase filters or rates. This guide walks you through confirming the fault, matching the replacement, and soldering without lifting pads.
Indian pilots crash whoops hard and often: indoor furniture, terrace lips, monsoon damp. Motor swaps are a normal skill, not a rare repair. Budget one spare motor set with every first whoop order.
Confirm it is the motor
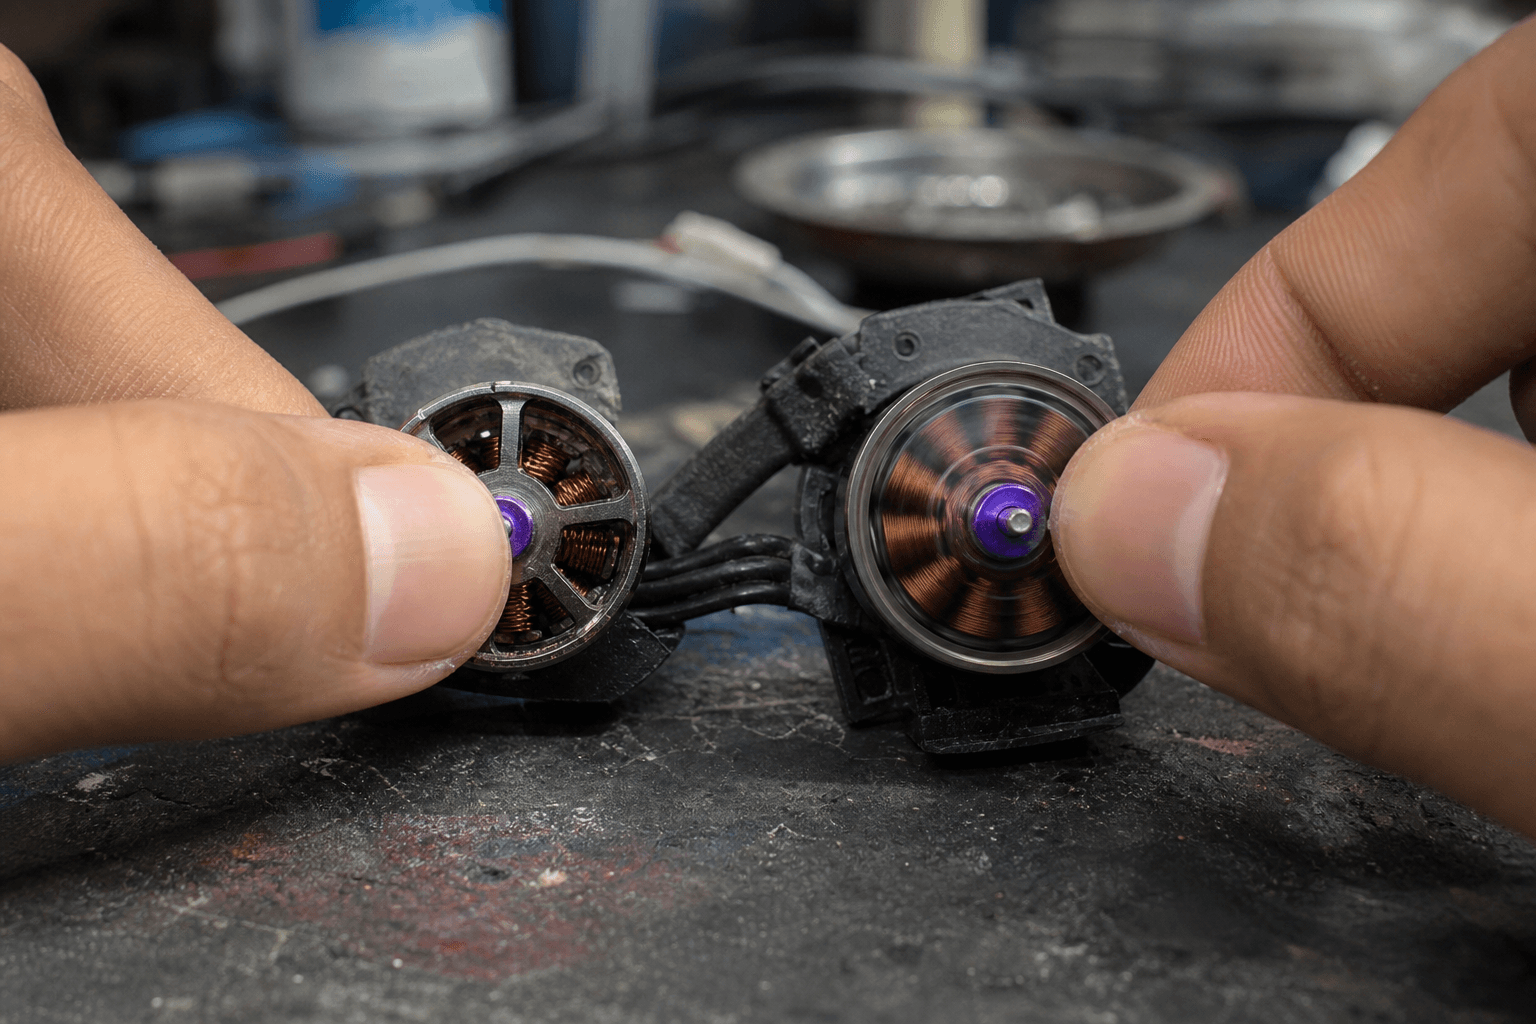
Do not replace four motors because “it vibes.” Isolate the corner.
| Symptom | Likely cause | Next step |
|---|---|---|
| Grinding / sandy bearing sound | Bell or bearing toast | Swap that motor |
| Bent shaft / bell rub on stator | Crash damage | Swap; check prop for bent hub |
| One motor much hotter after a pack | Short, binding, or dying windings | Swap; inspect ESC pads for burn |
| Wire nicked at the pad | Flex fatigue | Resolder or swap motor |
| All four hot, craft still smooth | Wrong KV / overloaded props | Do not swap motors - revisit setup |
If you are unsure whether the frame, AIO, or motor failed, triage first: how to fix a crashed whoop and crash repair triage.
Props-off motor spin in Betaflight Motors tab helps: one corner that stalls, clicks, or draws odd current is usually the motor. Still disconnect the battery between tests.
Match the replacement (or smoke the AIO)
| Spec | Must match |
|---|---|
| Stator size | 0802 vs 1102 / 1103 - size guide |
| KV | Same cell count intent (1S high KV ≠ 2S) |
| Shaft / mounting | Screws and height for your canopy / ducts |
| Wire length | Must reach pads without stretch |
| Rotation | CW / CCW as your props expect, or reverse in software |
KV and props interact: motor KV vs prop size. Putting a 2S-rated low-KV motor on a screaming 1S 65mm, or a 25k KV motor on 2S, is how boards and bells die.
Pre-order checklist
□ Same stator class as the dead motor (or full set if mixing is risky)
□ Same KV band as the other three corners
□ Spares: props + screws + a second motor if this is your first swap
□ Flux, fine tip iron, wick - [soldering motors](/blog/how-to-solder-fpv-drone-motors)
Swap steps
- Battery unplugged, props off. Always. Whoop props still cut skin at idle.
- Photograph the corner. Wire colors and pad order save you when heat haze hits.
- Remove canopy / duct screws carefully - many frames crack at screw bosses.
- Desolder cleanly. Heat pad, lift wire, wick excess. Do not pry the pad off the AIO. Technique: how to solder FPV drone motors and soldering ESCs without lifting traces.
- Mount the new motor. Correct screws, no cross-thread into soft plastic. Mounting notes: how to mount whoop motors.
- Route wires with strain relief - leave a soft loop so crashes do not yank pads. Routing ideas: motor wire routing.
- Resolder, inspect for bridges, trim whiskers.
- Check direction in Betaflight with props off: motor direction.
Failure modes after the swap
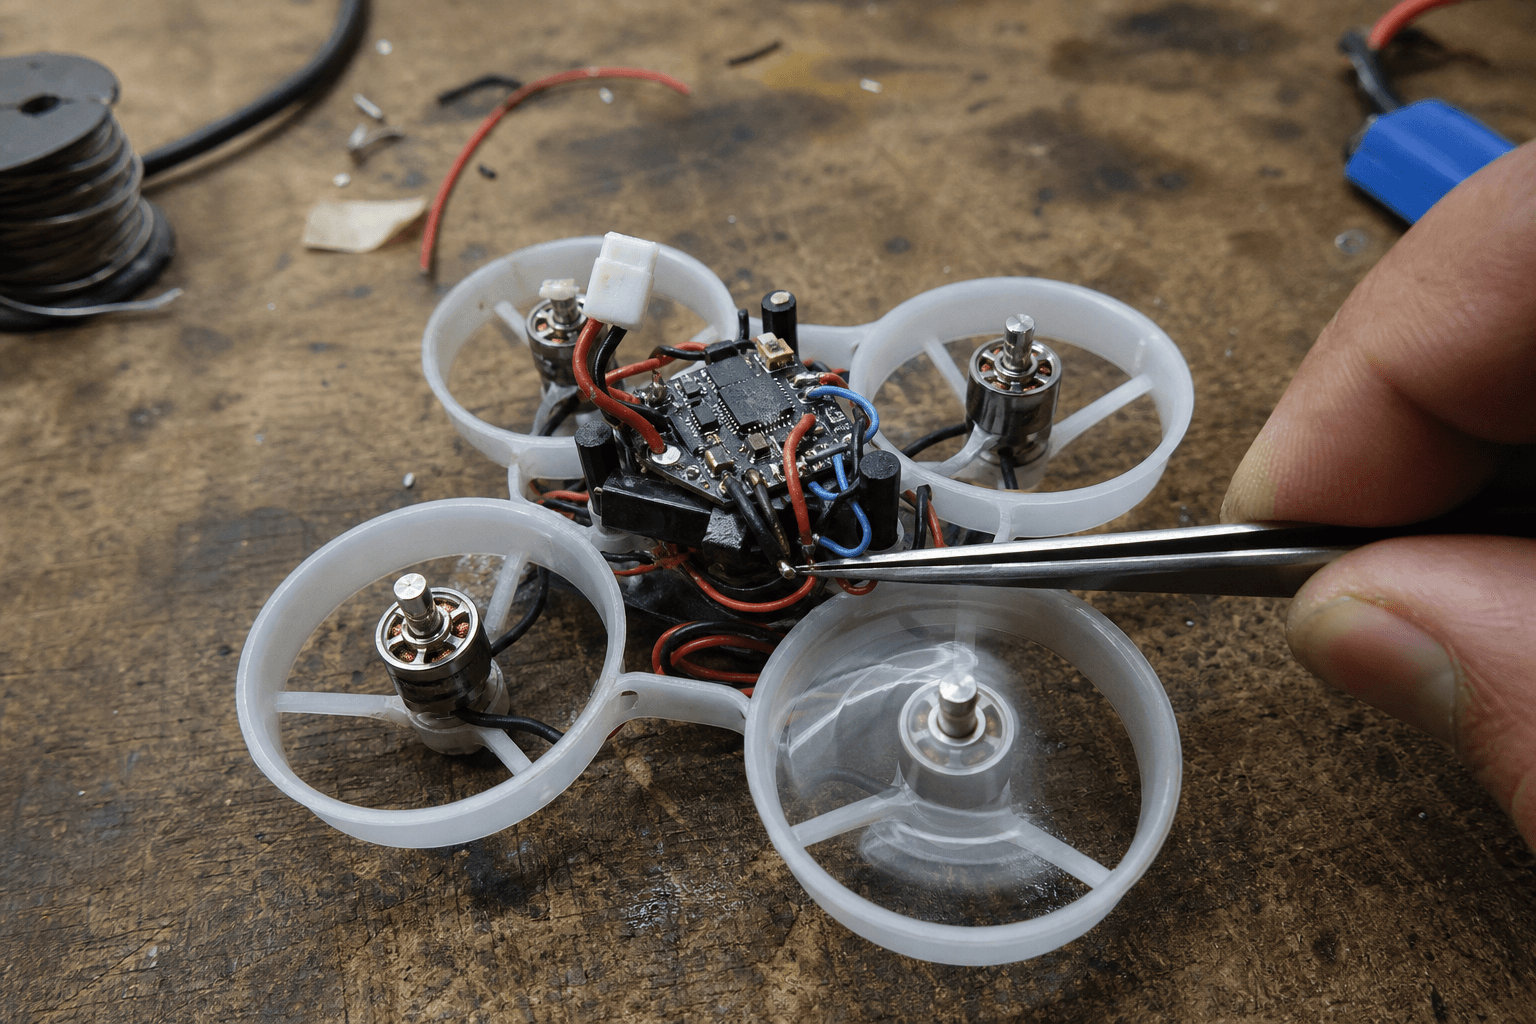
| Failure | What you see | Fix |
|---|---|---|
| Cold joint | Motor cuts under punch | Reheat with flux; do not pile solder |
| Bridged pads | Instant short / AIO toast | Wick, inspect under bright light |
| Wrong direction | Craft flips on arm | Reverse motor in BF or swap two wires |
| Mixed KV / size | Uneven thrust, weird hover | Replace mismatched motor |
| Pad lifted | Wire has nowhere to go | Repair pad or replace AIO - choose whoop FC |
| Screws into windings | Dead on first spin | New motor; shorter screws next time |
India notes
Domestic whoop motors cycle in and out of stock. Order a spare when the matching KV is available rather than waiting until the weekend crash. Heat and humidity accelerate bearing grit after floor crashes - wipe ducts and check for carpet fiber wrapped on the shaft before you blame the ESC.
If you are still shopping the craft itself, practice stick time on the browser sim while the parcel is in transit. Motor swaps are cheaper than buying a second whoop because you “ruined” the first with a bad solder.
Aftercare flight
First packs after a motor swap
□ Props off motor test in Betaflight
□ Props on, short hover over carpet / soft ground
□ Listen for new grinding (bad bearings or debris)
□ Check that corner temperature after one pack
□ Only then go back to furniture gaps
New motors sometimes need a gentle break-in of soft packs: how to break in new FPV motors. Do not dump freestyle rates on a fresh solder job.
Bench
Browse whoop motors on the Bench. Validate frame + motor + AIO fit in Grind Lab before you order three different stator sizes “just in case.”
See also
- Whoop motors 0802 vs 1102
- How to change FPV drone props
- Tuning after a crash - fix hardware before filters
Discussion
Comments aren't open on this post yet. Share it with your build group, or start a thread on X.