
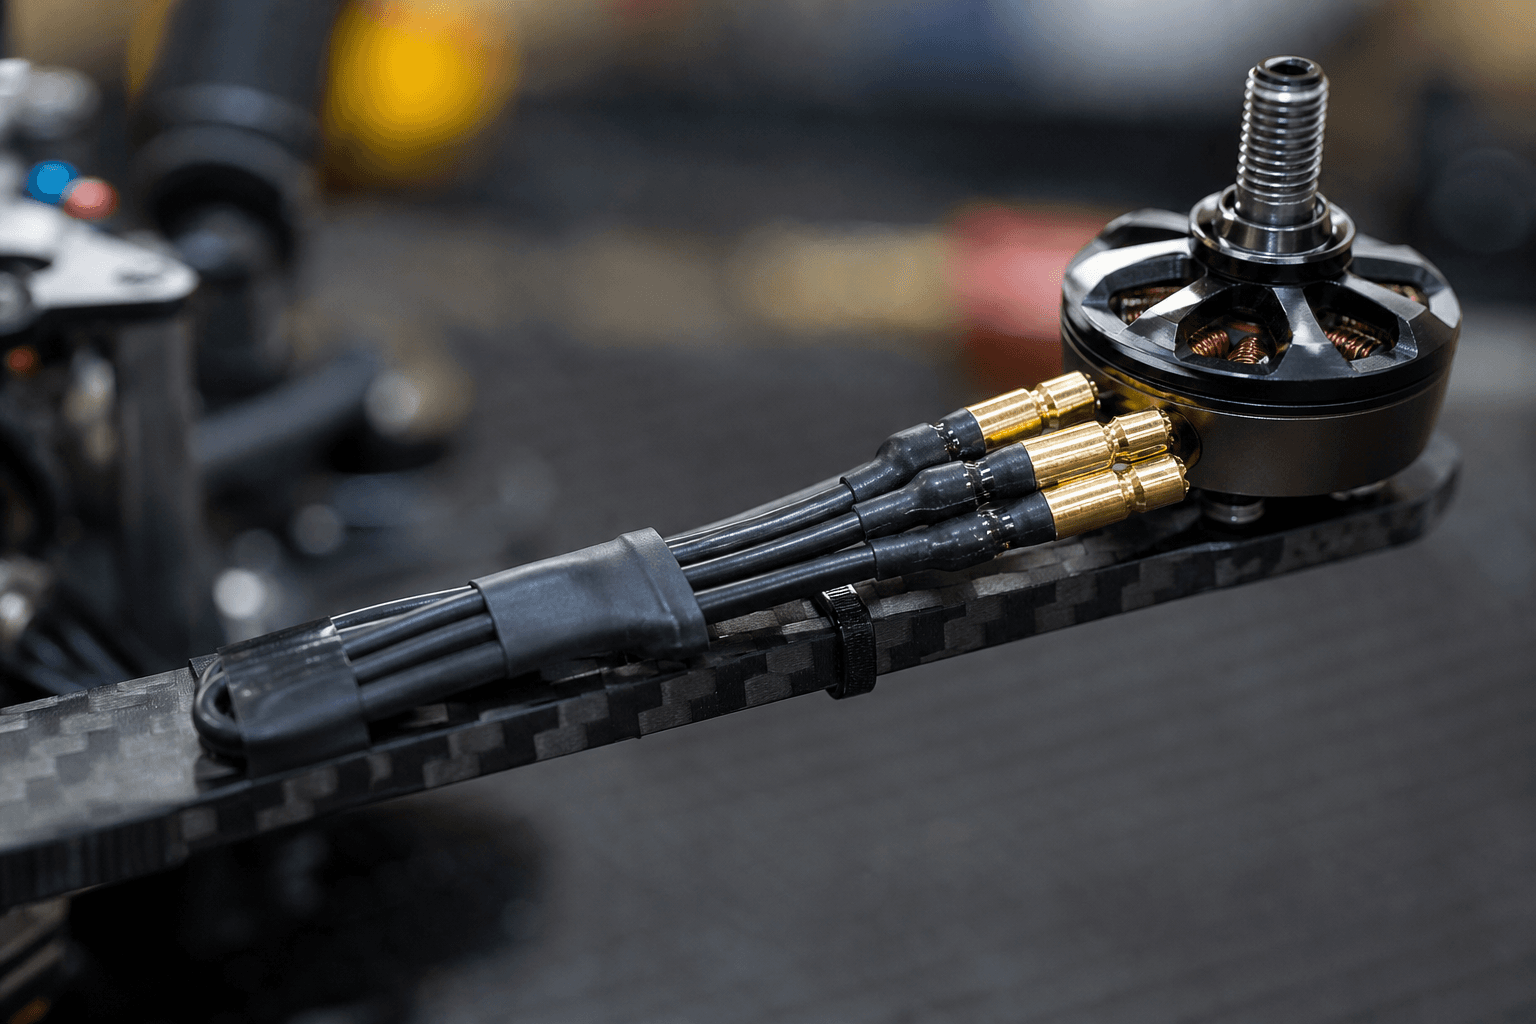
Motor wire routing and bullet connectors

Messy motor wires are not cosmetic, they are vibration, shorts, and wrong rotation waiting for arm day. The motor side of a build looks simple until a wire pulls a pad off the ESC or a carbon edge shorts a phase mid-pack. Treat motor wiring as structural work, not an afterthought.
Why routing matters
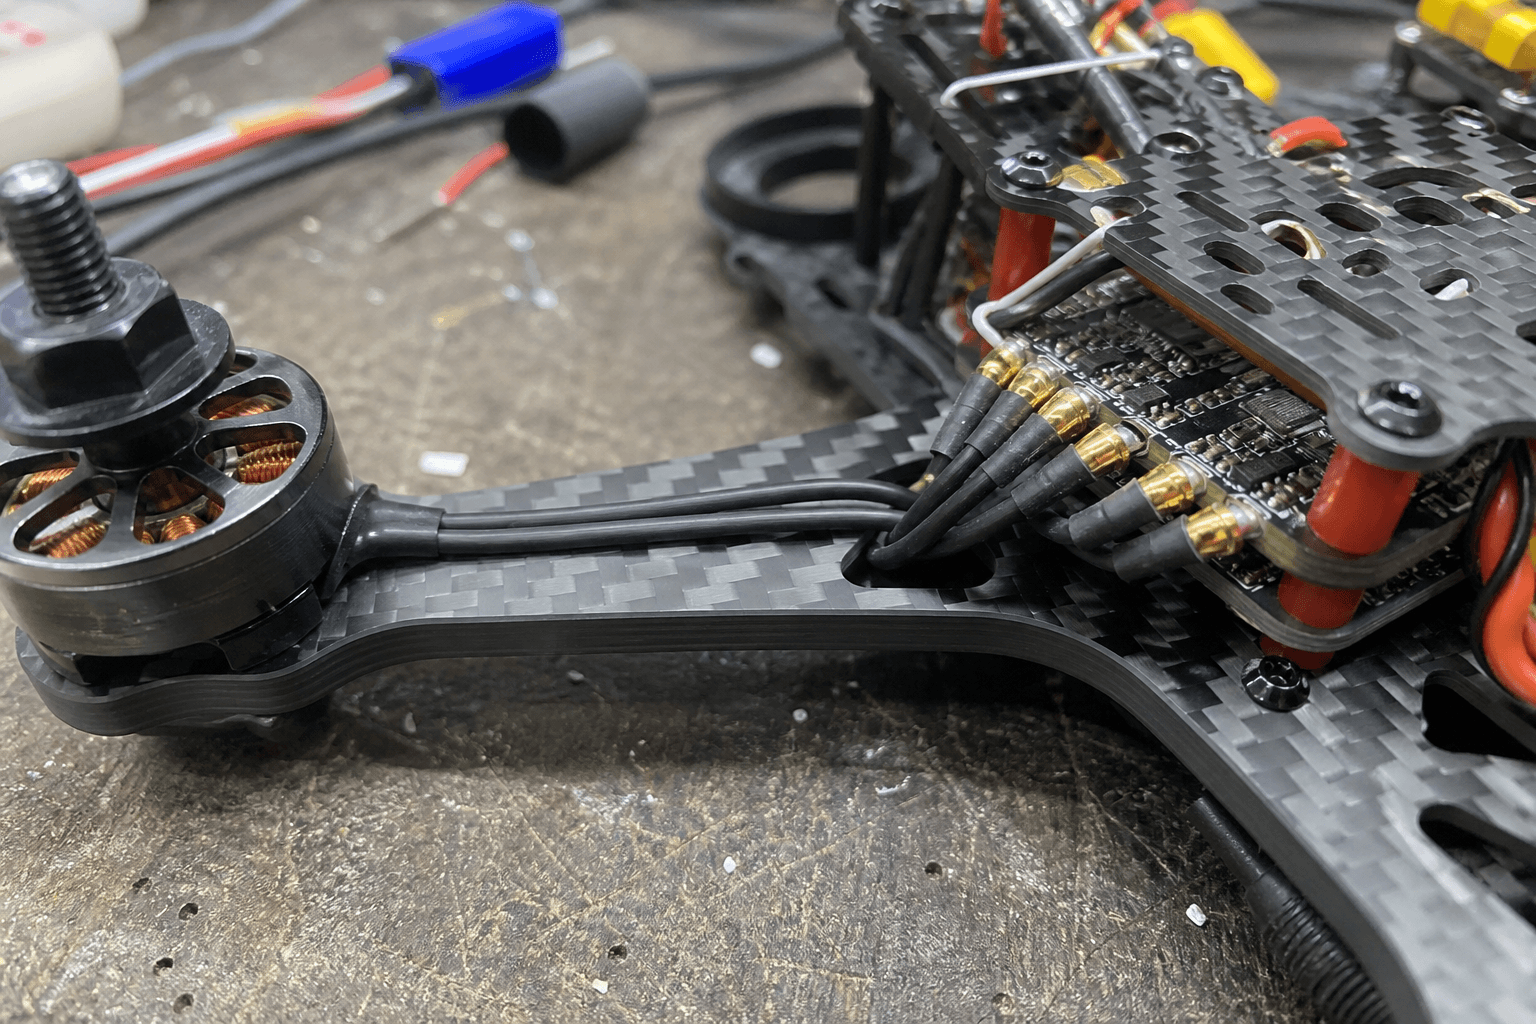
Motor wires carry high current and sit inches from conductive carbon. They flex on every crash, vibrate at thousands of RPM, and get grabbed when you pick up a quad by the arm. A clean route reduces:
- Pad lift on ESC from wire tug
- Phase shorts against frayed carbon
- Mystery vibes from wires buzzing against the frame
- Wrong rotation confusion when wires are swapped repeatedly without notes
Field truth: Most "weird tune after crash" stories start with a motor wire shifted against an arm edge, not a magical PID gremlin.
Length and routing
- Short paths off ESC pads to motor, excess wire is weight and snag bait in arms.
- Service loop before entering the arm channel, absorbs flex without pulling pads. See soldering discipline.
- Route away from sharp carbon edges; add tape or grommet where wire crosses bare frame.
How long is too long?
There is no universal millimetre count, the goal is no slack dangling in the prop disc and no tension when you flex the arm by hand. Excess wire bundled inside the arm channel can still vibrate. Better to trim and re-solder once than fly a springy nest of copper.
Service loop anatomy
A service loop is a gentle U of wire between the ESC pad and the arm entry point. It should:
- Sit below the prop disc plane
- Be zip-tied to a standoff, not hanging from the solder joint
- Allow arm removal without desoldering motors (on bullet builds)
Routing checklist per arm:
1. Measure wire length with motor mounted
2. Solder with strain relief planned, not "fix later"
3. Service loop before arm channel entry
4. Grommet or tape at carbon crossing
5. Spin motor by hand, wire does not touch bell or frame
Bullet connectors
4 mm bullets are common on 5-inch; match gender consistently (motors vs ESC pigtails). Cold or loose bullets = resistance and heat.
- Crimp or solder per manufacturer guidance, half-crimped bullets fail in humidity.
- Heat shrink over joints; leave no exposed copper.
- After crash triage, spin each motor by hand, grinding means bullet or bearing issue.
Crimp vs solder
Quality crimp tools with correct dies produce reliable joints when you practice. Soldering bullets works but risks heat damage to small connectors if you linger. In Indian humidity, corrosion at bullet interfaces is real, inspect connectors after monsoon storage.
| Connector state | Action |
|---|---|
| Warm after hover | Disassemble, clean, re-crimp or replace |
| Arcing sound on plug | Replace housing and bullets |
| Motor intermittent | Wiggle test, swap bullets before blaming ESC |
Gender consistency
Pick a fleet standard: motors female, ESC male (or the reverse, just be consistent). Mixed gender mid-build causes adapter stacks that fail in crashes. Label spare motors in your bag.
Phase order
Wrong phase = motor spins wrong direction in configurator. You can fix in software or swap two motor wires, not both randomly.
Betaflight and most ESC firmware let you reverse motor direction in software. That is the right fix when pads are fragile. Physical wire swaps are fine on bullet builds, document which two wires you moved.
Bench check before props:
1. Arm without blades
2. Spin each motor from configurator
3. Note direction vs frame diagram
4. Swap wire pair if needed, document which motor
Common mistakes
- Reversing in software and swapping wires, now wrong again
- Swapping wires on one motor twice in a row without a diagram
- Assuming all motors should spin the same visual direction, check your frame diagram
Carbon cut hazard
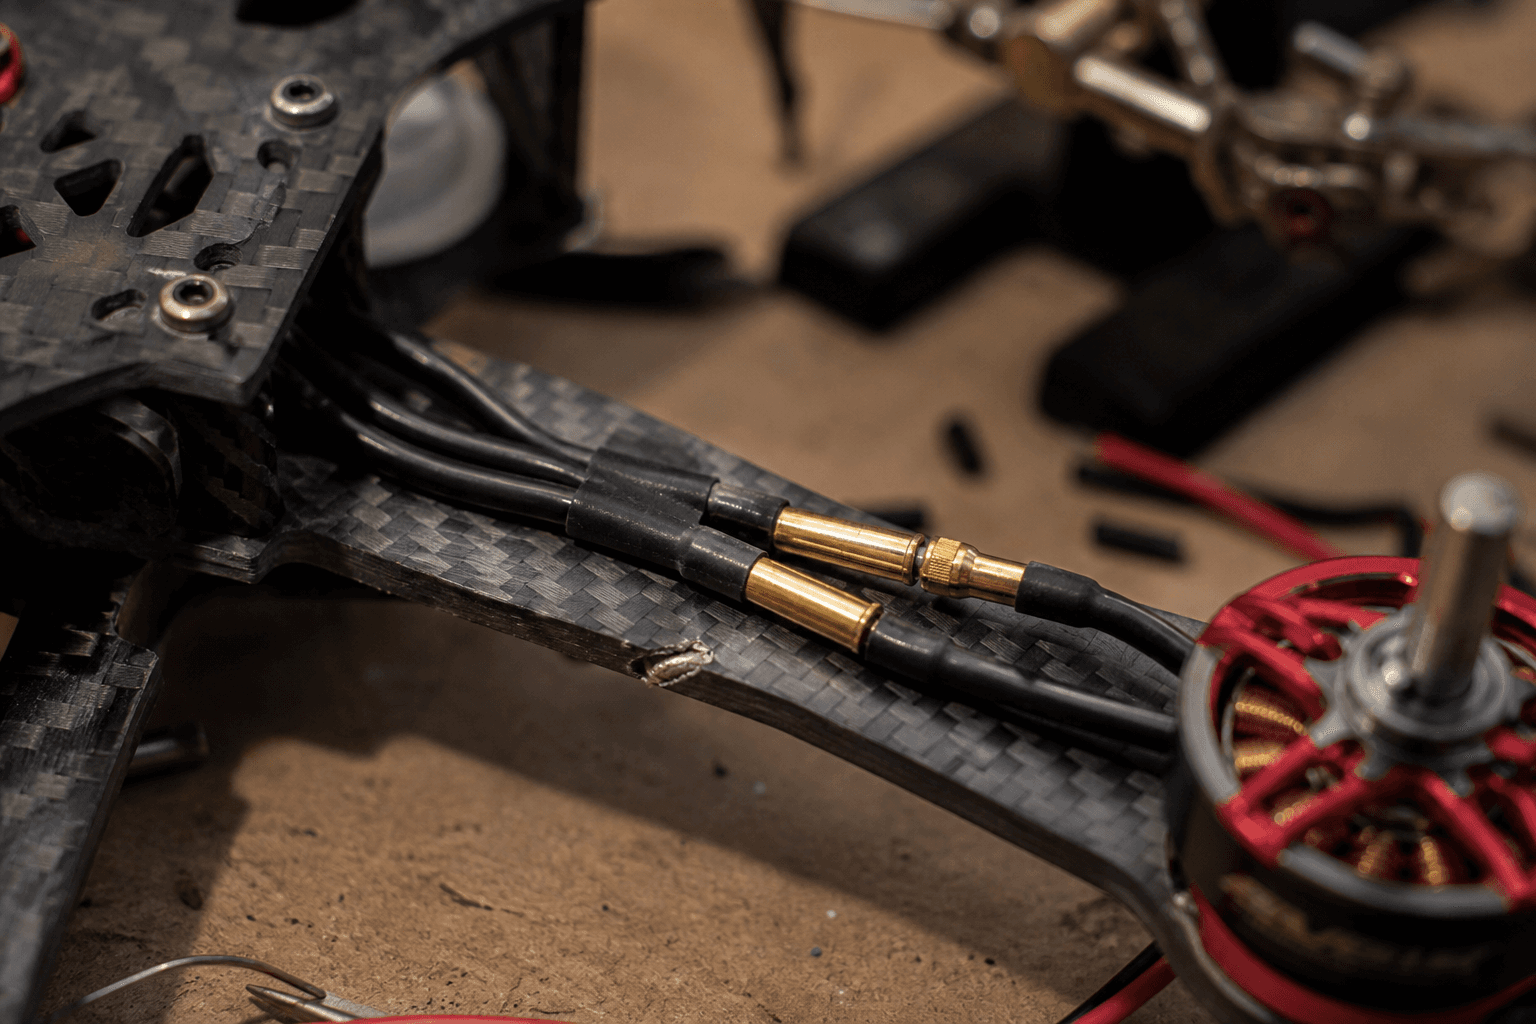
Carbon is conductive when fibers fray. A motor wire pinched against a scored arm edge can short mid-flight. Inspect after every hard frame hit.
Inspection points
After any arm impact:
- Wipe the arm edge, look for copper shine or black dust mixed with carbon splinters
- Flex the wire while watching the crossing point, does insulation shift?
- Multimeter continuity check between each phase and frame (should be open)
Seal minor carbon fray with epoxy or replace the arm. Flying with exposed fibers near motor wire is not a "tape and send" situation for high-current paths.
Direct solder builds
Some pilots solder motor wires directly to ESC pads, no bullets. Benefits: lower resistance, less bulk. Costs: arm swaps require desoldering. If you go direct:
- Use the same service loop discipline
- Pre-tin wires, fast joints, see soldering ESCs
- Photograph wire colours per motor before heat shrink covers everything
When to stop and rewire
- Insulation nicked to copper at a carbon crossing
- Bullet housing cracked or pin recessed
- Motor wire repaired three times with staggered splices
- Pad lift on ESC, stop flying, bench repair or replace board
Rewiring one arm on a calm evening beats explaining smoke at the field. Keep spare bullets, heat shrink, and one spare motor in your field repair kit.
Monsoon and storage (India)
Humidity attacks bullet interfaces and bare copper at carbon crossings.
| After wet session | Action |
|---|---|
| Inspect bullet pairs | Warm? → disassemble, dry, re-crimp |
| Wipe arm edges | Carbon + copper dust = future short |
| Store quad dry | Not in sealed bag with moisture |
| Before next arm | Spin motors by hand, wiggle wires |
Corrosion at a bullet shows up as intermittent desync on one motor: swap bullets before you chase ESC firmware.
Fleet wiring standard (one evening project)
Pick standards and write them on tape inside your build log:
□ Motor gender: _____________ (same on all quads)
□ Wire colour → motor corner diagram photographed
□ Service loop zip-tie point: standoff M3 ___
□ Arm channel grommet: tape / TPU / none
□ Spare motor bag label matches diagram
When every quad routes differently, field repairs slow down. Consistency is speed.
Bench
- Propulsion / 2207, replacement motors after bullet damage
- Control / F7, ESC boards if pads lift
Discussion
Comments aren't open on this post yet. Share it with your build group, or start a thread on X.