
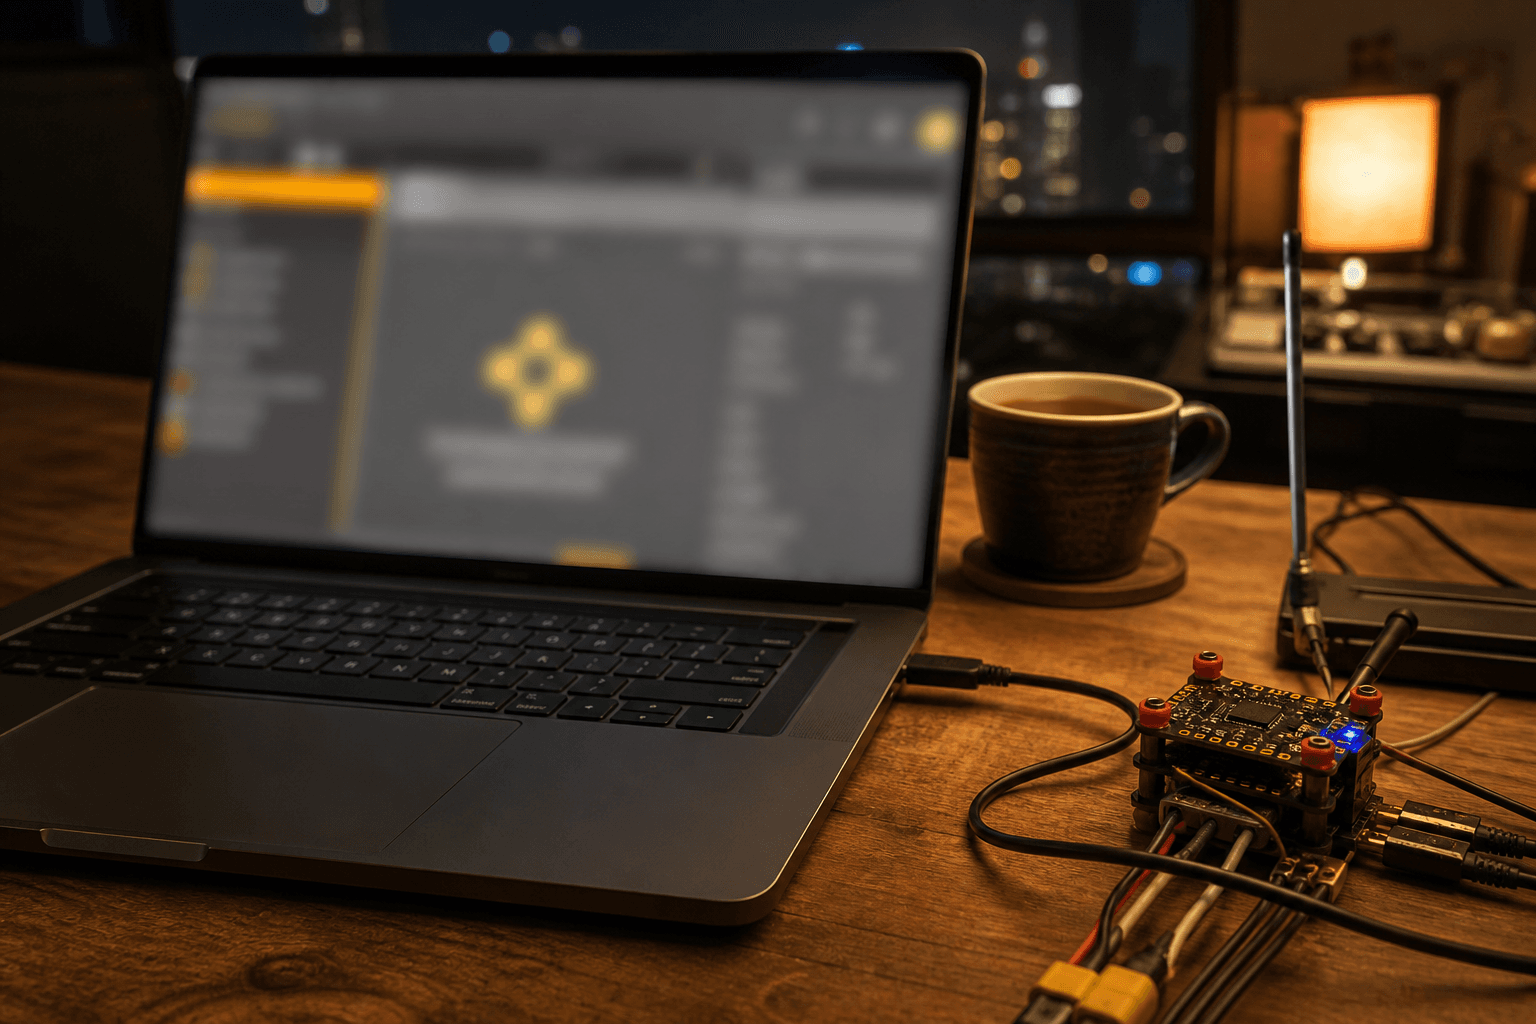
How to set up Betaflight for beginners

Betaflight looks scary. For a first whoop, you only need a few tabs. Ignore the PID graph until the craft flies and the hardware is healthy.
FPV Grind’s beginner order: connect → receiver → modes → OSD → motors (props off) → short hover. Whoop-specific walkthrough: Betaflight setup for a tiny whoop. When you are ready to tune later: Betaflight tuning basics.
What you need on the desk
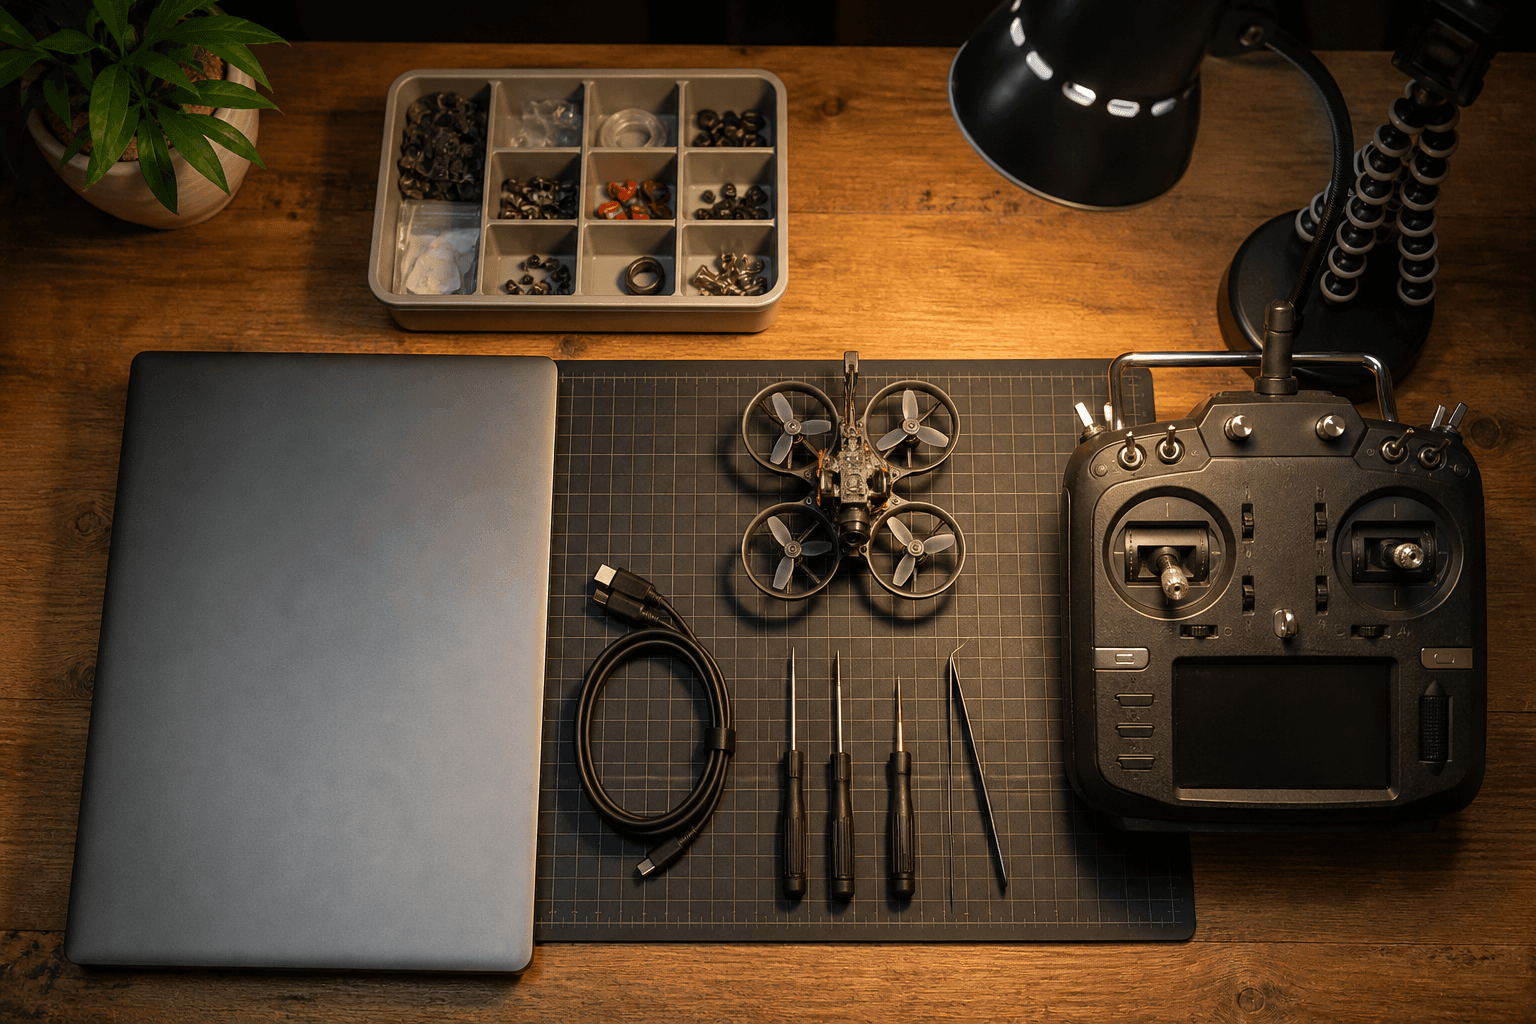
□ Laptop with Betaflight Configurator
□ Data cable that actually talks (many charge-only cables fail)
□ Radio bound or ready to bind
□ Whoop / FC
□ Props OFF for setup and motor tests
□ Clear note of which switch will be ARM
BNFs are usually pre-flashed. You are configuring, not reinventing firmware on day one.
Beginner setup order
1. Connect
- Select the correct port; connect with the battery unplugged unless your FC needs power for USB (follow board notes).
- Confirm the target looks sane for your board.
- Calibrate accelerometer on a level surface when prompted / needed.
2. Receiver
- For ELRS, expect CRSF (or the documented protocol for your build).
- Move sticks - bars should move in the Receiver tab.
- No movement? Fix bind/link before Modes - how to bind ELRS.
3. Modes
- Assign ARM to a dedicated switch.
- Optional: ANGLE for early indoor packs.
- Optional: beeper / turtle later - not required for first hover.
Arm safety habits: how to arm an FPV drone.
4. OSD
Minimum useful OSD for beginners:
| Element | Why |
|---|---|
| Voltage | Land before the pack dies mid-room |
| Flight mode | Confirm ANGLE vs ACRO |
| Warnings | Catch arm / RX issues early |
Fancy logos can wait. Readable voltage cannot.
5. Motors (props off)
- Open Motors tab with props off.
- Spin motors individually; confirm directions.
- Reverse in UI or swap two wires if needed - motor soldering if you are moving wires.
- Props on last, clear room, short hover.
Safety defaults
| Setting / habit | Beginner rule |
|---|---|
| Failsafe | Set and understand; bench-check where possible |
| ARM switch | Not in accidental bump zone |
| Props | Off during Configurator motor tests |
| PID tab | Closed until craft flies clean |
| First packs | Indoor, low rates, angle OK |
Do not arm open props near people. Apartment context: indoor whoop flying.
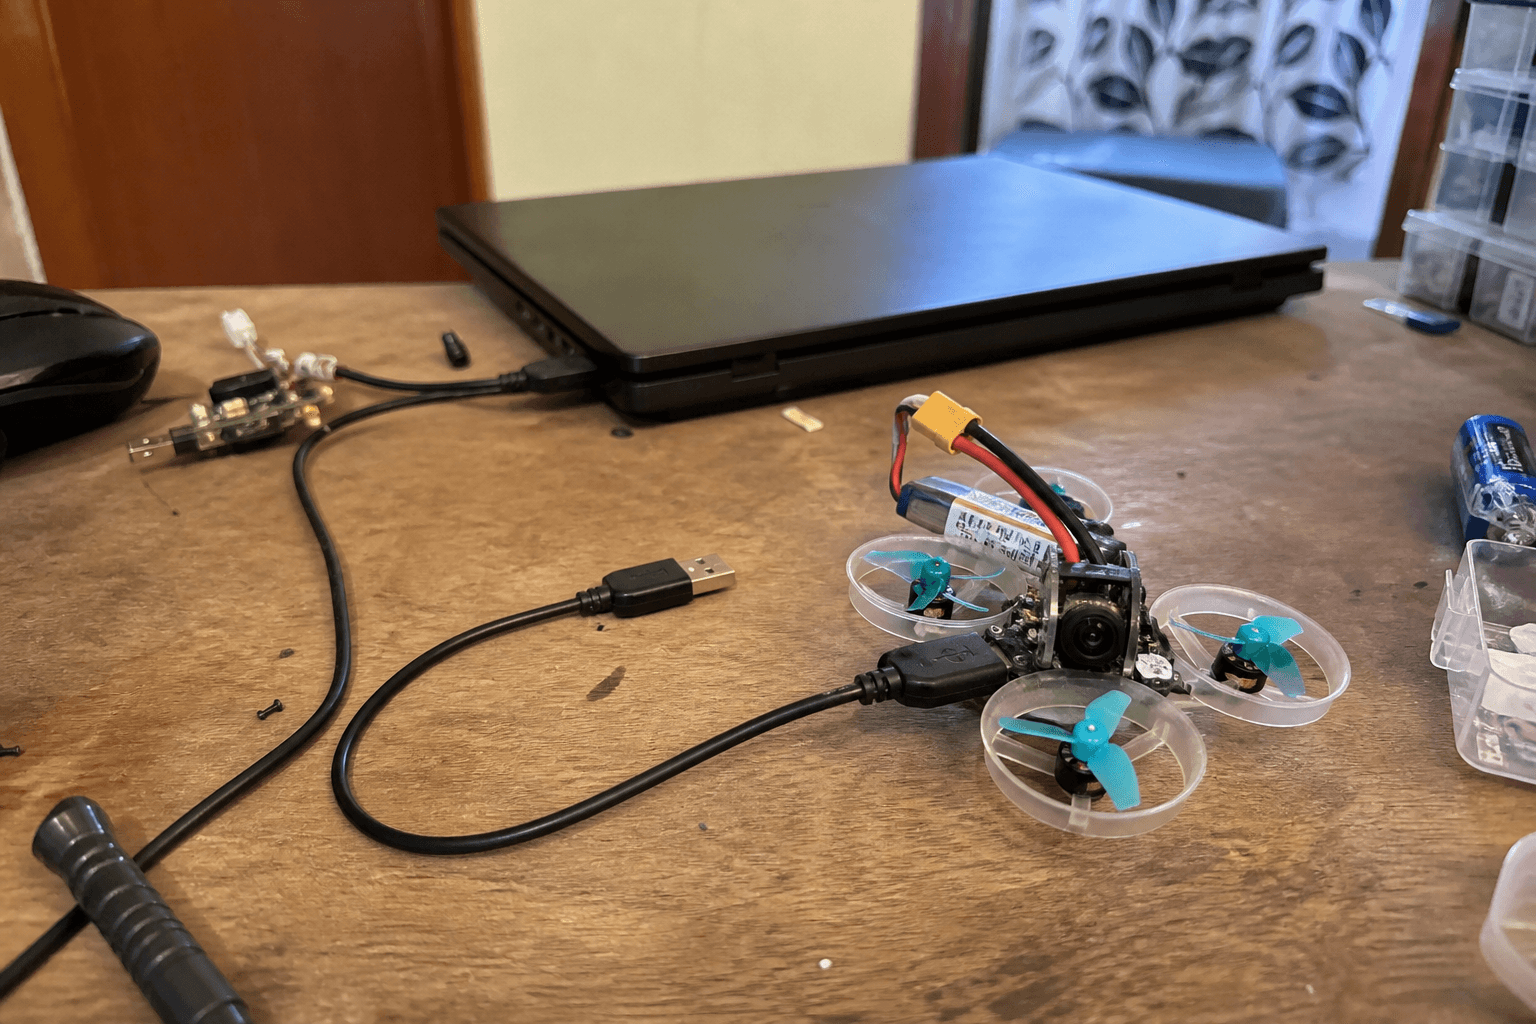
Common beginner failures
| Failure | Fix |
|---|---|
| Charge-only USB cable | Real data cable |
| Stick bars dead | Bind / RX protocol |
| Arms but flips | Motor direction / props wrong |
| Arms randomly | Switch map / ARM range |
| Opens PID day one | Close it; fly first |
| Crash then “retune” | Hardware triage - fix crashed whoop |
First-flight Configurator checklist
□ Receiver sticks move
□ ARM on known switch; disarm practice done
□ ANGLE available if you want it
□ OSD shows voltage
□ Motor directions correct (props off)
□ Failsafe not ignored
□ Props on → clear room → hover pack
□ Storage-charge packs when done
Practice while you configure
Stick time still matters more than perfect OSD fonts. Use the browser simulator for hover and figure-eights while you wait for cables, binds, or courage. Radio choice if you are still shopping: how to choose an FPV radio.
India notes
- Borrow a known-good data cable from a local pilot before you buy a third mystery lead.
- Keep a screenshot of your Modes tab after it works - future-you will thank you after a reset.
- Do not flash random firmware targets because a forum thread “felt similar.”
Bottom line
Configurator is a checklist, not a personality. Receiver, ARM, OSD voltage, motor directions - then fly. Tune later.
Bench
Whoops that arrive close to ready: the Bench. Scratch builds: Grind Lab. Stick practice: /sim.
Discussion
Comments aren't open on this post yet. Share it with your build group, or start a thread on X.