


Arming enables the motors. Until you arm, the craft should not spin props. That single switch is the difference between a calm hover and a whoop climbing your curtain while you still think you are “just testing the radio.”
Treat arm/disarm like a seatbelt: boring, mandatory, practiced until it is automatic. On FPV Grind we care more about that habit than about fancy rates on week one.
What arming actually does
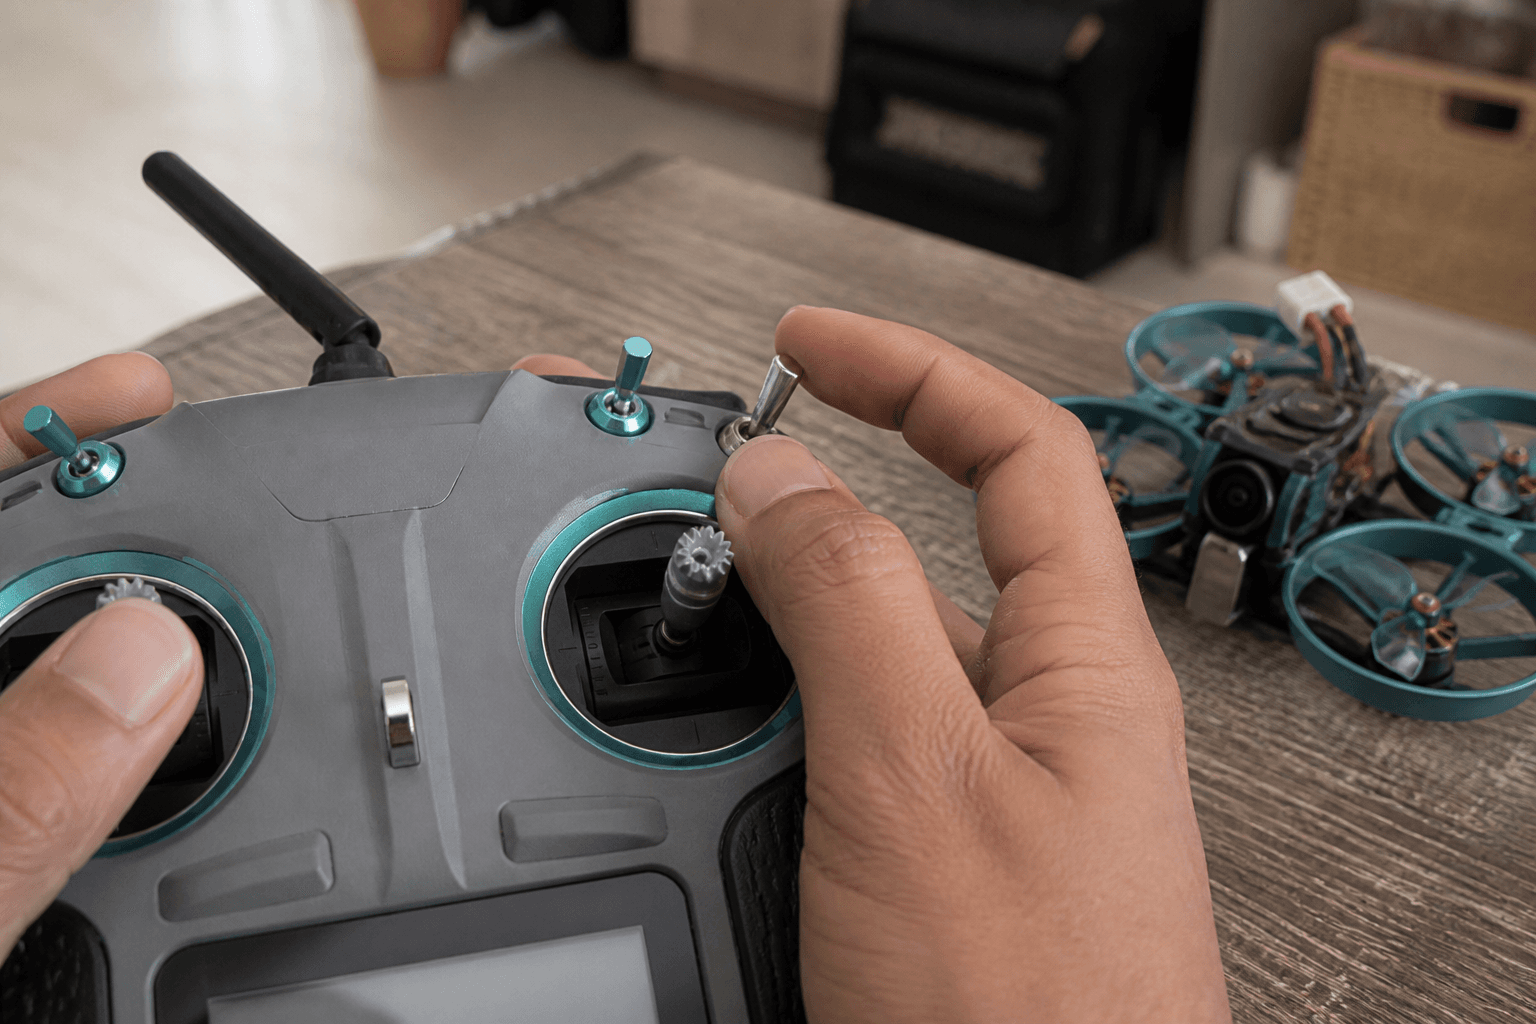
In Betaflight (and most whoop firmware), an ARM mode on a switch tells the flight controller it is allowed to spin motors when throttle rises. Disarm cuts that permission. Failsafe, crash flip protection, and throttle-high checks can all block arming on purpose - those blocks are features, not bugs.
Whoop-oriented modes walkthrough: Betaflight setup for a tiny whoop. Broader beginner Configurator path: Betaflight for beginners.
Safe arm checklist (every pack)
1. Props clear of fingers, pets, fabric, and loose cables
2. Throttle stick at zero (Mode 2: left stick fully down)
3. You know which switch is ARM - say it out loud once if new
4. Radio link solid (no RX loss beeps / OSD warnings)
5. Battery plugged in last
6. Arm → listen for idle / soft spin → throttle up gently
7. If anything feels wrong → DISARM before you grab the craft
Never “just bump throttle” to see if it works with your hand near a prop. Bench tests with props off when you are debugging modes.
Will not arm? Triage table
| Cause | Symptom | Fix |
|---|---|---|
| Throttle not low | Switch flips, nothing | Lower throttle stick fully |
| ARM not in Modes | Switch does nothing | Assign ARM in Modes tab |
| Wrong channel / AUX | Wrong switch moves OSD | Map the switch you think is ARM |
| Crash flip / inverted | Craft upside down | Level craft or use turtle carefully |
| Failsafe / RX loss | Beeps, no motor | Fix link first - bind ELRS |
| Motors tab / CLI lock | Rare, after tinkering | Props off; re-check Configurator |
| Battery / voltage | Brownout or dead pack | Fresh charged pack |
If the craft armed once and then refuses after a crash, inspect props and motor wires before you fight the Modes tab. Hardware damage often looks like a “software” problem.
Disarm is muscle memory
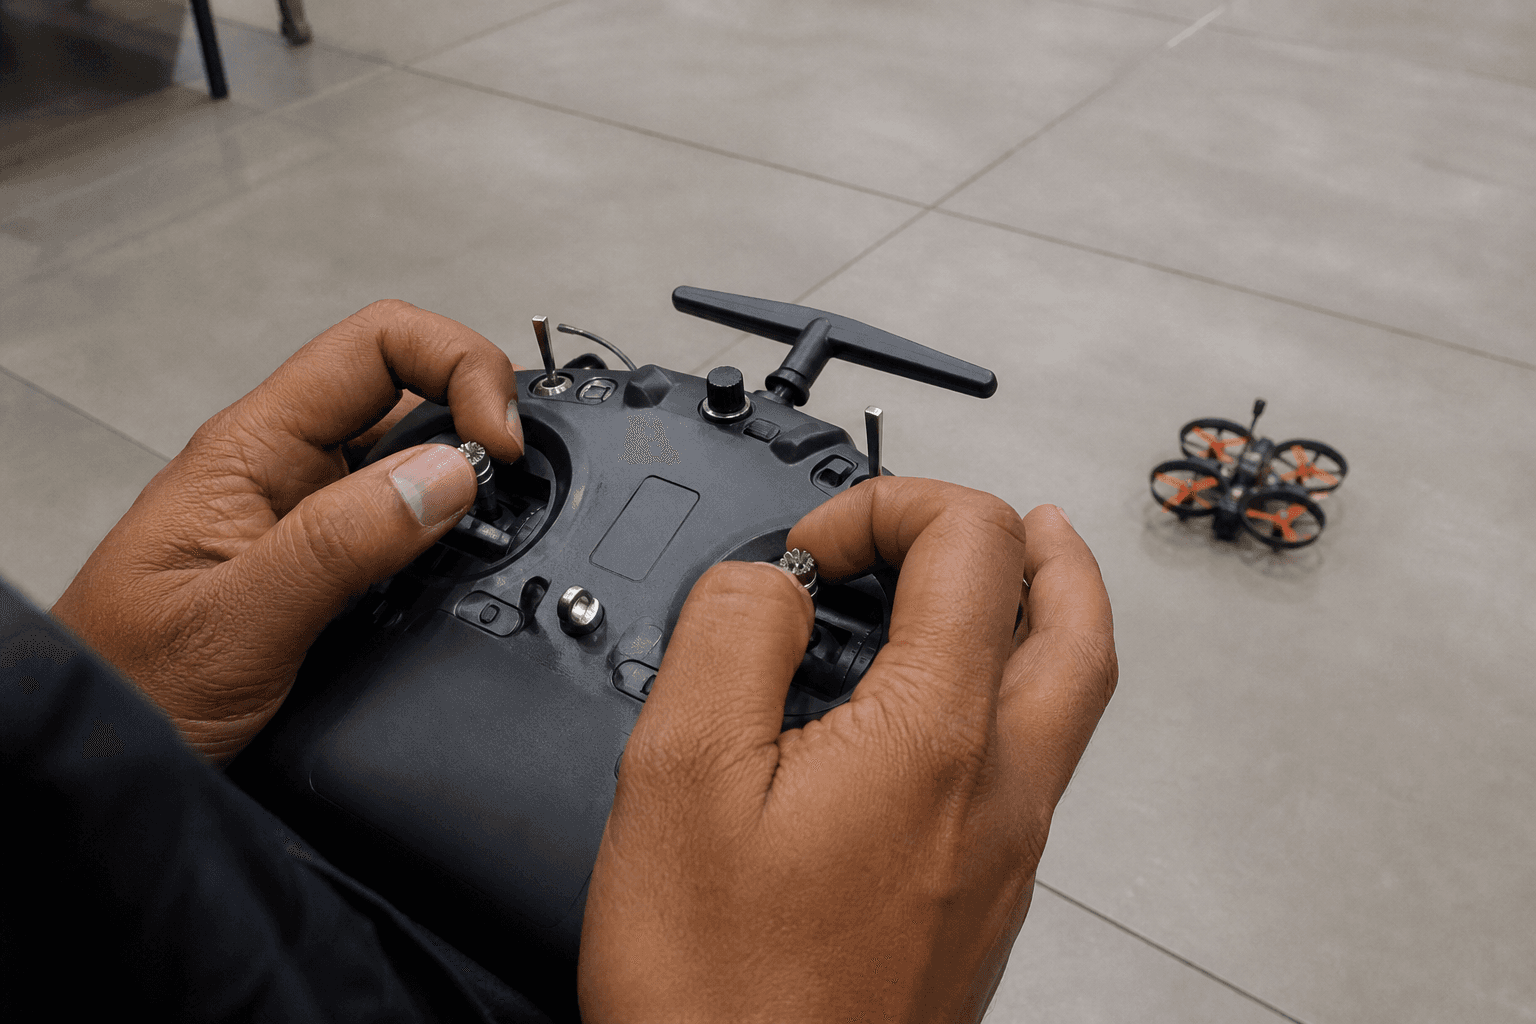
Practice disarm as hard as arm. Mid-air panic → disarm before you dive-hand toward spinning props. On the ground after a tip-over → disarm before you pick up the whoop.
Drill (props off or ducted whoop, clear room):
□ Arm → hover 2 seconds → disarm
□ Arm → gentle yaw → disarm
□ Fake “oh no” → disarm without looking at the switch
Do this in the browser sim with a gamepad until your fingers find the switch without thinking. Sim does not teach finger-vs-prop fear, but it builds the switch habit.
Arm switch placement tips
| Habit | Why |
|---|---|
| Dedicated 2- or 3-position switch | Accidental arm on a trim button is ugly |
| Not next to throttle finger’s bump zone | Pocket radios: mind your grip |
| Same switch layout across models | Muscle memory transfers |
| Angle mode on a different switch | Do not combine “arm + mode” on one confused toggle at first |
India / apartment notes
Thin walls and shared terraces mean one accidental punch-out after arming can end flying for the whole building. Keep first packs indoors, low rates, short sessions, and land the moment someone complains - apartment and terrace guide. Pets and kids out of the room: spectator boundaries.
First-flight power order (whoop)
Radio on → goggles on / channel set → whoop battery last → arm when clear
After flight: disarm → unplug battery → storage charge packs later
Power order for video: how to connect FPV goggles.
Bottom line
Arm only when the craft is clear and the stick is low. Disarm the instant something goes wrong. If it will not arm, fix throttle, Modes, or the radio link before you invent a PID theory.
Bench
BNFs and radios with sensible switch layouts: the Bench. Practice sticks and switch discipline on /sim. Parts and recipes: Grind Lab.
Discussion
Comments aren't open on this post yet. Share it with your build group, or start a thread on X.