
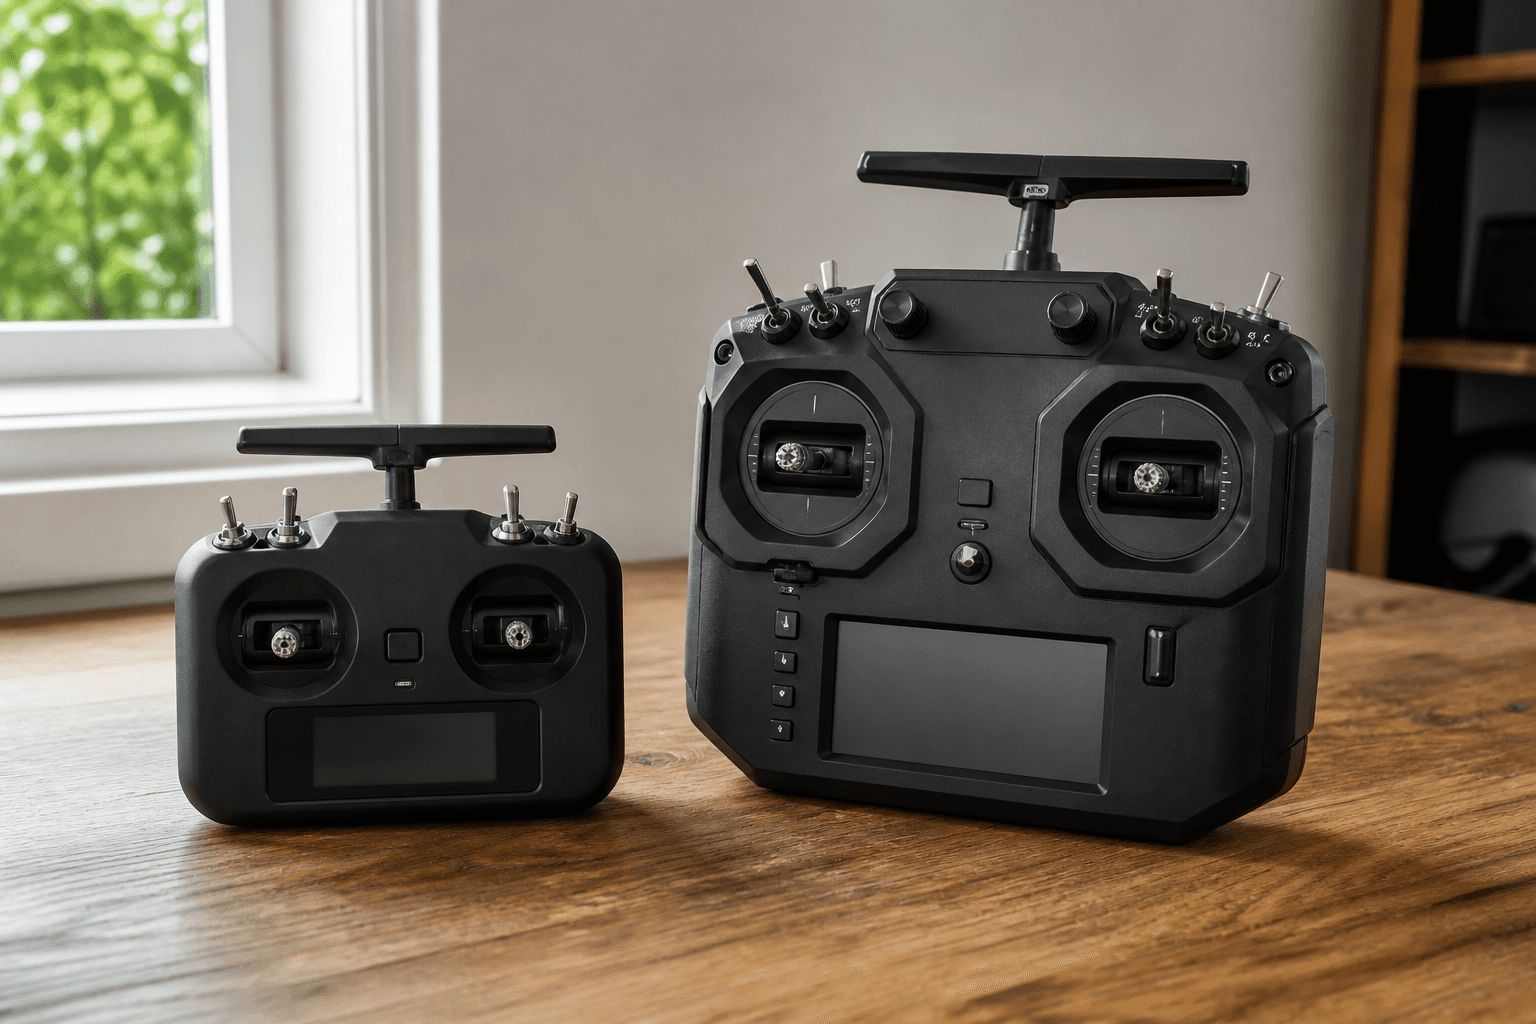

Your radio is the best early upgrade. Frames break; a good ELRS radio stays. Buy the sticks you will still use when the whoop is on its third canopy.
FPV Grind’s default for new Indian hobby pilots: ExpressLRS, Mode 2, and a radio that fits your hands for real sessions - not the cheapest orphan protocol that dies when the kit whoop dies.
What to buy as a beginner
| Choice | Default | Why |
|---|---|---|
| Protocol | ExpressLRS (ELRS) | Whoops, BNFs, community help in India right now |
| Stick mode | Mode 2 | Matches nearly every trainer and sim |
| Size | Pocket or mid-size | Pocket travels; mid/full-size comfort for long packs |
| Firmware | EdgeTX-class | Flexible; learn basics, do not drown day one |
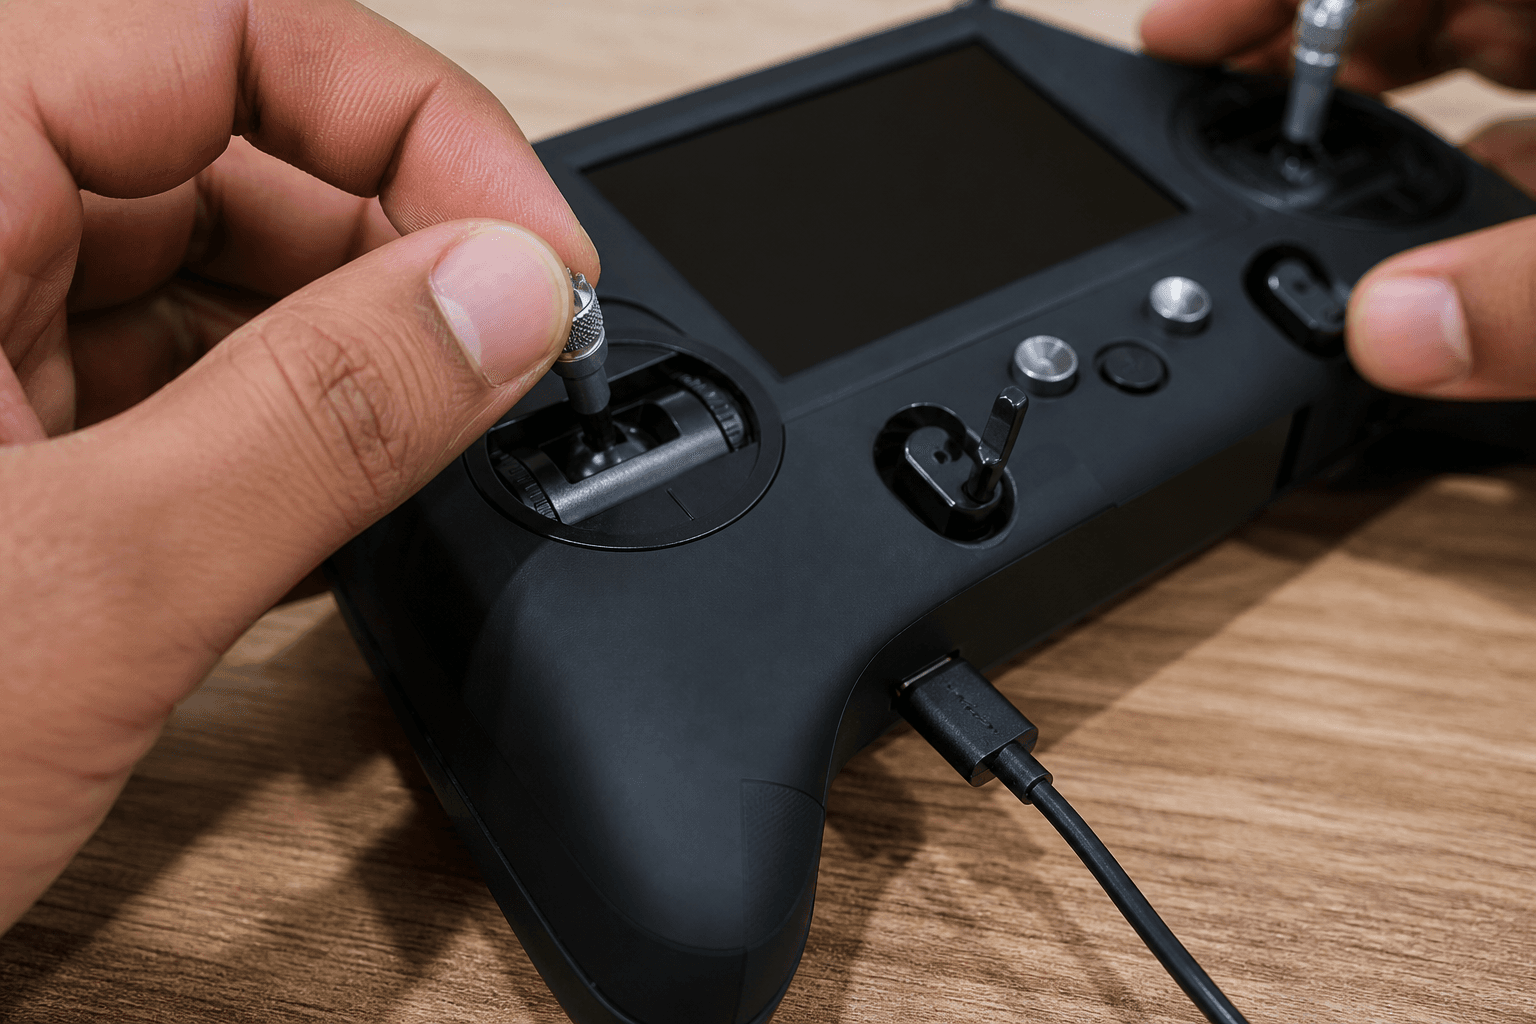
Gimbal and EdgeTX orientation: radio gimbals and EdgeTX basics.
Kit radio vs real radio
| Path | Best when | Trade-off |
|---|---|---|
| Kit radio | Zero gear, testing the hobby | May outgrow quickly |
| Dedicated ELRS radio + BNF | You already know you will stick | Higher upfront, lower regret |
| Radio only first | Waiting on whoop stock | Practice Mode 2 in /sim now |
If you already know the hobby will stick, buy the real radio and a BNF - kit vs BNF whoop choice. What BNF means: what is a BNF drone.
Pocket vs full-size (honest)
Pocket: backpack-friendly, apartment-friendly, easy to throw in a scooter bag. Great for whoop life.
Full-size / mid-size: nicer gimbals for many hands, better for long outdoor sessions, less “toy” feel.
There is no moral victory either way. Pick the one you will carry and use three times a week.
Before you order checklist
□ Confirm the whoop/BNF is ELRS (not an orphan protocol)
□ Confirm Mode 2 (or knowingly choose otherwise)
□ Plan goggles separately if buying radio + BNF
□ Learn bind once: [how to bind ELRS](/blog/how-to-bind-elrs-radio)
□ Practice Mode 2 in /sim with a USB gamepad while you wait
□ Budget a LiPo bag and packs - radio alone does not fly
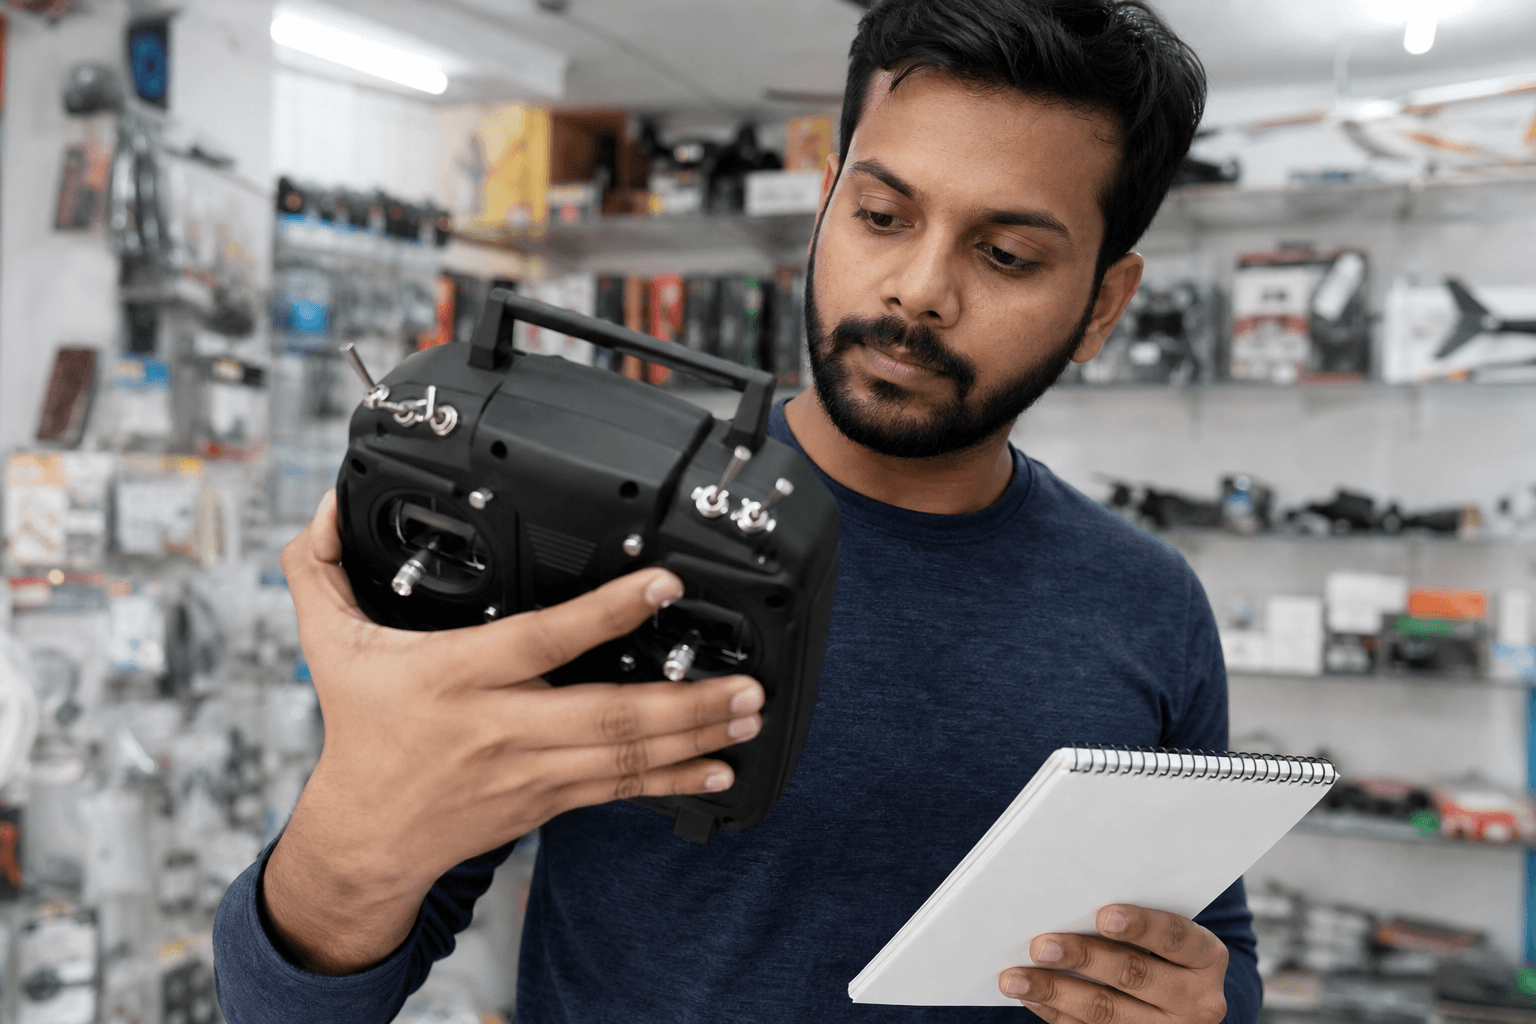
India stock tip: match what local pilots fly so bind help and spare modules are one WhatsApp away - shops and communities by city. Buying flow: buying checklist.
First-week radio setup goals
You do not need a 40-mix acro profile on day one.
- Bind to the whoop.
- Confirm stick moves in Betaflight or OSD.
- Put ARM on a dedicated switch you will never confuse - how to arm.
- Optional: ANGLE mode on another switch for early indoor packs.
- Failsafe awareness - props-off bench checks where possible.
Beginner Configurator path: Betaflight for beginners.
Common radio mistakes
| Mistake | Why it hurts |
|---|---|
| Non-ELRS orphan kit forever | Next BNF will not bind |
| Wrong stick mode vs sim | Muscle memory fights itself |
| ARM on a bumpable switch | Accidental spins |
| Skip sim practice | First packs are pure panic |
| Premium radio, zero spare props | You own a transmitter, not a flying hobby |
Decision tree (60 seconds)
Have zero gear and unsure?
  → Kit is fine; plan a real ELRS radio later

Sure you will stick + want whoops?
  → ELRS radio + ELRS BNF

Travel / apartment focus?
  → Pocket ELRS

Long outdoor sessions / bigger hands?
  → Mid or full-size ELRS
Class of craft still undecided? Which build first.
Bottom line
Buy ELRS, Mode 2, and a radio you will carry every week. Let the radio outlive the first frame; replace props and motors, not protocols.
Bench
ELRS radios and matching BNFs: the Bench. Practice sticks on /sim. Build paths: Grind Lab.
Discussion
Comments aren't open on this post yet. Share it with your build group, or start a thread on X.