
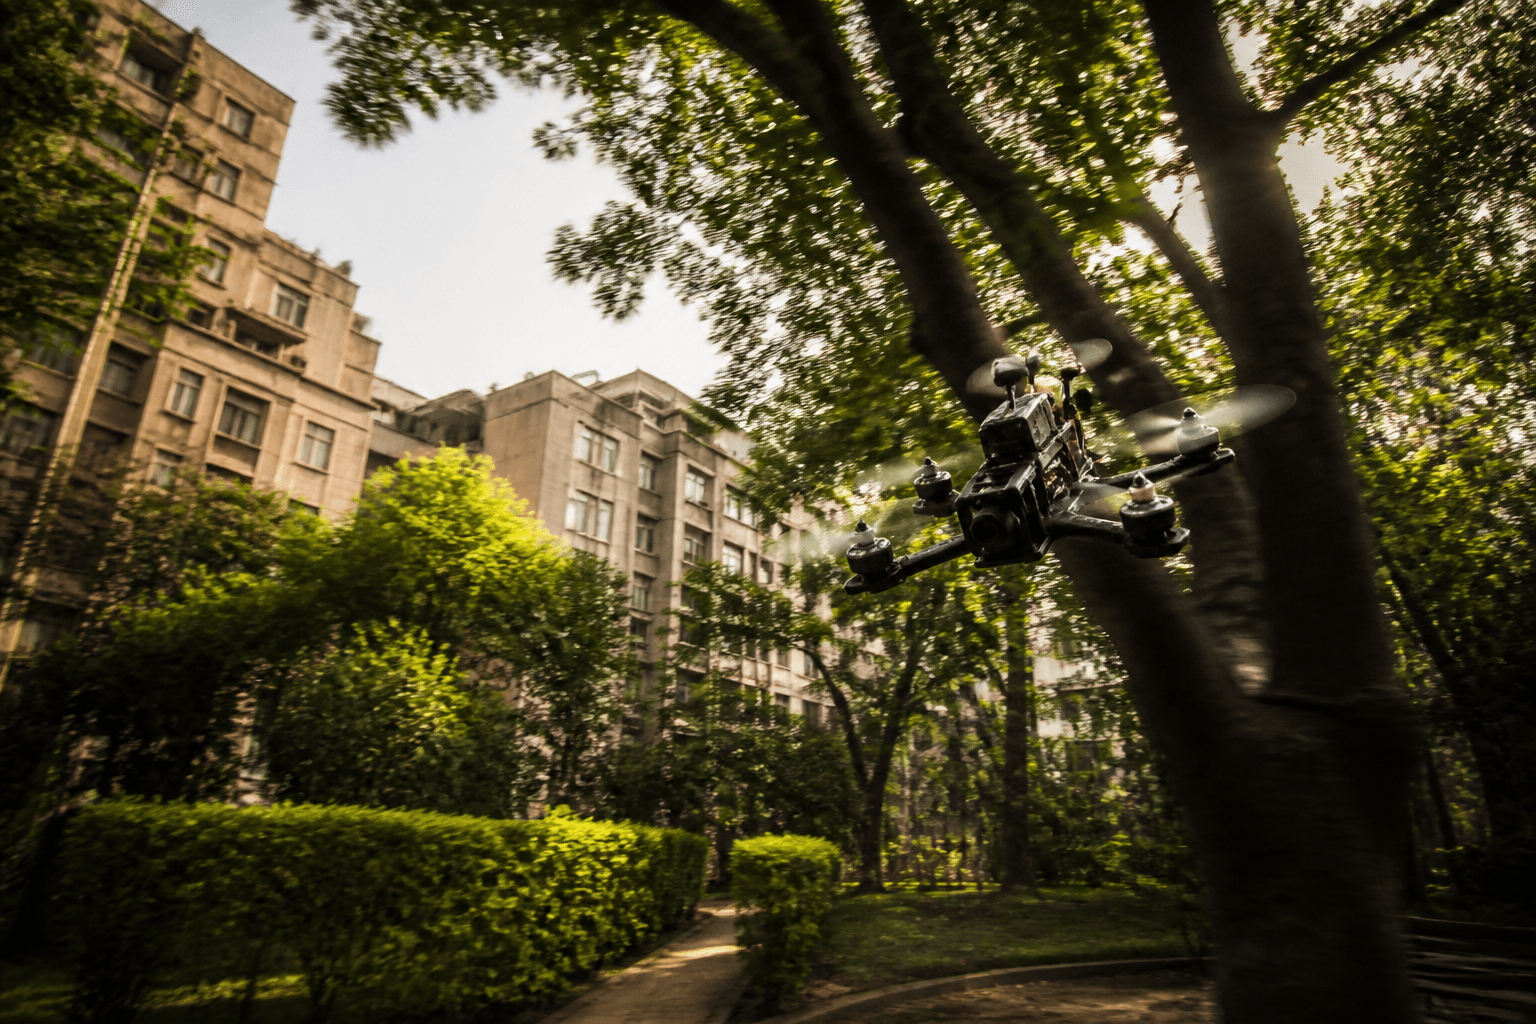
Building a 3-inch freestyle rig for tight parks

A 3-inch freestyle rig is the compromise between whoop agility and 5-inch punch, if your flying spots are tight, noise-sensitive, or tree-lined. It is not a "small 5-inch" with the same parts scaled down. Disc load, amp draw, and vtx weight dominate the build math in ways that reward deliberate part choices over copy-paste recipes.
Why 3-inch
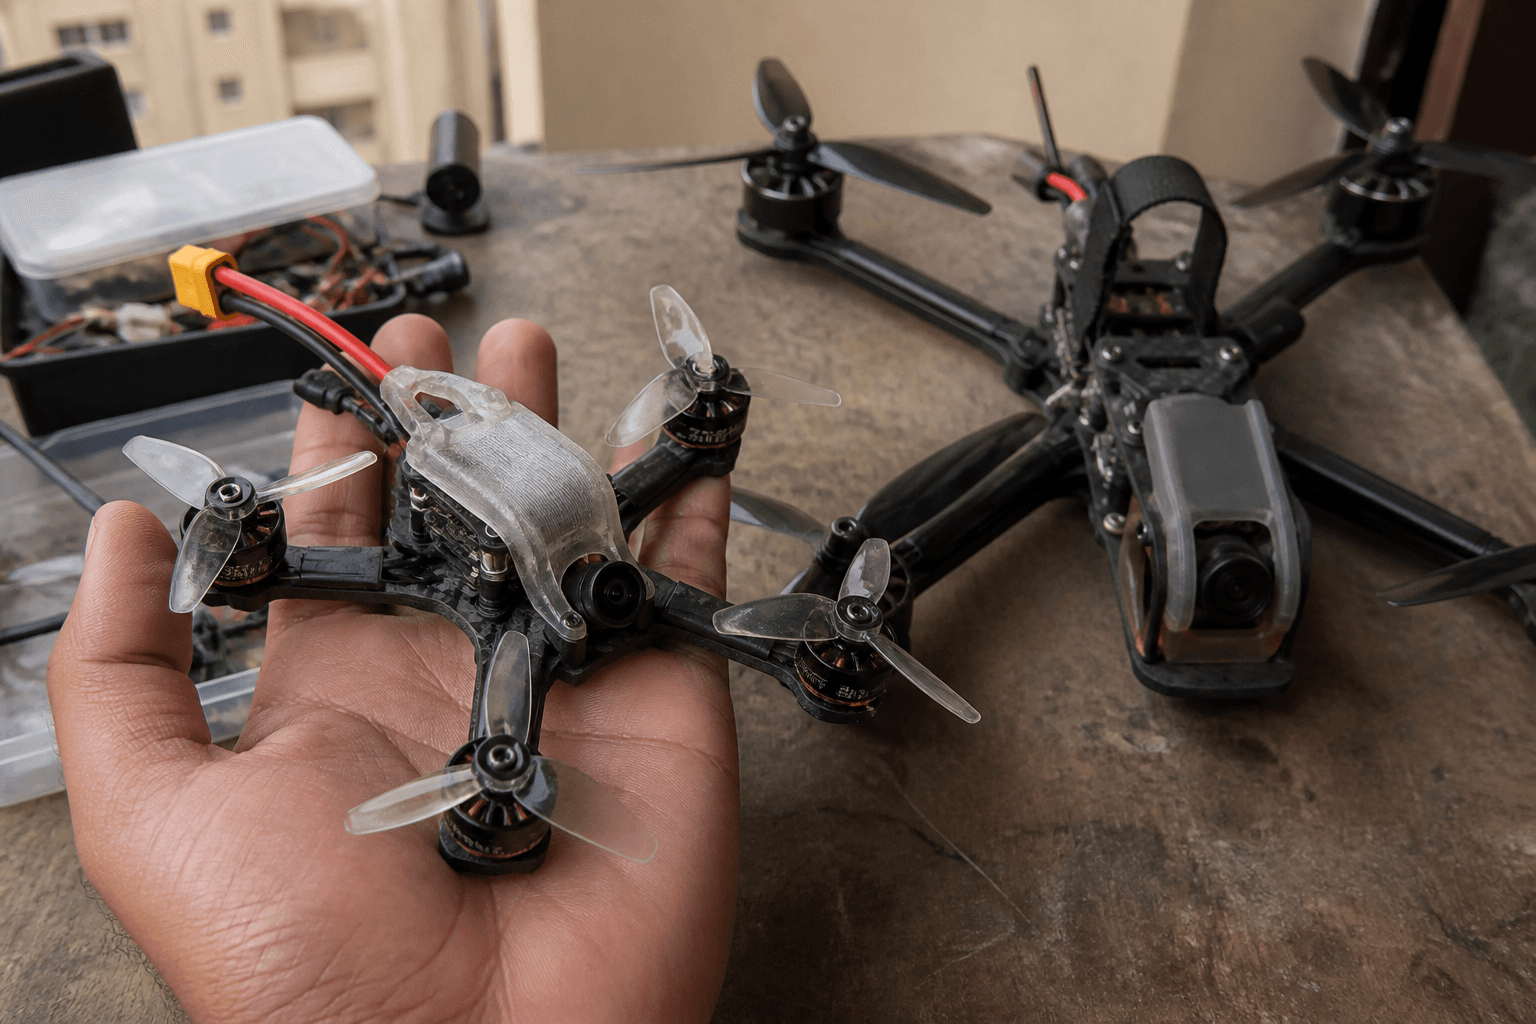
- Smaller disc = less kinetic energy in crashes (not safe, just cheaper)
- Fits more urban gaps than 5-inch
- Still runs HD if you budget vtx and weight carefully
Where 3-inch wins
Indian city pilots often fly early morning in parks with tree canopies, apartment sight lines, and noise pressure. A 3-inch can thread gaps a 5-inch cannot and usually sounds less aggressive at the same distance, though it is still not silent. For learning lines between obstacles, the lower inertia helps you abort a bad entry without committing the whole quad to a wall.
Where 3-inch loses
Open fields, strong wind, and long-range cruising favour larger discs. If your only spot is a big ground, a 5-inch or 7-inch explorer may be the better tool. Honesty about where you fly beats buying the quad that looked best on YouTube.
Parts philosophy
| Area | 3-inch bias |
|---|---|
| Motors | Higher KV than 5" analog recipes, verify amp draw |
| Props | 3"–3.5" freestyle pitch, buy two profiles |
| Battery | 4S 300–450 mAh common; more packs > one huge cell |
| Frame | Stiff enough for freestyle, not boat anchor |
Match motor KV math to actual all-up weight, 3-inch builds vary wildly with HD vtx.
Motor and ESC sizing
3-inch freestyle motors are often 1404–1507 class with KV tuned for 3–4S. The mistake is porting 5-inch KV tables without checking amp draw on punch-outs. Use a current-limiting bench supply or log OSD current on first flights. Undersized ESCs run hot in summer, same lesson as 5-inch, less thermal mass to forgive mistakes.
Frame selection
Look for:
- Stiff arms: flexy 3-inch frames feel vague on snap rolls
- Protected stack: you will hit branches
- HD vtx mount that does not raise centre of mass absurdly
- Enough battery strap length for your pack sizes
Common mistake: Building a 3-inch HD rig that weighs as much as a light 5-inch analog quad, then wondering why it feels sluggish and hot.
Battery strategy
More small packs beat one oversized cell for park sessions. You swap often, but each pack stays in its comfort zone. Match connectors, XT30 vs PH2.0, across charger, quad, and parallel board if you use one.
Build workflow
3-inch build order:
1. Frame + dry-fit stack + vtx
2. Weigh bare frame, set weight budget
3. Motors + ESC, verify amp rating for target cell count
4. RX + antennas, short coax, clear of carbon
5. Camera tilt ~25° to start
6. Props, two profiles, log amp and feel
7. First 10 flights discipline, no tree diving day one
Follow first 10 flights after a new build even if you are an experienced 5-inch pilot. New inertia and camera scale take adjustment.
Noise reality
Quieter than 5-inch, still not apartment friendly. See terrace etiquette before you hover a park border.
Spectator and pet awareness
Smaller does not mean safe around people. Props still cut; noise still carries at 6 AM. Kids and pets near whoops applies to outdoor micro freestyle too, keep distance, fly when parks are empty.
Tuning notes
3-inch rigs often run higher rates than 5-inch for the same stick feel because the quad is lighter. Start from a known 3-inch preset if available, fly first 10 flights after a new build, then adjust one axis at a time. Do not port 5-inch rates blindly, different inertia and propwash. See propwash tuning after mechanics are solid.
When to stop tuning
- Motors hot after calm hover, prop or KV issue, not more D-term
- Jello in DVR, camera mount before PID
- Oscillation only on worn props, replace, do not tune
India notes
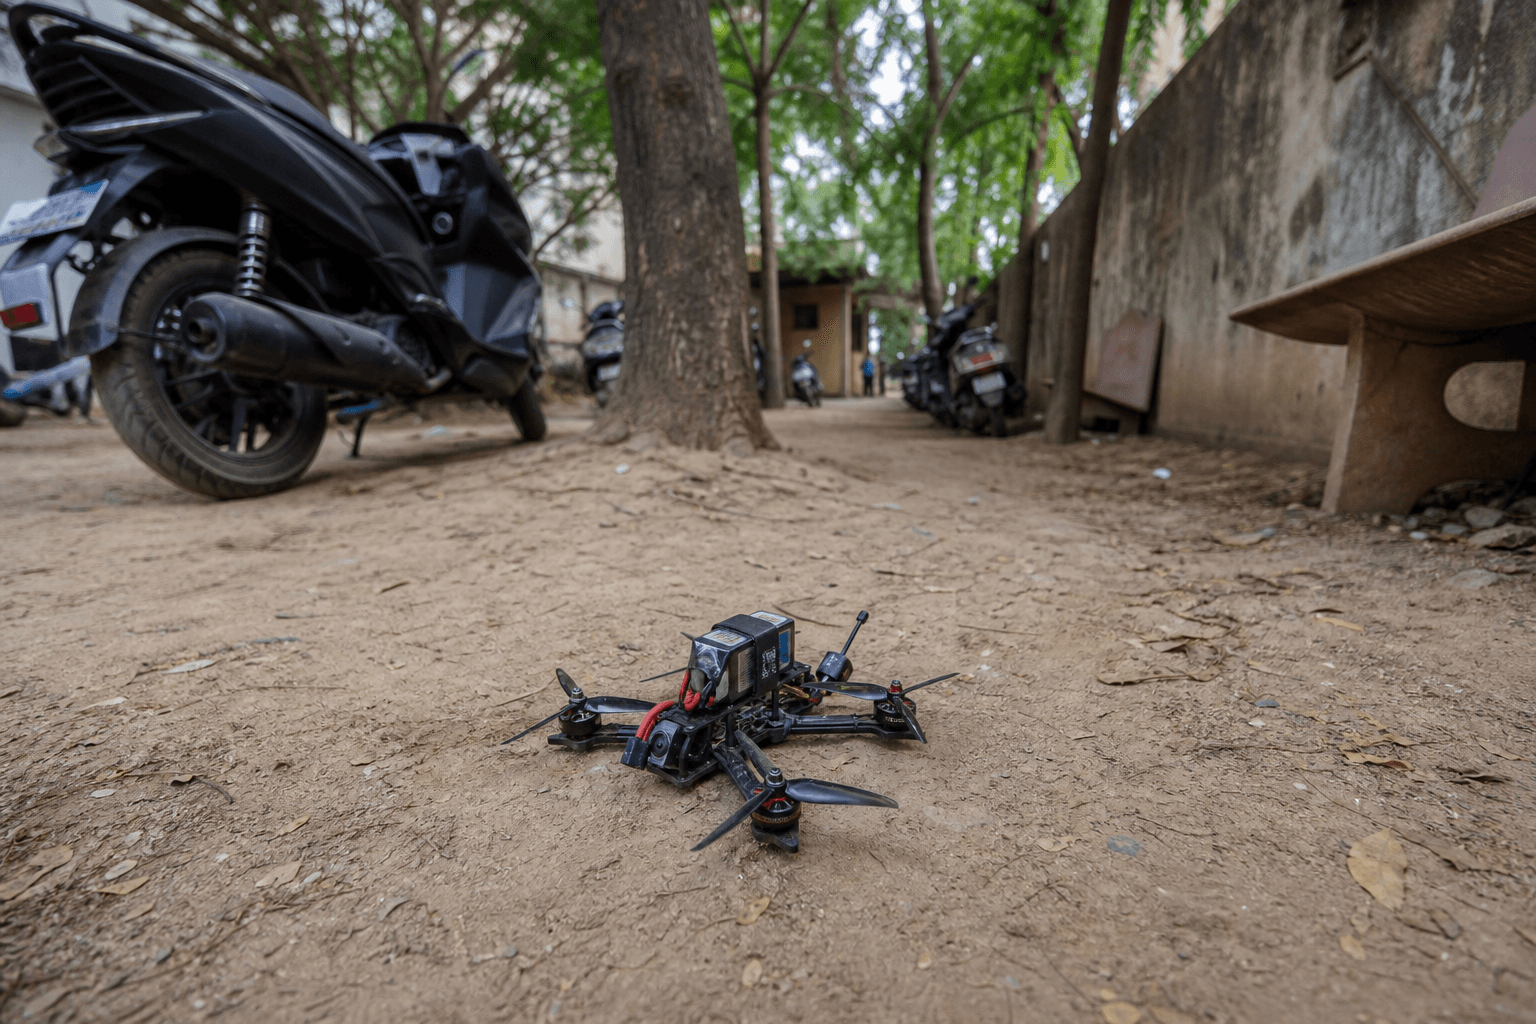
Domestic parts for 3-inch are easier to restock than niche 7-inch, bias local sellers for props and arms you burn weekly.
Monsoon humidity affects connectors and bearings, wipe down after wet grass sessions and inspect carbon arms before the next pack. Summer heat: pack shade and spare batteries; small packs heat faster on parallel charge boards.
Analog vs HD on 3-inch
Analog keeps weight down and simplifies repairs, good for learning in trees. HD vtx on 3-inch is viable but tight on amp and thermal budget. Pick ecosystem before ordering frame; Walksnail vs HDZero vs O3 lock-in hurts if you switch mid-build.
Crash economics
Arms and props cost less than 5-inch, which encourages practice, but stack and HD vtx still hurt. Carry a field repair kit with arms, props, and standoffs sized for this frame, not your other quad.
Weight budget workflow
Before you solder, set a target all-up weight and treat it like a budget line item.
| Build stage | Typical 3" HD target |
|---|---|
| Bare frame | 30–45 g |
| Stack + vtx (dry fit) | +45–70 g |
| Motors + props | +80–110 g |
| Battery in strap | +35–55 g |
| All-up | 180–250 g common |
If you cross 250 g without adding capability, pause, HD vtx and thick TPU guards are the usual suspects.
Weight audit before first arm:
□ Frame on scale, note in build log
□ Stack + vtx vs maker's reference build
□ Full quad, if >250 g, list top three heavy parts
Prop A/B test (one afternoon)
Buy two pitch profiles in the same diameter. Fly the same line five packs each, log OSD current on punch-out, note motor heat after hover, pick crisp feel without pegging amps.
Common mistakes (3-inch specific)
| Mistake | Why it hurts |
|---|---|
| 5-inch rates on day one | Oscillation, hot motors |
| Tree diving before tune settles | Stack hits branches |
| One giant 650 mAh pack only | Saggy punch, hot ESC |
| HD vtx with no spare antenna | One branch = no video |
Bench
- the Bench, 2.5–3" frames, 1404–1507-class motors, and 3" prop bags (not 5" part numbers)
Discussion
Comments aren't open on this post yet. Share it with your build group, or start a thread on X.