
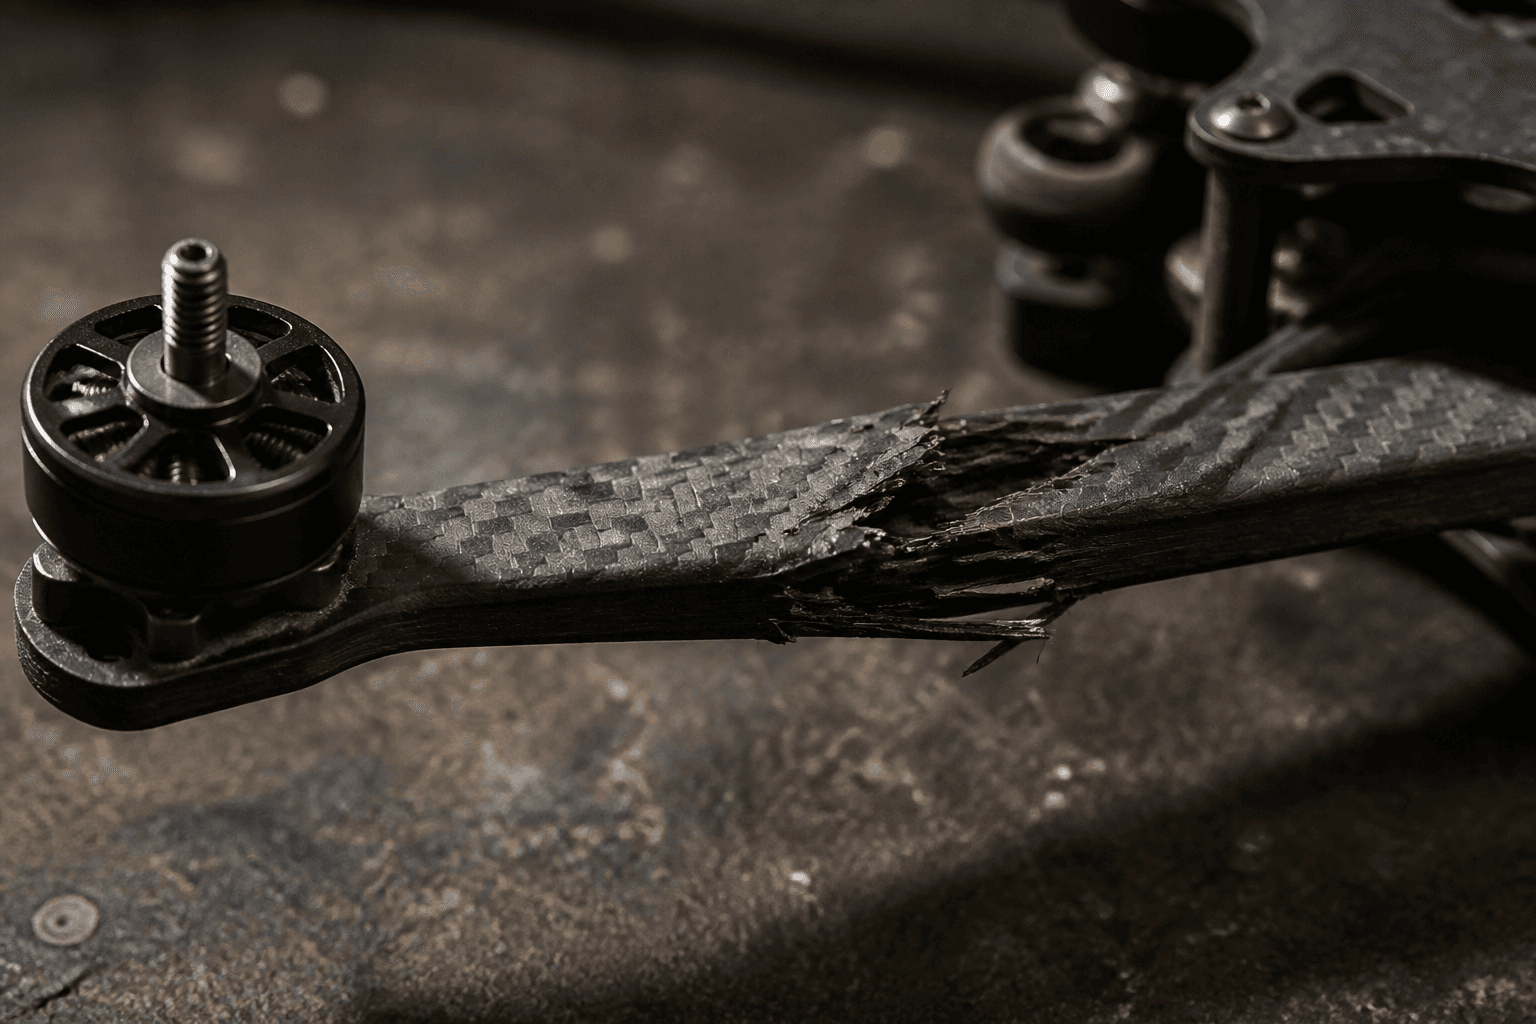
Carbon fiber splinters and frame stress cracks

Carbon is stiff until it isn't, micro-cracks and splinters turn into arm failures mid-pack. Carbon fiber frames survive crashes that would shred plastic, but they fail quietly first: hairlines, splinters, white stress marks. Learn to read those signs before the arm separates at full throttle.
Why carbon fails the way it does
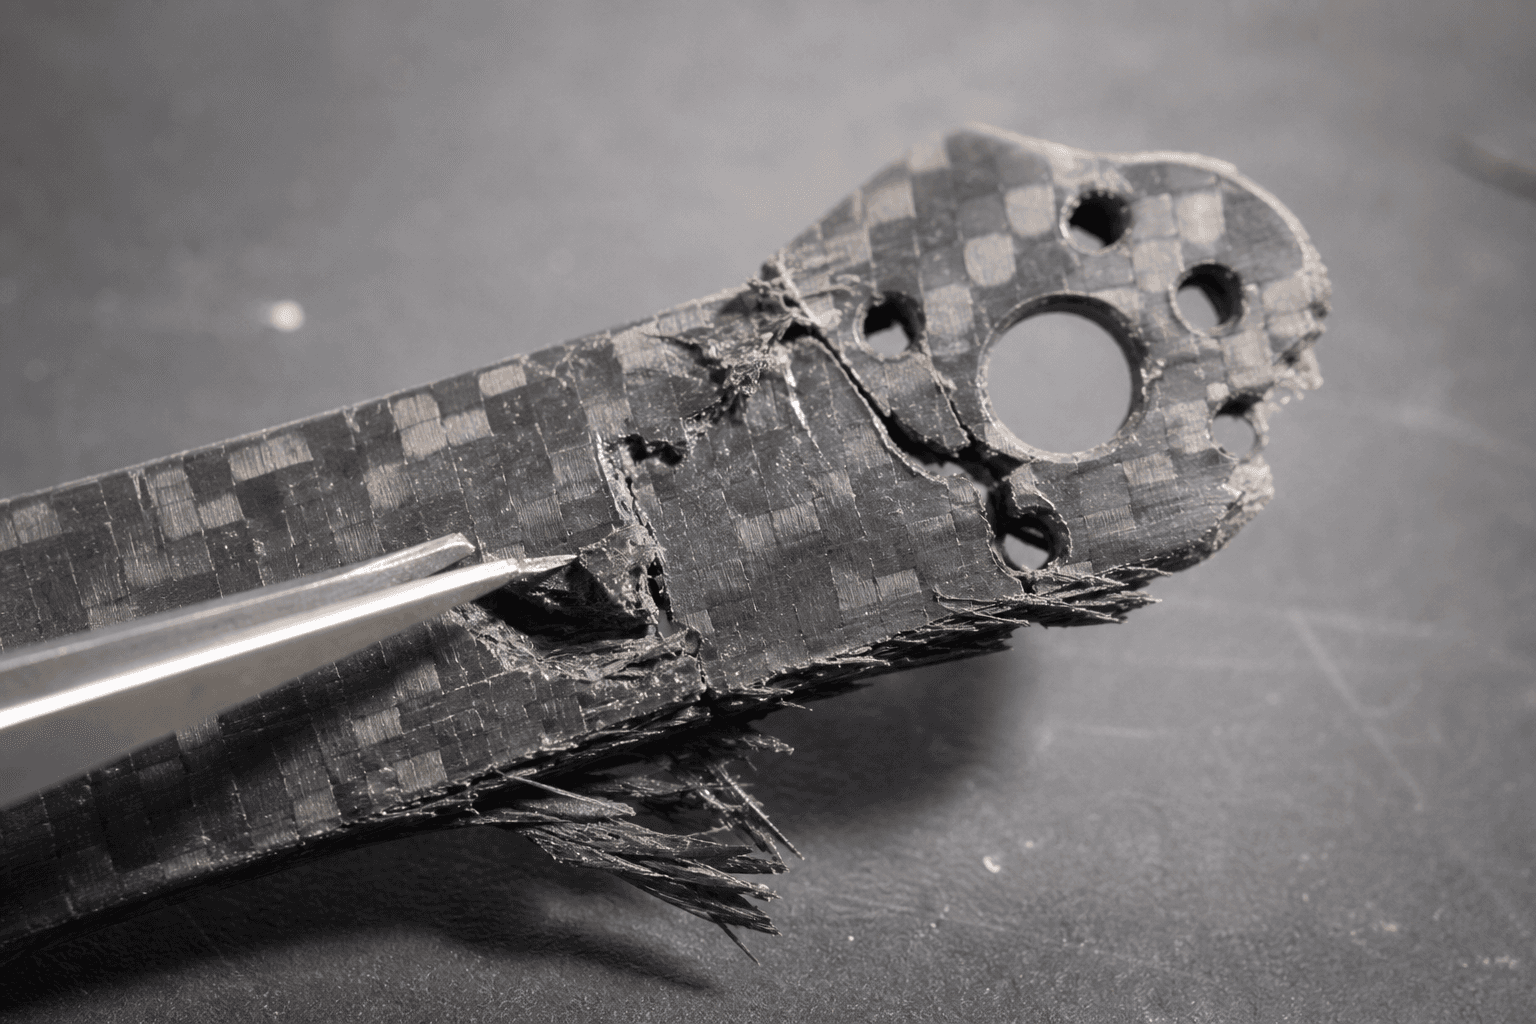
Carbon tubes and plates are strong in tension and compression along fibers. Impacts that twist or shock-load arms cause micro-fractures and delamination: layers separating inside the laminate. The arm can look fine until the next power loop.
Carbon dust and splinters are also conductive when fibers contact copper. A frayed arm edge against motor wire is a short hazard.
After every hard hit
- Wipe arms with cloth, catch splinters before gloves do
- Flex arm gently by hand, creak or soft feel = investigate
- Check motor mount screws, stripped inserts common
- Look at plates near standoffs for white stress lines
Inspection workflow
Post-crash carbon inspect:
1. Props off, battery out
2. Wipe each arm, black dust on cloth = fibers
3. Visual, hairlines at motor mount and arm edge
4. Gentle flex, compare feel arm to arm
5. Motor mount screws, torque check
6. Stack standoffs, plates cracked near holes?
7. Decision, fly, replace arm, or retire frame
Glove rule: Carbon splinters hurt for days. Wipe before you grab.
Splinters
Carbon slivers hurt and conduct when wet. Sand carefully, seal with epoxy or replace arm, do not fly with loose fibers near ESC.
Field vs permanent fix
| Damage | Field | Permanent |
|---|---|---|
| Small external splinter | Sand + tape walk-back once | Epoxy seal or replace |
| Frayed edge at wire route | Tape + reroute wire | Replace arm |
| Deep sliver cluster | Do not fly | Replace arm |
Tape is for walking off the field, not a season plan. See crash triage honesty.
Crack types
| Sign | Action |
|---|---|
| Hairline on arm edge | Replace before freestyle again |
| Delamination at stack | Retorque; replace plate if lift grows |
| Bent arm | Replace, bending carbon work-hardens wrong |
Hairlines vs cosmetic scuffs
Scuffs on arm surface from grass impacts often cosmetic. Hairlines at edges, motor mounts, or arm roots are structural. When unsure, replace, arms cost less than stack fires.
Delamination at standoffs
Cracks radiating from standoff holes mean the plate flexed beyond design. Retorque might help once; if crack grows, replace plate. Flying with a flexy stack destroys FC gyros and vtx connectors.
Motor mount and inserts
Stripped aluminum inserts in carbon arms are common after repeated motor swaps. Symptoms: motor screws spin freely, motor cants under thrust. Fix with insert repair kits or new arm, flying loose motors bends shafts and kills ESCs.
When to retire the frame
- Multiple arm hairlines on same flight
- Top plate crack crossing standoff line
- Repeated arm breaks at same frame point, geometry compromised
- Arm root delamination visible inside arm channel
Electrical hazard check
After carbon damage near wires:
- Inspect insulation at arm crossings
- Meter check phase to frame if unsure
- Reroute with grommet if edge is sharp
See connector guide for power path after arm impacts.
India humidity
Monsoon accelerates corrosion at cracked edges, inspect wet-session frames twice.
Moisture wicks into delamination gaps. Store crashed frames dry; wipe arms before bench storage. Winter off-season is a good time to replace arms you taped in September.
Documenting damage for warranty
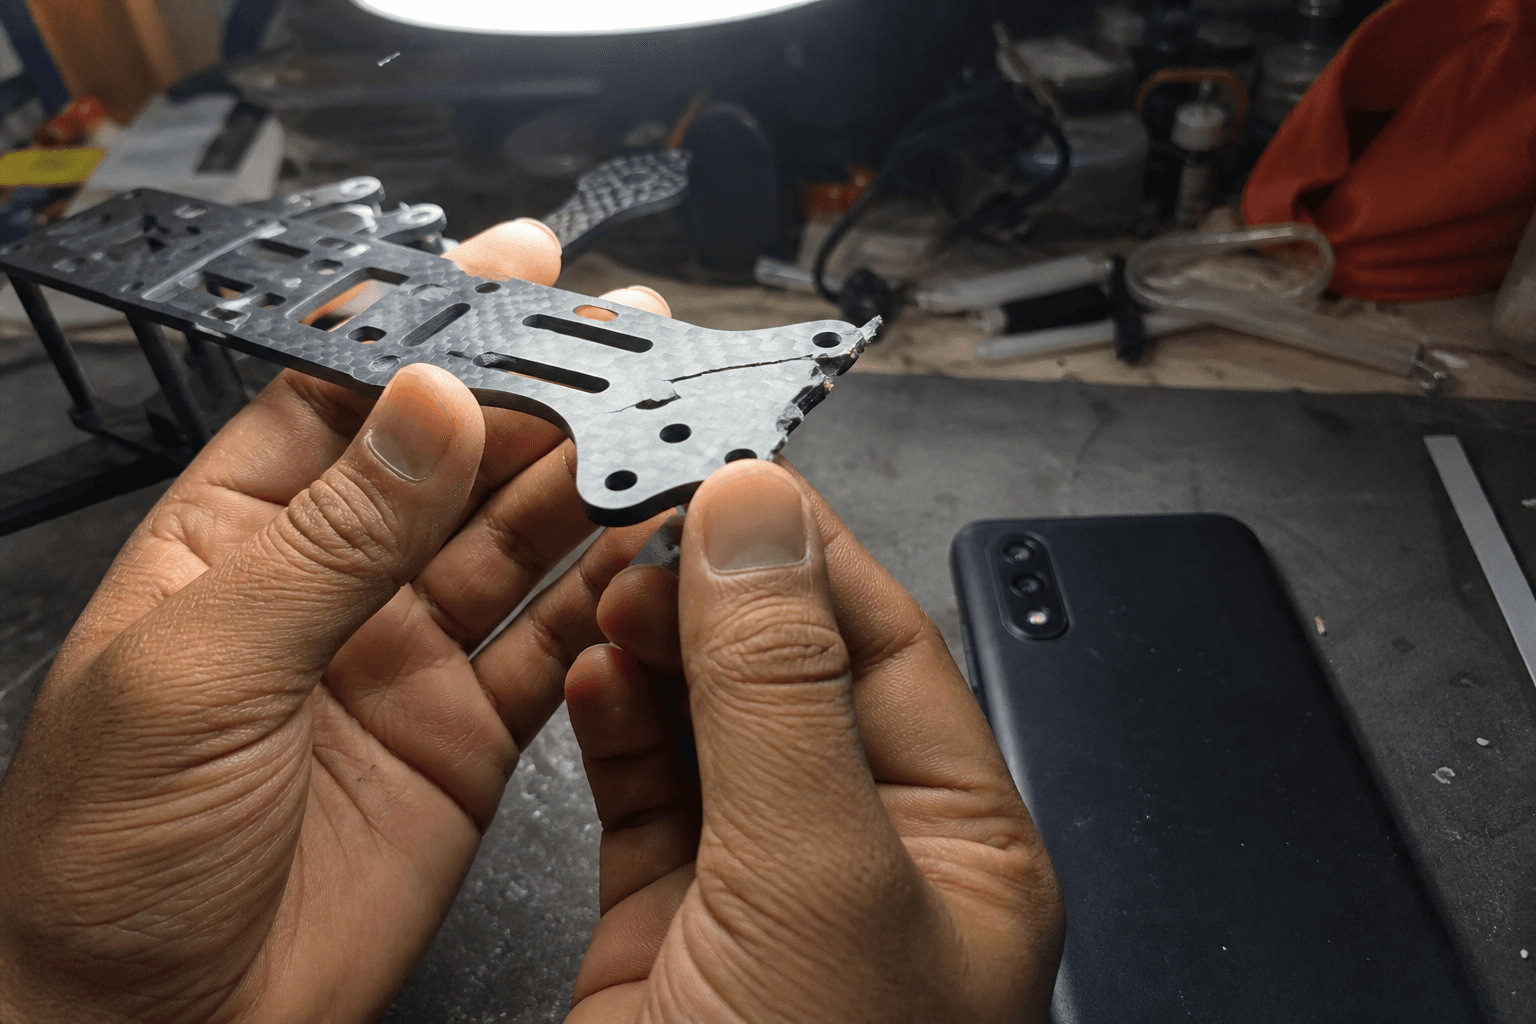
Some frame warranties cover manufacturing defects, not cartwheels. Photos of hairlines before you tape help if you genuinely believe an arm failed early. For crash damage, honesty saves argument, DOA and warranty docs matter more on electronics than carbon.
Prevention habits
- Torque motor screws to spec, overtight crushes carbon
- Use arm guards only if they do not trap mud against cracks
- Rotate spare arms in bag before season starts
- Do not "tweak" bent arms, replace
Glue and epoxy limits
Cyanoacrylate on hairlines is a temporary field bandage, not structural repair. Epoxy on clean, sanded carbon can reinforce minor edge fray if you know what you are doing, when in doubt, replace the arm. Epoxy adds weight and hides cracks that grow underneath.
Arm rotation strategy
If you break arms often on one corner, rotate spare arms across positions when replacing, a slightly flexy spare on the rear may feel odd but exposes if one arm slot in the frame is damaged. Chronic breaks at same mount hole mean frame retirement, not more arms.
When to stop flying today
- Visible crack at arm root
- Arm flexes differently than siblings
- Splinters near ESC or battery strap path
- You are telling yourself "one more pack" on a cracked arm
Replace arm, fly tomorrow. Mid-air arm failure is not recoverable.
Inspection cadence by season
| When | What to add |
|---|---|
| After every hard hit | Full seven-step workflow above |
| Weekly if flying bando | Wipe arms, motor screw torque |
| Post-monsoon | Corrosion at cracks, monsoon guide |
| Pre-season (winter bench) | Replace taped arms, off-season maintenance |
Bench tools worth owning:
□ Nitrile gloves, splinter prevention
□ Fine sandpaper or diamond file, edge fray only
□ Torque driver, motor screws to spec
□ Magnifier or bright phone light, hairlines hide in matte carbon
□ Spare arm set in bag before season starts
Common carbon inspection mistakes
| Mistake | Risk |
|---|---|
| "Hairline is cosmetic" | Arm separates mid-pack |
| Epoxy over crack without sanding | Hides growing delamination |
| Bending arm back straight | Work-hardened carbon fails later |
| Ignoring black dust on wipe cloth | Splinters near ESC = short |
| Flying after tape-only field fix | Tape is walk-off, not season plan |
When two arms show stress on the same frame, retire the frame: not the third arm. Geometry or crash history compromised the platform. Arms are cheap; stacks and LiPos are not.
Bench
- Airframe / 5" Freestyle, replacement arms and plates
- the Bench, hardware after hard hits
Discussion
Comments aren't open on this post yet. Share it with your build group, or start a thread on X.