
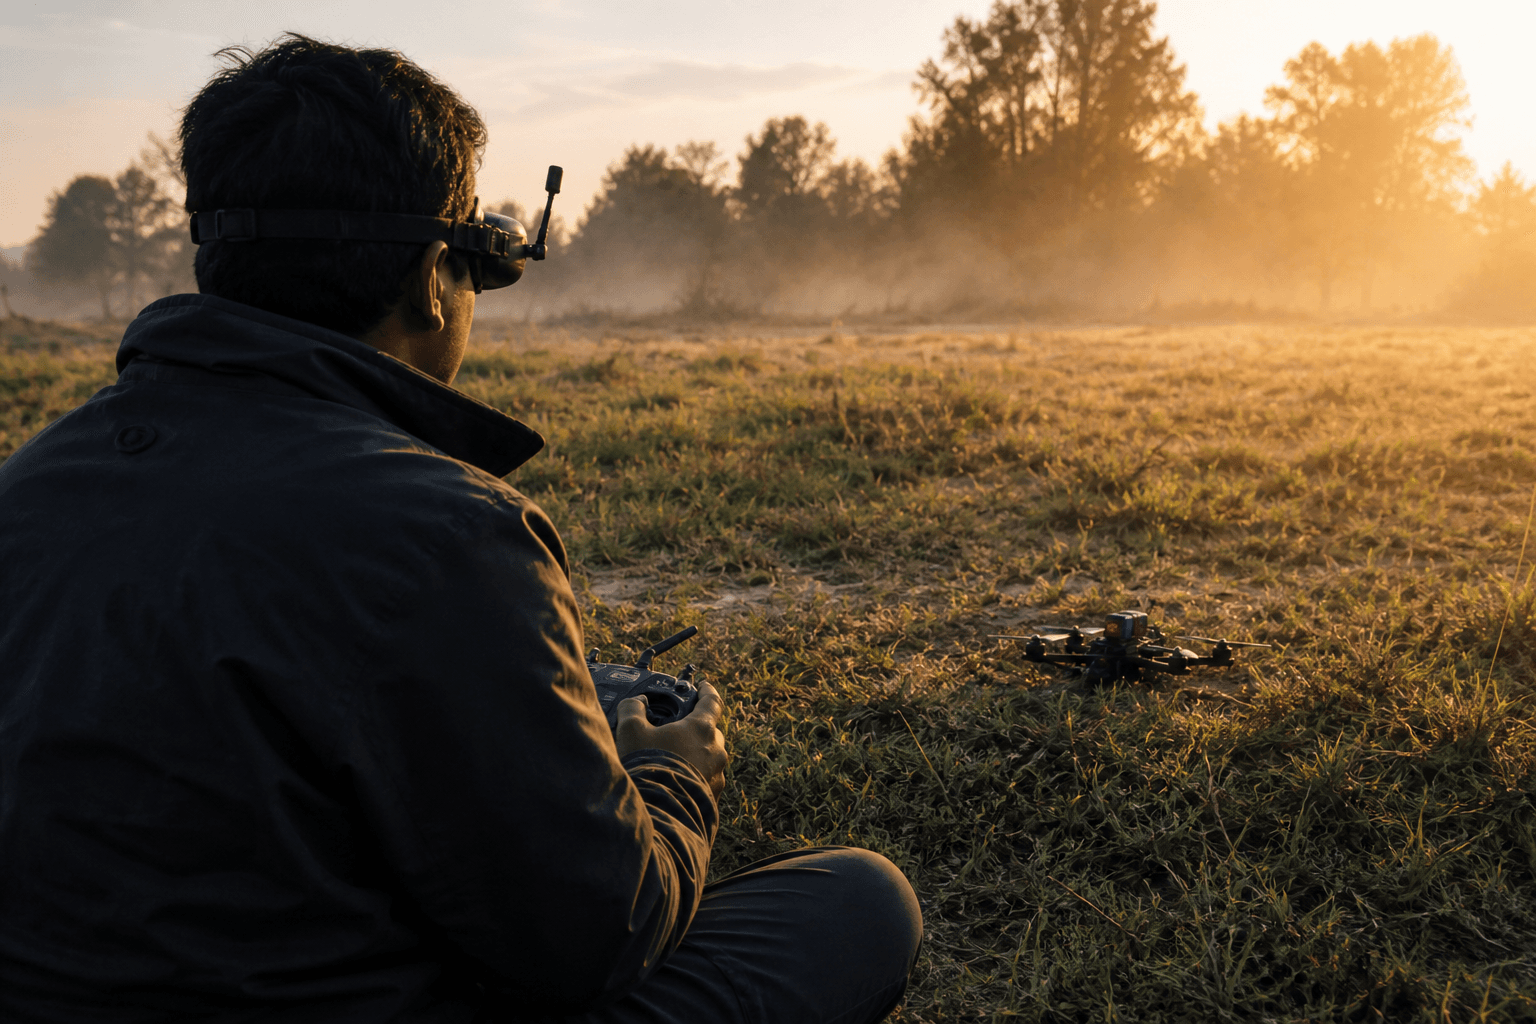
OSD essentials every pilot should configure

A cluttered OSD is unreadable; a bare OSD hides land-now facts. Configure for glanceability in sun and stress, the two minutes you spend in Betaflight configurator before a bando day pay back the first time voltage sags and you still see the number without hunting.
OSD is not decoration. It is the instrument panel for decisions you make in fractions of a second: cut the line, extend the pass, or turn home. HD overlays can be smaller and sharper; analog OSD can be chunky and forgiving. Both need the same information hierarchy.
Must-have elements
| Element | Why | Common mistake |
|---|---|---|
| Battery voltage | Sag tells truth before feel | Hiding it behind crosshairs |
| mAh or current | Habits and pack health | Never resetting mAh per pack |
| Timer | Session discipline | Flying "one more" into overdischarge |
| RSSI / LQ (digital link) | ELRS confidence | Ignoring LQ until failsafe |
| Warnings | Low voltage, failsafe stage | Setting warnings too late |
Voltage: Display main pack voltage prominently. Per-cell averages help on 6S; know your personal floor, many pilots land higher than they think they need "for safety margin."
Current / mAh: Teaches throttle discipline and catches failing packs. If mAh climbs faster than usual on the same lines, investigate before the pack puffs.
Timer: Resets per arm or per session, pick one habit and stick to it. Useful when flow state deletes clock awareness.
Link quality: On ELRS, LQ on OSD beats guessing from RSSI alone. Configure before failsafe testing.
Nice-to-have (only if you use them)
- GPS sats when using rescue, useless noise without GPS configured; see GPS module basics
- Throttle position for tune sessions, helpful with betaflight tuning, distracting for casual freestyle
- Artificial horizon: remove if you never look at it
- PID profile name: only if you actually switch profiles in field
Rule: If you have not looked at an element in ten sessions, delete it. OSD spring cleaning is free clarity.
Placement and readability
Keep critical numbers center-low or corners: not behind crosshairs you stare at in gates.
| Placement zone | Good for |
|---|---|
| Lower center | Voltage, warnings |
| Top corners | Timer, LQ |
| Side edges | Less critical stats |
HD overlays can be smaller, still test readability on hot days with max goggle brightness. Analog pilots in bright Indian sun: larger font wins over aesthetic minimalism.
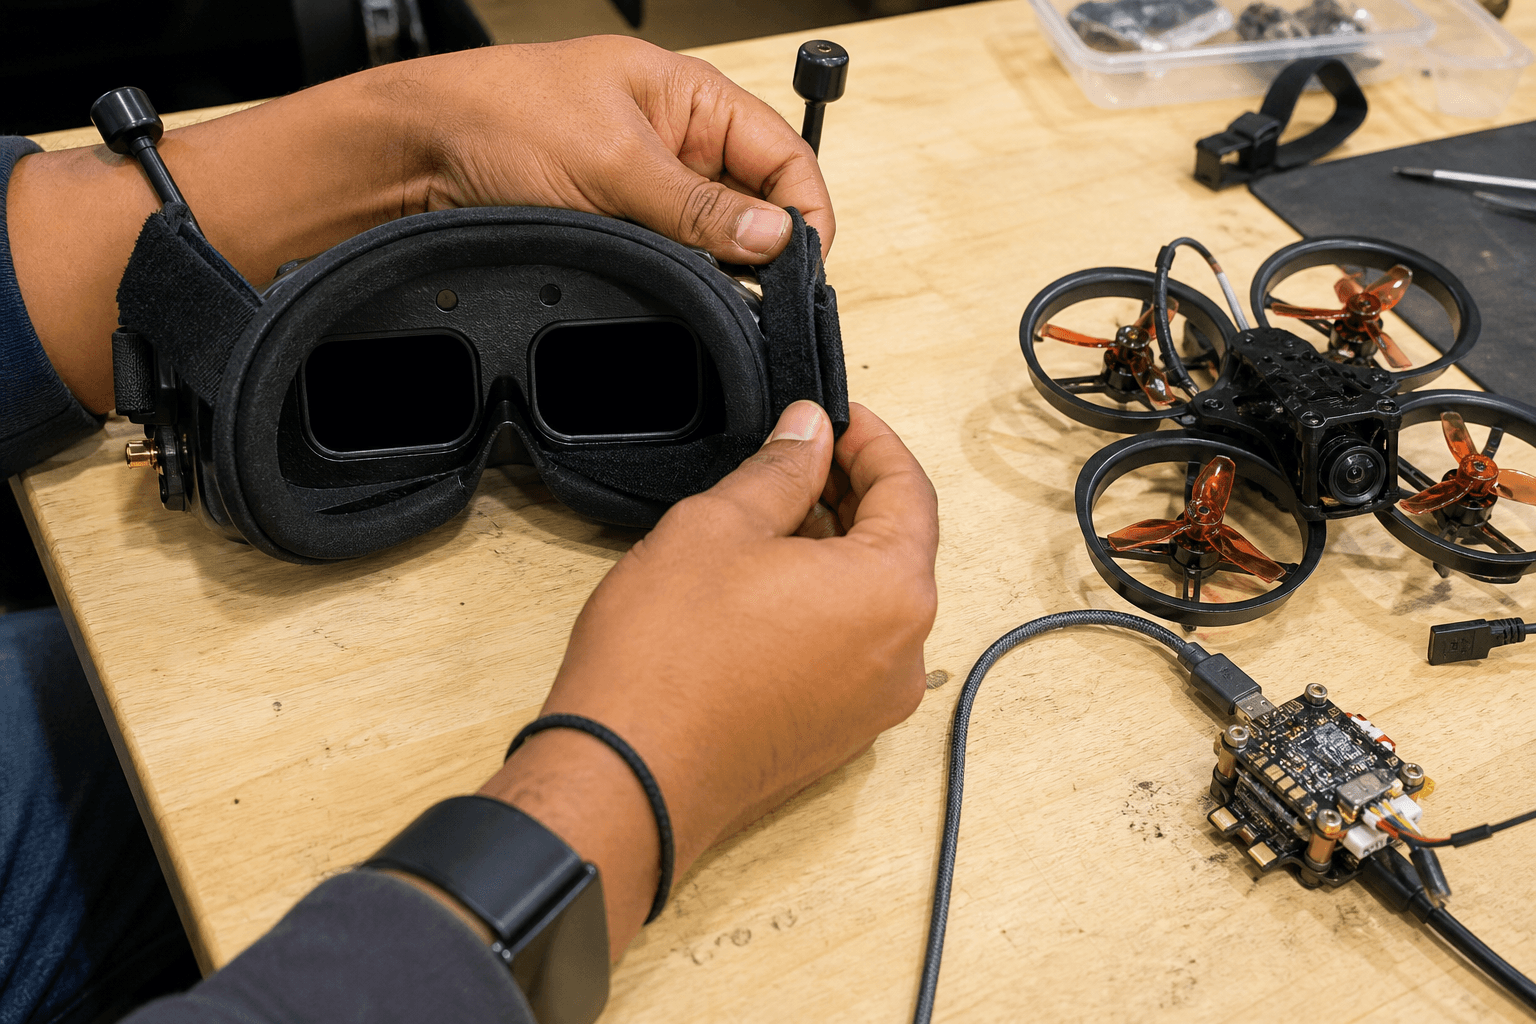
Glasses pilots: OSD position interacts with goggle fit and diopters, bench test with your actual face gear, not bare eyes.
Warnings that earn their pixels
Set cell voltage warning above your personal floor, 3.5 V per cell landing habit beats 3.3 V panic. Warnings should fire when you still have options, not when the quad is already a brick with rotors.
Configure stages to match your actual failsafe plan:
- Low voltage buzzer / OSD flash → land soon
- Critical voltage → auto-land or disarm per your risk tolerance
- Link loss → behavior you tested low over grass
LiPo note: Repeated deep discharge shows up in OSD data before the pack swells, pair habits with LiPo safety.
Analog vs HD OSD workflow
| Path | Setup note |
|---|---|
| Analog | Betaflight OSD on cam or FC, font and position in configurator |
| HD digital | Often FC OSD embedded in digital feed, verify elements survive vtx swap |
| DJI / some HD | Limited or alternate OSD paths, know what your stack actually shows |
Switching from analog to HD without re-auditing OSD is a common post-upgrade gap, you fly confident image with no voltage on screen until habit breaks.
Pre-flight OSD checklist
1. Voltage visible in peripheral glance
2. mAh reset or session habit confirmed
3. Timer visible
4. LQ/RSSI present if digital link
5. Warnings tested, arm on bench, verify flash/buzzer
6. No duplicate clutter (two clocks, three voltage readouts)
Field habits
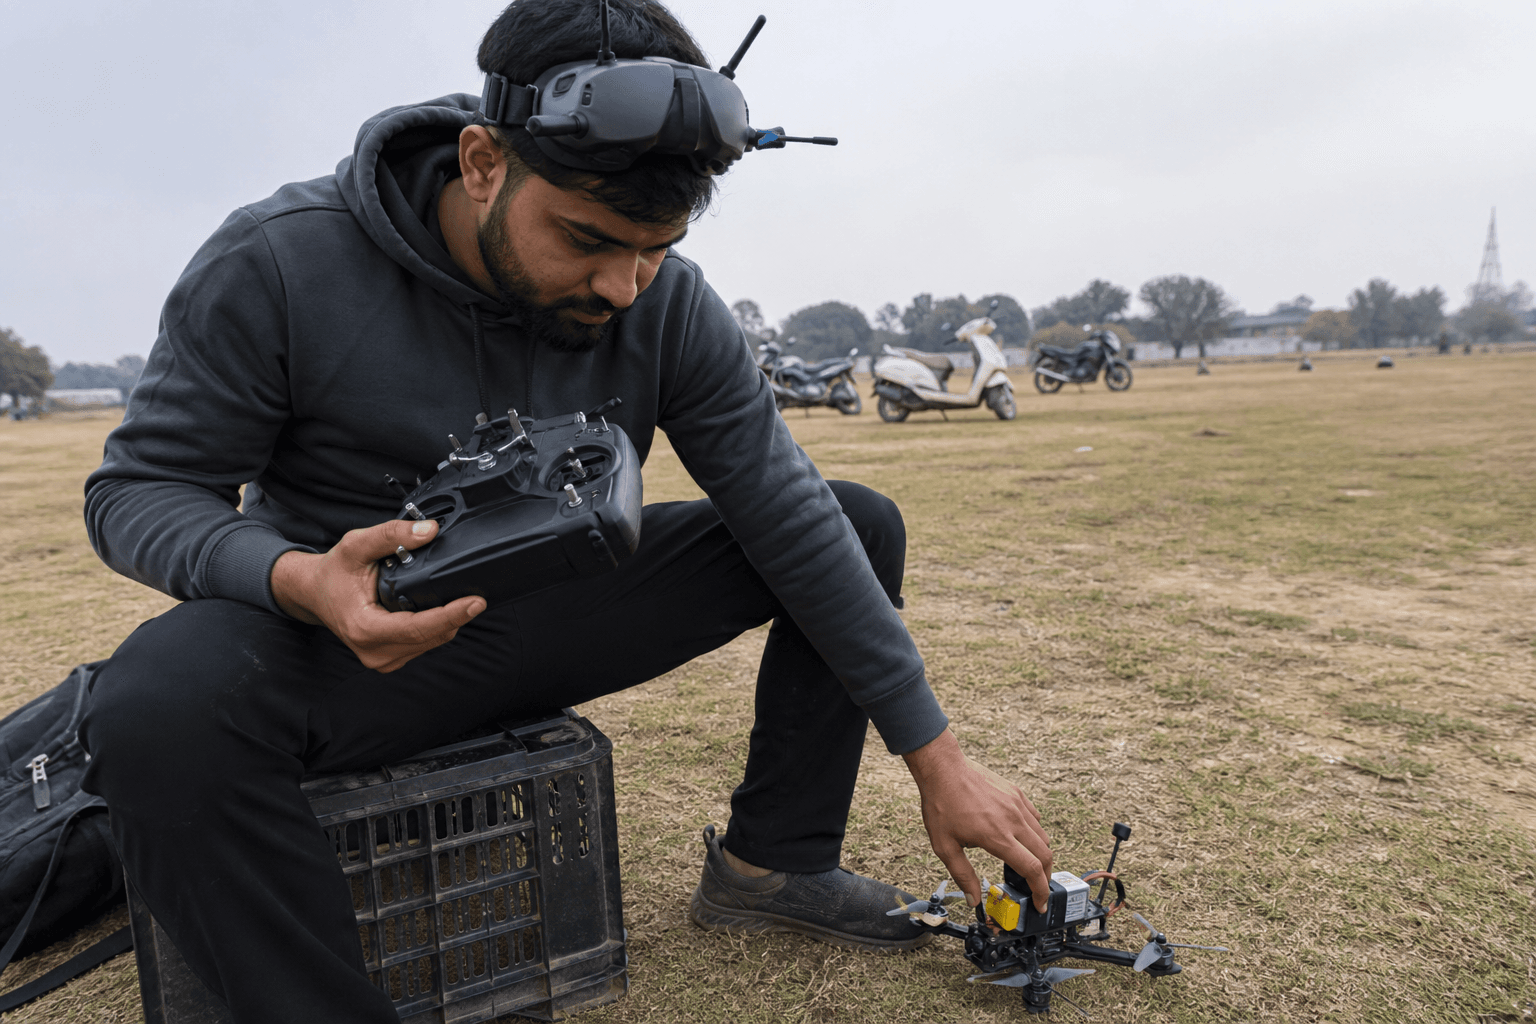
- After FC flash, verify OSD elements survived: updates sometimes reset profiles.
- Screenshot your OSD layout when dialed, saves rebuild time after chip swap.
- If video is clear but OSD missing, suspect cam/FC wiring or wrong profile, not vtx power first.
- DVR framing may crop edges, keep critical numbers inside safe margin if you edit for reels.
India-aware note
Long summer sessions: sweat on goggle foam and brightness cranked high make small fonts harder. Err toward larger OSD and higher contrast. Monsoon humidity fogs lenses, voltage you cannot read is voltage that does not exist.
Configure once per quad class, copy profile to similar builds, then fly: perfection in configurator is not worth missing golden hour light.
Profile management across quads
If you run whoop, 5-inch, and cinewhoop, duplicate OSD profiles intentionally:
| Quad class | OSD emphasis |
|---|---|
| Whoop | Voltage, timer, simple warnings |
| 5" freestyle | Voltage, mAh, LQ, timer |
| GPS rig | Add sats, home distance if used |
Name Betaflight profiles to match radio models in EdgeTX, reduces "wrong quad" moments when switching models at a meet.
Common OSD mistakes in the field
- Two voltage readouts that disagree, usually one is per-cell average misread
- Enormous artificial horizon hiding branch lines in HD
- No LQ on ELRS: RSSI alone hides margin; configure LQ on OSD for control link
- RSSI-only on video: vtx desense near the RX pigtail can look like “full RSSI” until range fails
- Warnings disabled after firmware update, re-check after every flash
A five-minute bench review after any FC update beats one pack of flying blind.
Warning threshold starting points
Tune to your packs and style, these are starting habits, not gospel.
| Cell count | "Land soon" habit | "Critical" flash |
|---|---|---|
| 4S | 3.6–3.7 V under load | 3.5 V |
| 6S | 3.6–3.7 V per cell | 3.5 V |
| Whoop 1S | 3.5 V | 3.3 V |
Pilots who freestyle hard set warnings higher: sag hits faster on punch lines. Whoop pilots watch voltage more closely because mAh readouts lie on tiny cells.
Copy profile workflow
1. Dial OSD on reference quad (best tune, familiar pack)
2. Betaflight → CLI dump OSD section OR save profile name in notes
3. Duplicate to new quad → verify elements after first arm
4. Screenshot goggles DVR with OSD visible, archive in build folder
5. After FC swap, compare screenshot to live, missing element = wiring/profile
HD stacks that re-encode video sometimes crop edges, keep voltage inside the safe margin you confirmed on DVR, not flush against the frame edge.
Discussion
Comments aren't open on this post yet. Share it with your build group, or start a thread on X.