
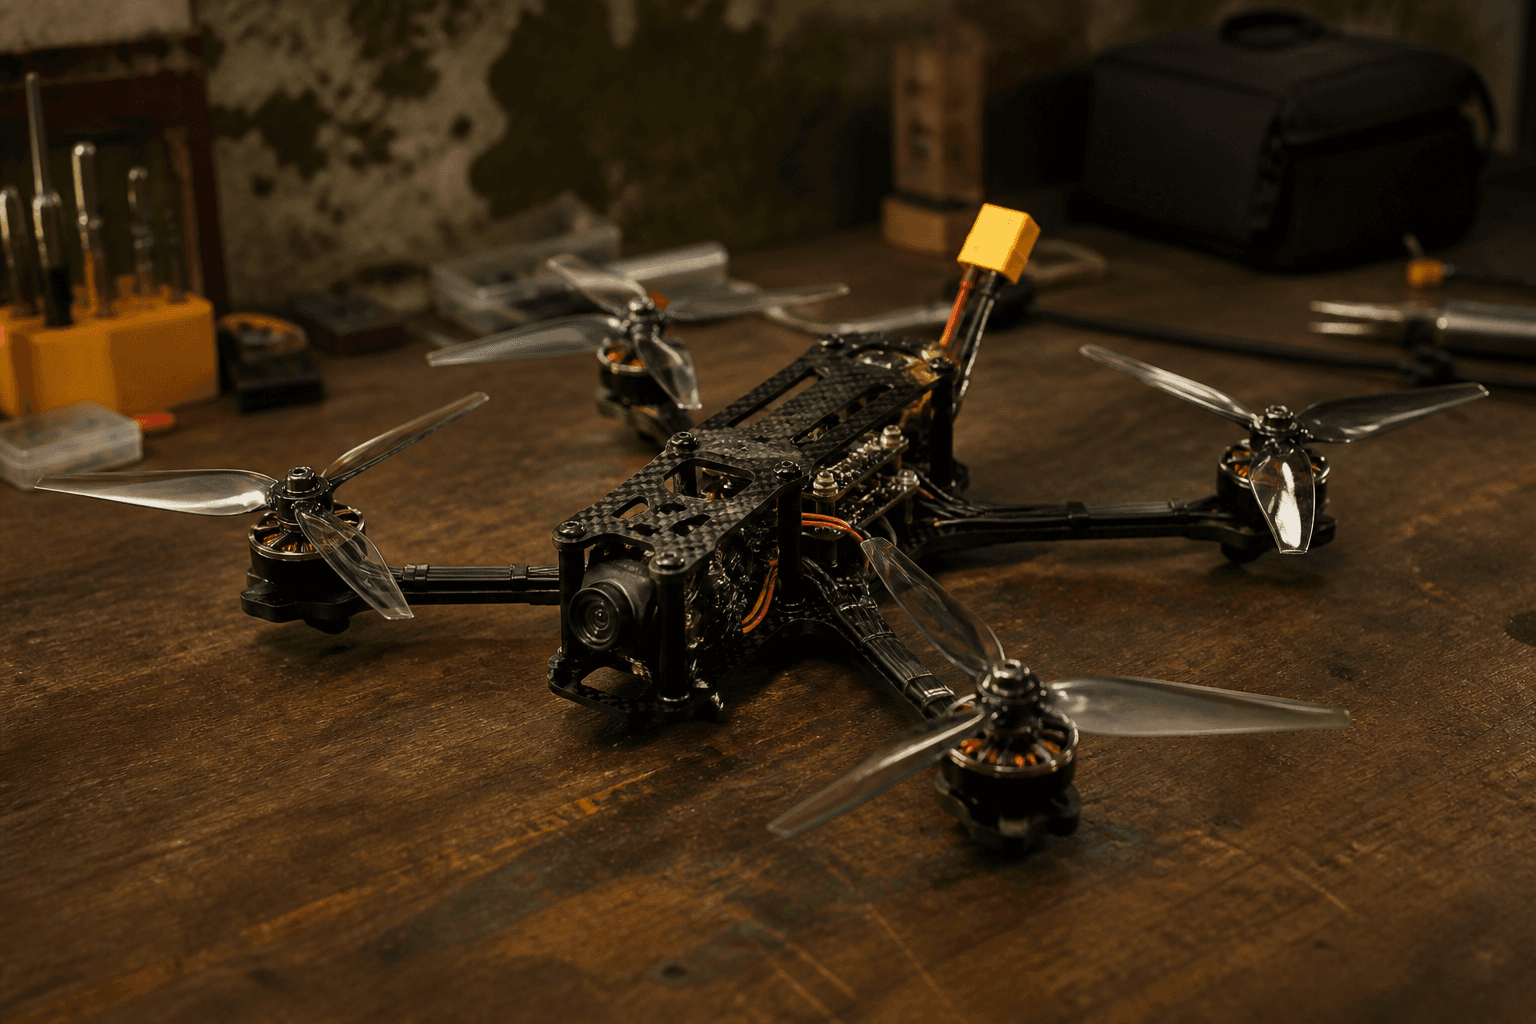
Building your first 5" freestyle quad

Start with the frame
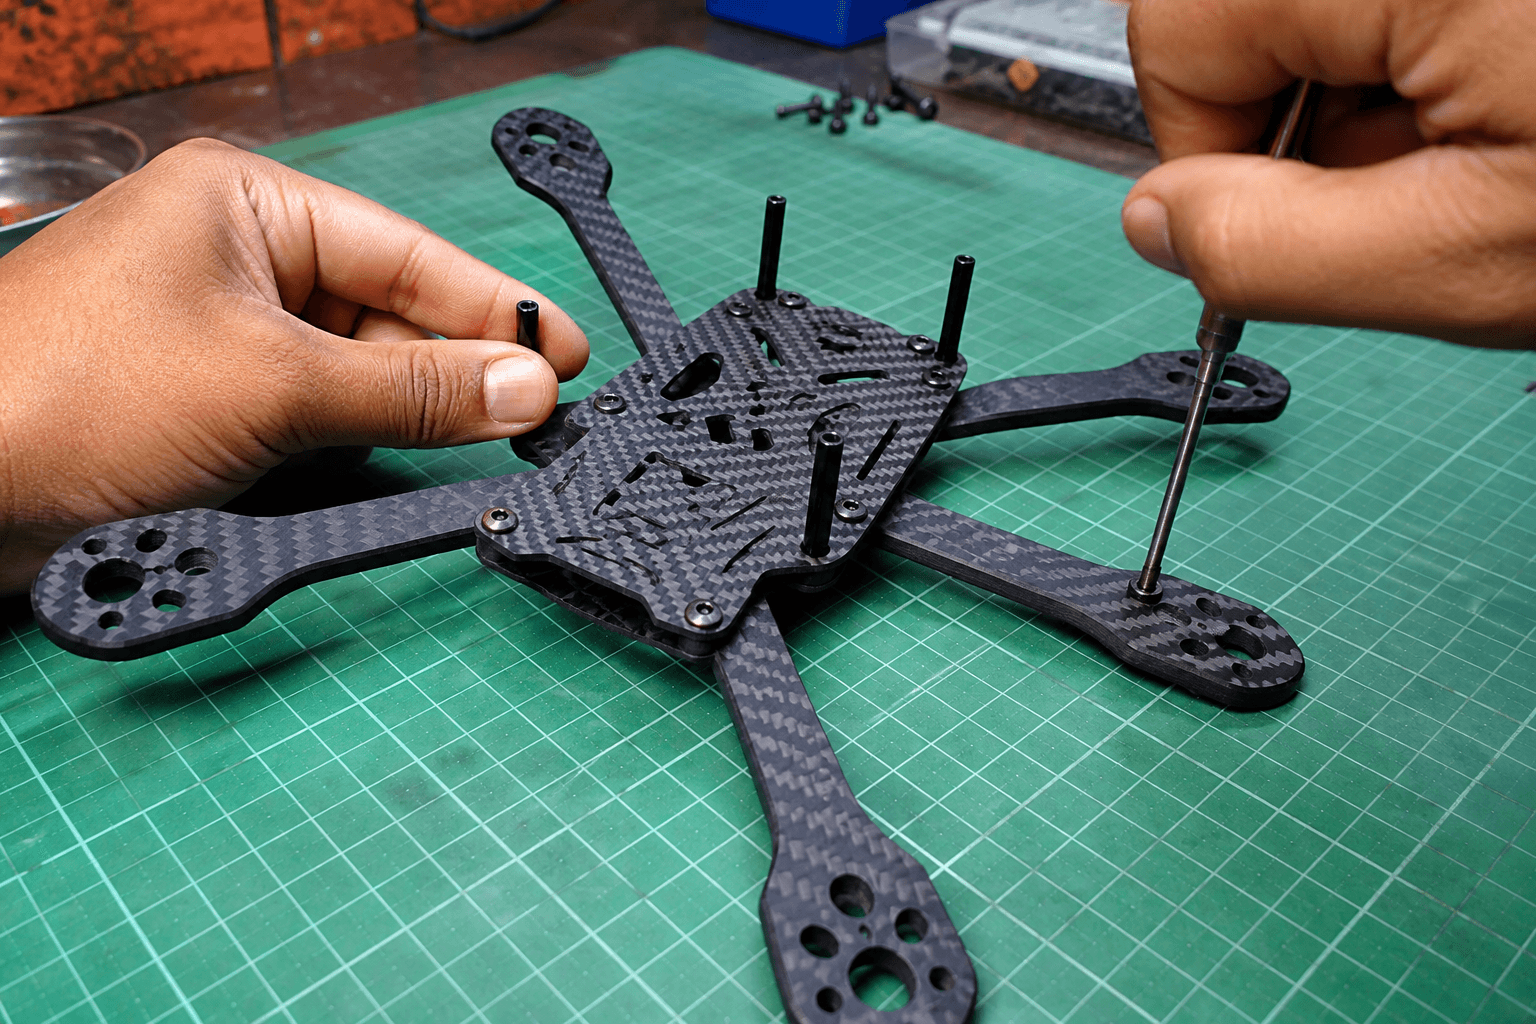
Your frame is the skeleton of the build. For a first 5-inch freestyle rig, look for:
- True-X or slight dead-cat geometry (predictable handling)
- 5–6mm arms and a solid top plate for stack protection
- Enough stack height for your FC, ESC, and RX without creative zip-tie engineering
A first build is not the place to chase the lightest titanium experiment on the market. Stiff arms, sane standoff spacing, and a top plate that actually protects your stack will save you money when you inevitably cartwheel into grass. Read the frame manual for recommended stack hole patterns, mixing random standoff lengths is how USB ports end up pressed against carbon.
Geometry in plain terms
True-X puts motors at equal distance from centre; it feels balanced and forgiving for learning power loops and split-S entries. Dead-cat shifts arms slightly forward, which can feel smoother on forward flight at the cost of a little yaw authority in tight corners. Either works for a first rig. What matters more is arm thickness and hardware quality than Instagram frame trends.
Common mistake: Buying a frame because it looks fast in photos, then discovering your HD vtx stack does not fit without grinding carbon. Measure stack height and vtx clearance before checkout.
Stack and power
Mount the FC with soft mounting (grommets or rubber standoffs) when the design allows, it helps gyro performance. Route motor wires cleanly: short paths, no sharp bends against sharp carbon edges, and consistent solder joints on the ESC. See stack soft-mount vs rigid if your frame manual is ambiguous.
FC, ESC, and RX layout
Most modern builds use a 4-in-1 ESC mated to an F7-class FC with a single wire harness. Before you bolt anything down:
- Dry-fit the stack in the frame, confirm vtx and camera connectors reach without tension.
- Decide where the RX sits (SPI on FC vs UART on a free port).
- Plan antenna exits away from carbon and coax crush points.
Power path matters: battery → XT60 pigtail → ESC → FC BEC. Use the connector and wire gauge your ESC manufacturer recommends. Undersized battery leads heat up in Indian summer sessions faster than you expect.
Battery basics
| Cell count | Typical voltage (nominal) | Notes |
|---|---|---|
| 4S | ~14.8 V | Great to learn |
| 6S | ~22.2 V | More punch, respect current |
Tip: Match your motors and ESC rating to your battery choice before you order. Mixing 4S and 6S without checking KV is a classic first-build trap.
For a first build, 4S is the calmer path: slightly lower peak current, cheaper chargers in some cases, and a wider margin while you learn throttle control. 6S is not wrong, but pair it with appropriate KV and props using motor KV math, not a random forum screenshot.
Parts checklist (5" freestyle)
Use this when ordering, then browse matching categories in the Bench.
| Part | What to look for | Bench category |
|---|---|---|
| Frame | 5" true-X or dead-cat, 5–6mm arms | Airframe / 5" Freestyle |
| FC + ESC stack | F7 class, rated for your cell count | Control / F7 |
| Motors | ~2207 class; KV matched to 4S or 6S | Propulsion / 2207 |
| Props | 5" freestyle tri-blade; buy spares | Propulsion / 5" Prop |
| VTX + camera | Analog or HD path, pick one ecosystem | Video / Digital HD |
| Receiver | ELRS UART or SPI for your FC | Browse shop |
| Radio | ELRS module or built-in | Browse shop |
| Batteries + charger | 4S or 6S packs, balance charger | Browse shop |
| Bench | Smoke stopper, solder, props tool | Browse shop |
Match motor KV and props using motor KV math before checkout. India buyers: GST and shipping checklist.
Order spares on day one
A first 5-inch build without spare props is a short hobby. Add at least four sets of props, one spare arm set, and extra standoffs before your first field day. Domestic sellers often beat import timelines on consumables, factor that into landed cost, not just frame price.
Wiring and mechanical discipline
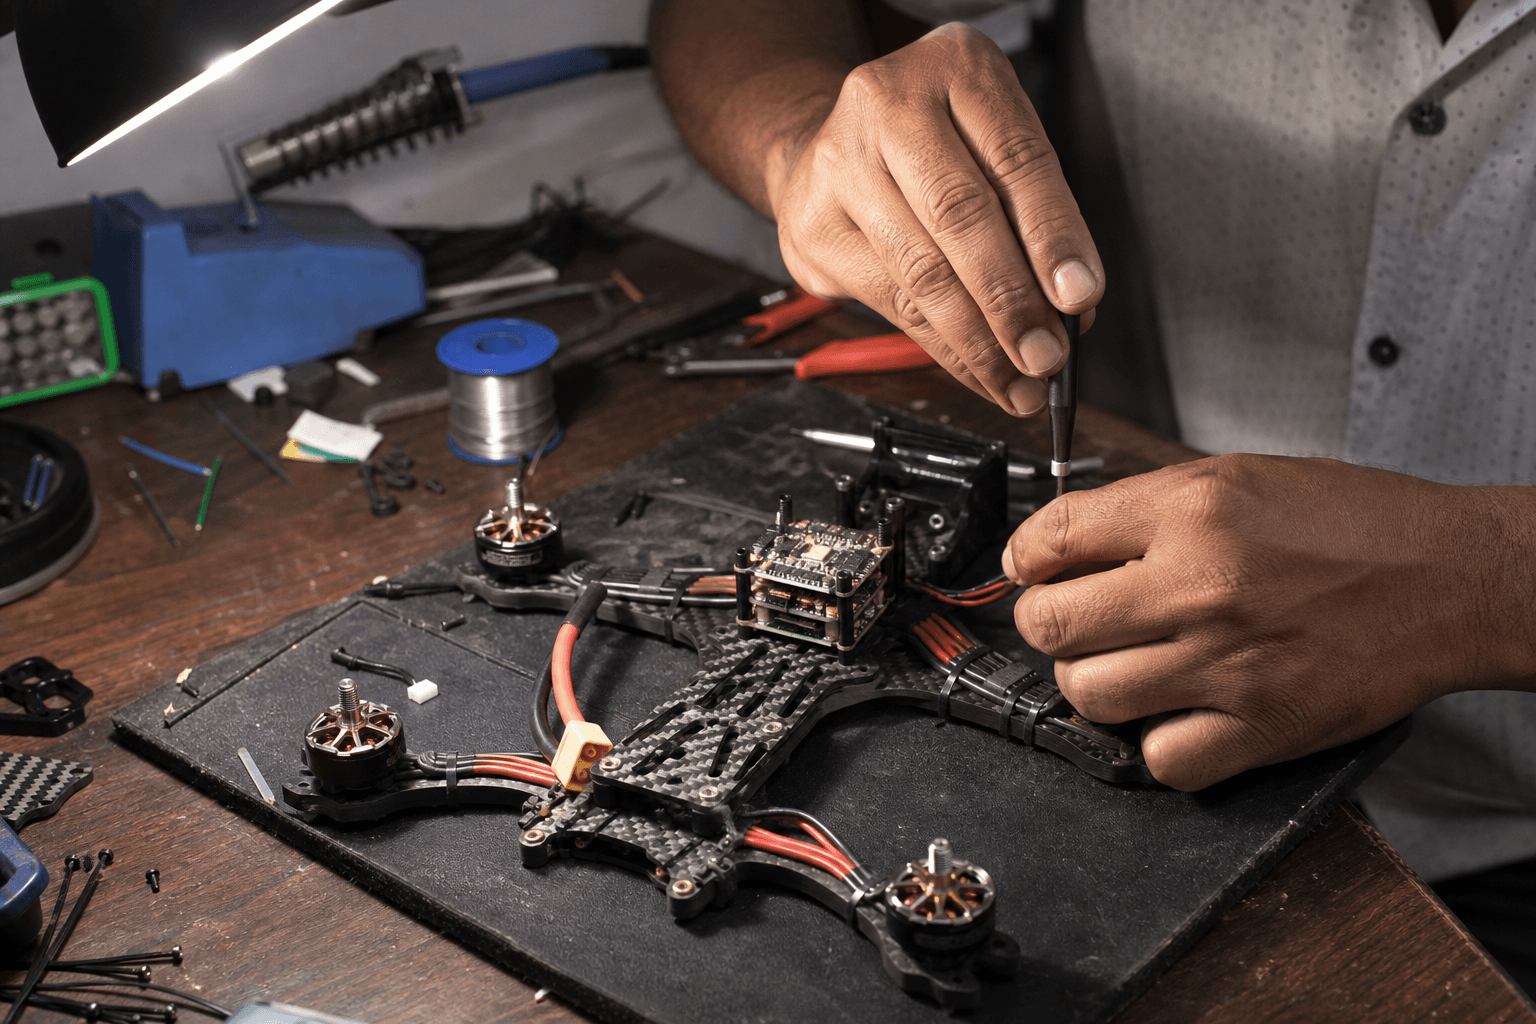
Before solder meets pad, read motor wire routing and soldering without lifting traces. The habits you form on build one pay off on every motor swap later.
Wiring pass (before first power):
1. Motor wires: short path, service loop, no carbon pinch
2. RX and vtx antennas: clear of carbon, no tight coax bends
3. Camera and vtx leads: strain relief to standoff, not pad
4. XT60 pigtail: heat on pin, wire secured to frame
5. Visual scan for solder bridges on ESC
Camera angle starting point
Mount the camera around 25–30° for a first freestyle rig. You can adjust later in 5° steps, see camera angle and mount flex. A loose camera pod causes jello that no amount of PID will fix.
First power-on
Use smoke stopper or a current-limited supply for the first arming tests. Confirm motor direction in the configurator before adding props, a bench test beats a trip to the field with four motors spinning the wrong way. Compare tooling options in smoke stopper vs multimeter vs lab supply.
Checklist:
1. Solder & inspect joints
2. Flash firmware / load backup
3. Motor direction + ESC protocol
4. Radio link + failsafe
5. Props last, always
Configurator essentials
On first USB connect: verify ESC protocol (DShot300 or DShot600 per ESC docs), enable bidirectional DShot only if you plan to use RPM filtering, and set motor poles correctly. Bind your radio, configure switches, and set a real failsafe: not "maybe it drops." Test failsafe on the bench with props off.
When to stop before the field
- Any motor spins wrong direction after wire swap attempts
- ESC or FC smells hot at idle
- OSD voltage reads nonsense or zero
- RX failsafe does not trigger when you kill the radio
Fix on the bench. The field is for confirming a build that already passed calm checks.
First flights
When you are ready, take it to an open area, hover low, and log a pack. You will tune better with clean data than with guesses. Follow first 10 flights after a new build, ten deliberate packs catch more issues than one aggressive bando session.
Line-of-sight hover first. Listen for motor grind, check OSD voltage sag, and land while the pack still has margin. Only then add FPV and gradually introduce your normal lines.
India-specific notes
Open fields near cities often mean spectators, dogs, and noise complaints. Fly early morning when possible, carry a field repair kit, and know your local DGCA awareness basics. Summer heat punishes marginal ESC cooling, see filter tuning for hot climates if motors run hot despite sane flying.
When to stop for the day
Land if motors smell, props are chipped, arms show white lines, or RX link stutters once. A first build that survives the month beats a first day that looks heroic on video. Fix on the bench; fly again tomorrow.
First-month maintenance habit
After your first ten packs, re-torque motor screws and standoffs, inspect vtx antenna for coax stress, and re-check camera mount screws. Vibration loosens hardware slowly, catching it early avoids the "it flew fine until it didn't" afternoon.
Happy flying, and keep spare props in your bag.
See also
- Building on a ₹25k / ₹50k / ₹1L budget in India, spend priorities for a first 5" build
- Motor KV, prop size, and throttle headroom, match cell count, KV, and props before you order
- Soldering ESCs and pads without lifting traces, bench skills before first power-on
Discussion
Comments aren't open on this post yet. Share it with your build group, or start a thread on X.